22
hp pavilion home pc
Filename: ma1rwob.doc Title: HP-Print2k.dot
Template: HP-Print2K.dot Author: WASSER Studios. Last Saved By: WASSER, Inc.
Revision #: 88 Page: 22 of 50 Printed: 04/25/01 09:02 AM
6
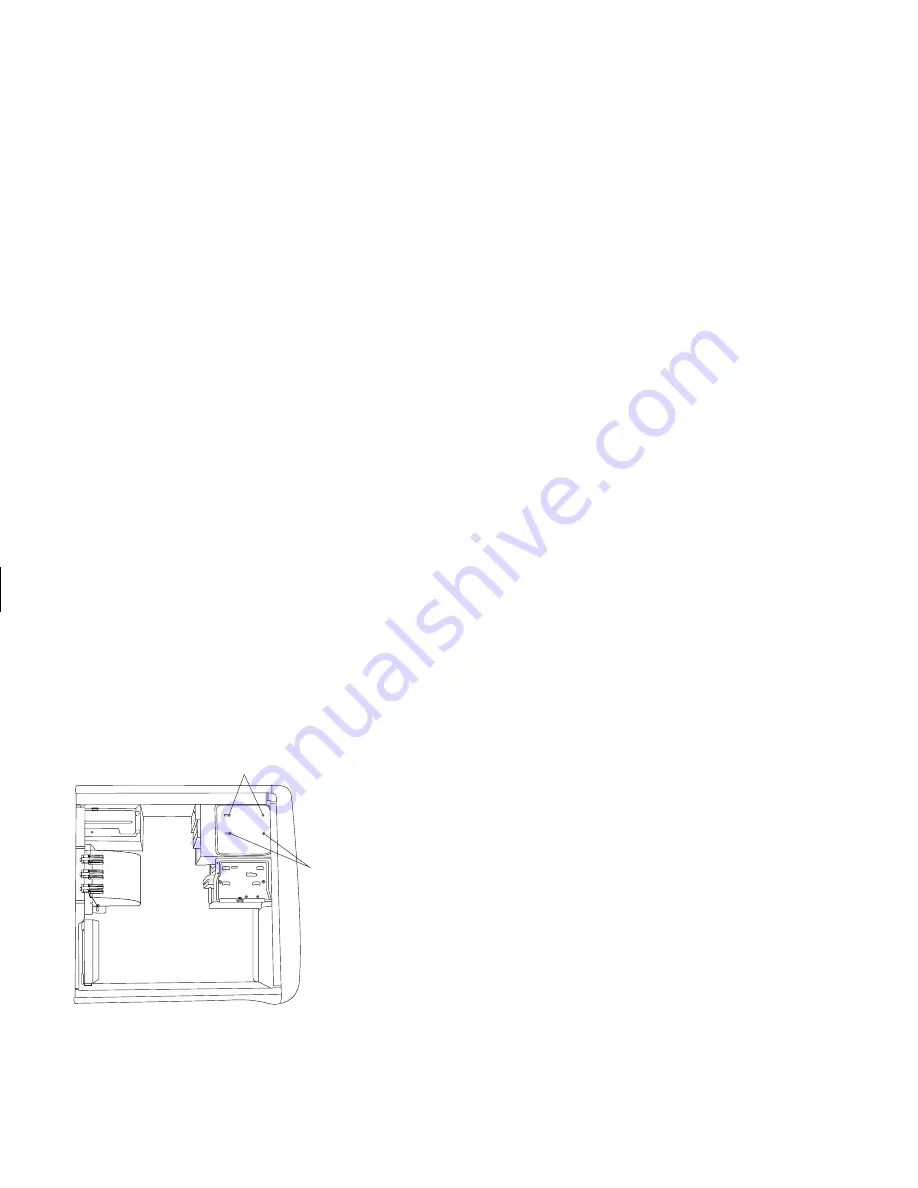
Remove the two screws (
E
or
F
) on the right
side of the optical drive and the two matching
screws on the left side of the drive.
E
F
7
Disconnect the power and IDE cables attached
to the back of the optical drive.
8
Push the optical drive through the front of the
computer.
To install a new optical drive:
Note:
Make sure the jumper on the new drive is in the
CS (Cable Select) position.
1
Slide the new drive through the optical drive
bay in the front of the computer.
2
Connect the cables to the back of the drive.
3
Align the screw holes and attach the screws as
follows:
3
top drive bay — use (
E
) screw holes, two
screws on each side of the drive
3
second drive bay — use (
F
) screw holes,
two screws on each side of the drive
Summary of Contents for Pavilion 9900 PC
Page 1: ...English upgrading and servicing the pc English ...
Page 4: ......
Page 50: ......
Page 51: ...mise à niveau et entretien de l ordinateur Français ...
Page 54: ......
Page 100: ......
Page 101: ...Español actualización y reparación de la computadora ...
Page 104: ......


