70
Procedure
[ ] (PLAY)
Photo
Screen [SET] MENU PLAY Tab DPOF
See page 7
7
for details.
Procedure
[ ] (PLAY) [SET] MENU PLAY Tab Protect
IMPORTANT!
• Note that even if a file is protected, it will be deleted if you perform the format
operation (page 9
5
).
Selecting
Photo
s for Printing (DPOF)
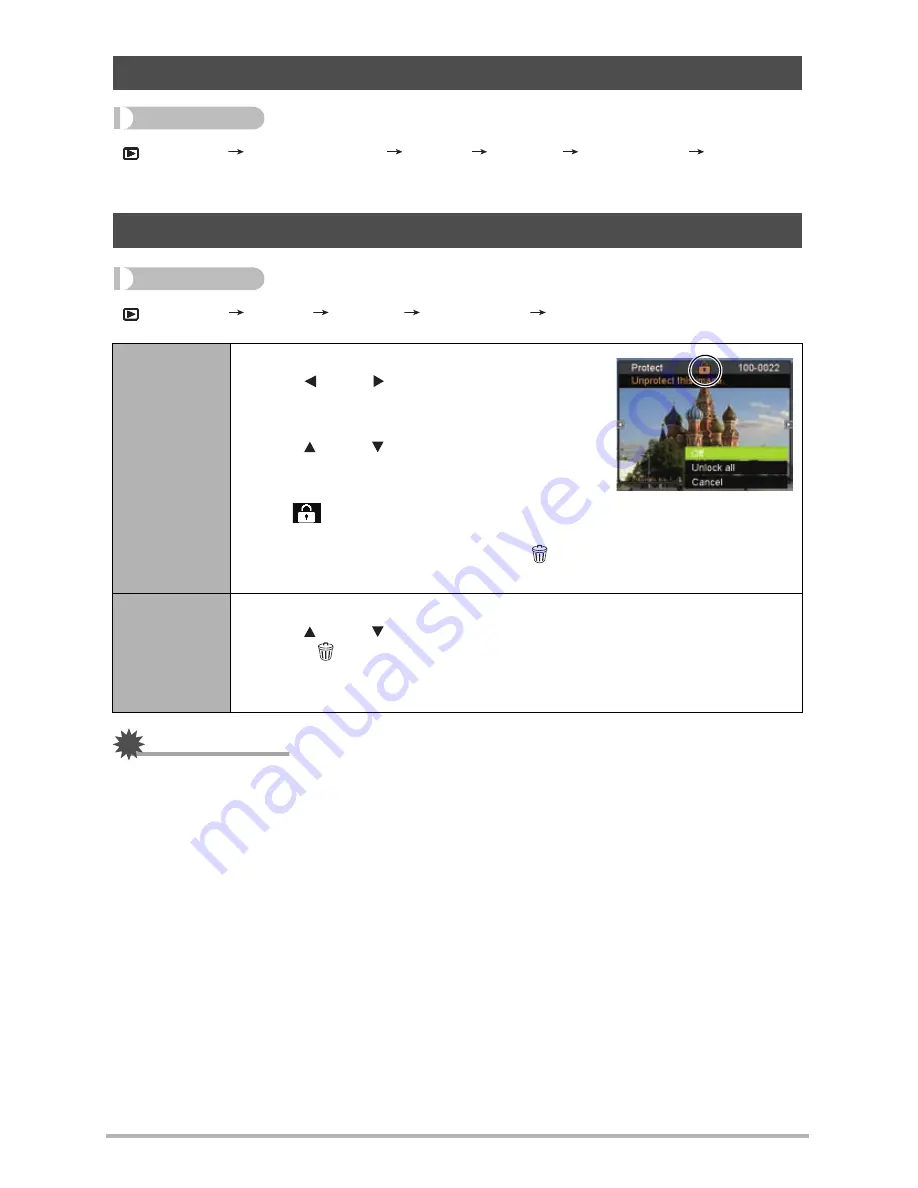
Protecting a File Against Deletion (Protect)
On
Protects specific files.
1
Use [ ] and [ ] to scroll through the files
until the one you want to protect is
displayed.
2
Use [ ] and [ ] to select “On” and then
press [SET].
An image that is protected is indicated by
the
icon.
3
To protect other files, repeat steps 1 and 2.
To exit the protect operation, press [ ] (Delete). To unprotect a file,
select “Off” instead of “On” in step 2 above.
All Files:
On
Protects all files.
1
Use [ ] and [ ] to select “All Files: On” and then press [SET].
2
Press [ ] (Delete).
To unprotect all files, select “All Files: Off” instead of “All Files: On” in
step 1 above.


