3-2
Getting Started With Switch Configuration
G
e
tti
n
g
St
a
rte
d
With
Sw
itc
h
Co
nf
ig
u
rat
io
n
N o t e
By default, the switch is configured to acquire an IP address configuration
from a DHCP or Bootp server. To use DHCP/Bootp instead of the manual
method described in this chapter, see “DHCP/Bootp Operation” in the
Management and Configuration Guide
for your switch, available on the
ProCurve Web site.
Using the Switch Setup Screen
The quickest and easiest way to minimally configure the switch for manage-
ment and password protection in your network is to use a direct console
connection to the switch, start a console session, and access the Switch Setup
screen.
1.
Using the method described in the preceding section, connect a terminal
device to the switch and display the switch console command (CLI)
prompt (the default display).
The CLI prompt appears displaying the switch model number:
ProCurve Switch 4208vl#
2.
At the prompt, enter the
setup
command to display the Switch Setup
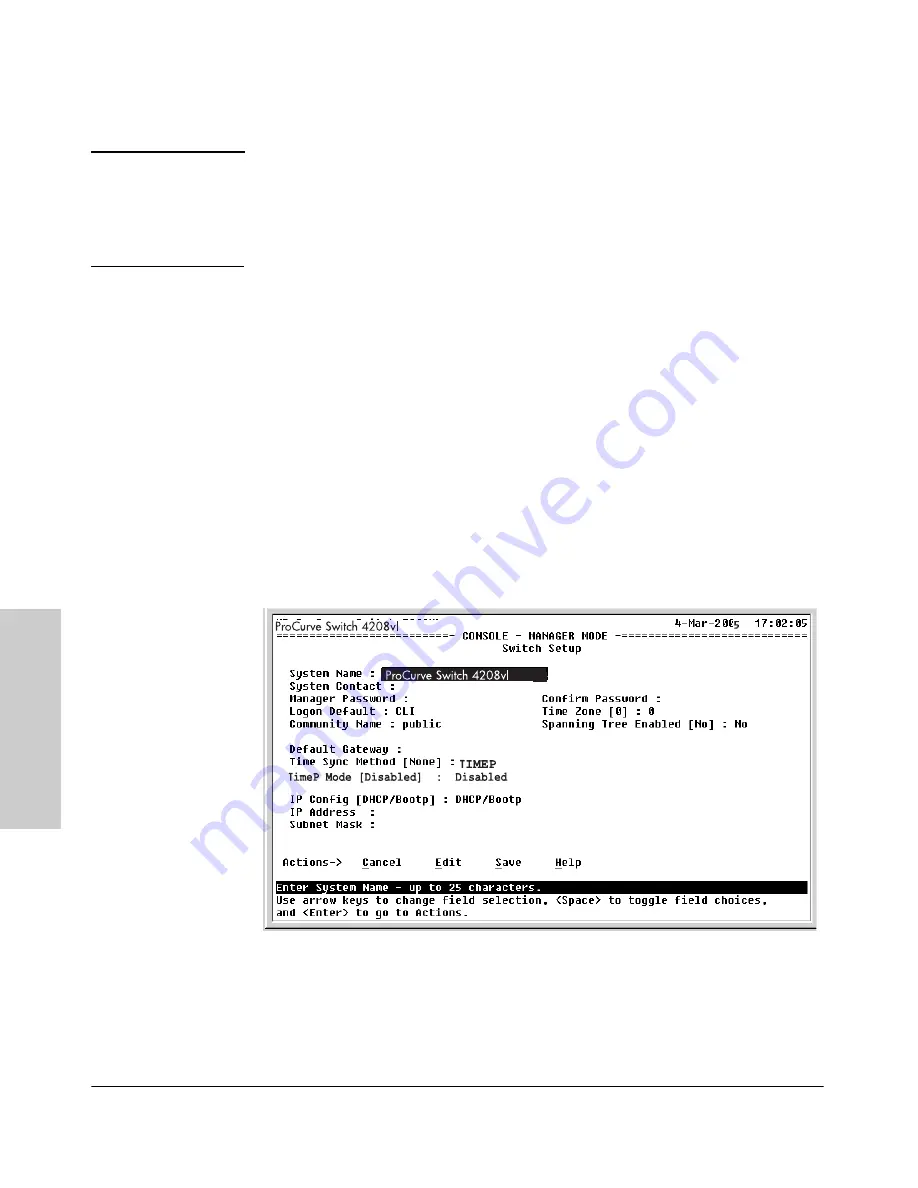
screen. The following illustration shows the Setup screen with the default
settings.
Figure 3-1. Example of a Switch Setup Screen
3.
Use the Tab key to select the
Manager Password
field and enter a manager
password of up to 16 characters.
4.
Tab to the
IP Config
field and use the Space bar to select the
Manual
option.


