Hardware options installation 105
Server #1 + FSBBU
module load
condition (%)
Server #2 + FSBBU
module load
condition (%)
Supported (Yes/No)
where server #1 lost
input AC power
Supported (Yes/No)
where server #2 lost
input AC power
10 (75W- 6.25A)
90 (675W- 56.25A)
Yes
No
20 (150W- 12.5A)
80 (600W- 50A)
Yes
No
30 (225W- 18.5A)
70 (525W- 43.5A)
Yes
No
40 (300W- 25A)
60 (450W- 37.5)
Yes
Yes
50 (375W- 31.25)
50 (375W- 31.25)
Yes
Yes
60 (450W- 37.5)
40 (300W- 25A)
Yes
Yes
70 (525W- 43.5A)
30 (225W- 18.5A)
No
Yes
80 ( 600W- 50A)
20 (150W- 12.5A)
No
Yes
90 (675W- 56.25A)
10 (75W- 6.25A)
No
Yes
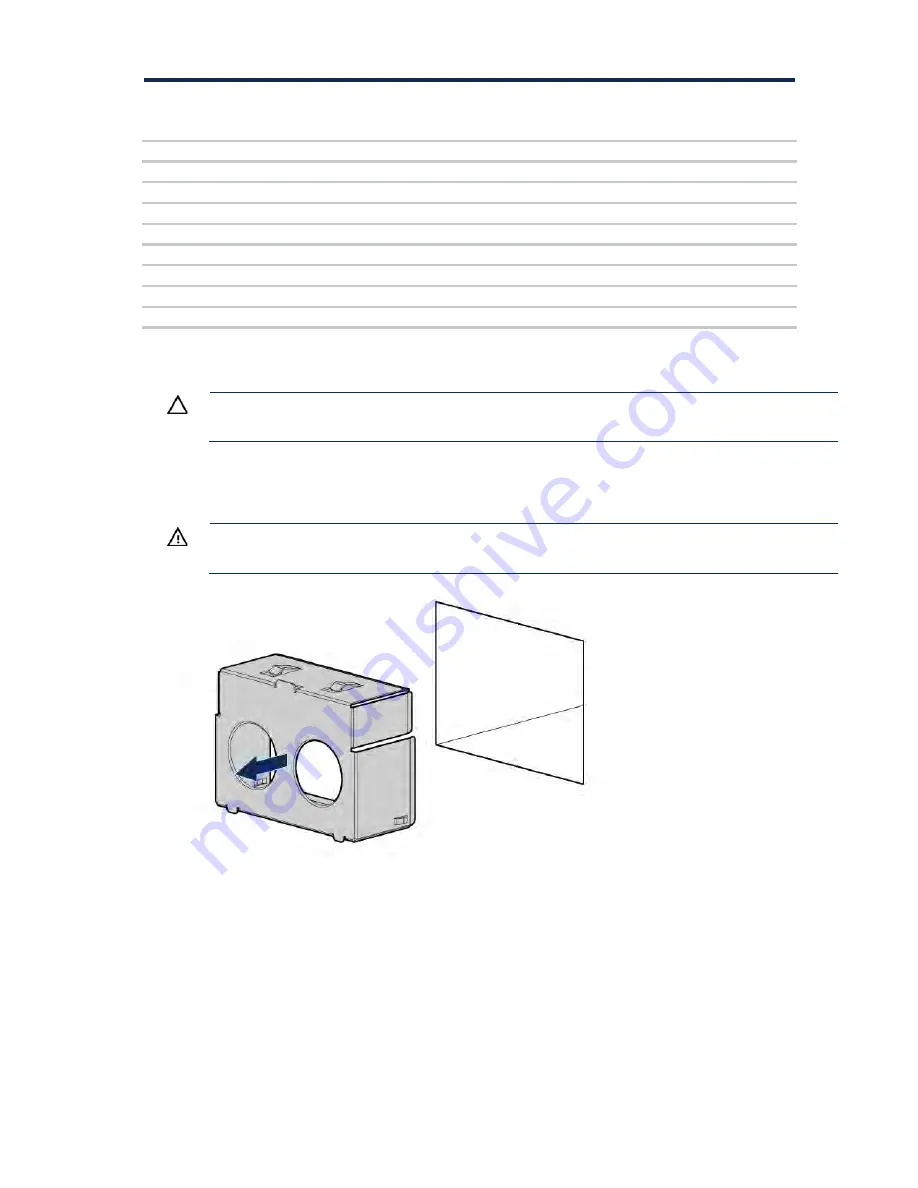
Installing the FSBBU
CAUTION:
To prevent improper cooling and thermal damage, do not operate the chassis
unless all bays are populated with a component or a blank.
To install the component:
1.
Access the product rear panel.
2.
Remove the blank.
WARNING:
To reduce the risk of personal injury from hot surfaces, allow the FSBBU or
power supply blank to cool before touching it.
3.
Press the battery check button located on the rear of the FSBBU module to check the battery
condition before installing the unit into the power supply bay. To locate the battery check button and
for more information on the FSBBU module LED status, see "Flex slot battery backup module LEDs
and buttons (on page
Summary of Contents for BCDVideo BCD108
Page 71: ...Hardware options installation 71 7 Install the GPU support bracket 8 Install the riser cage ...
Page 92: ...Hardware options installation 92 o Primary PCI riser cage o Secondary PCI riser cage ...
Page 96: ...Hardware options installation 96 3 Remove the hot plug fan or fan blank from fan bay 1 ...
Page 152: ...Support and other resources 152 ...
Page 153: ...Support and other resources 153 ...


