


NFW-50X Manual —
P/N LS10129-001NF-E:C 7/25/2018
69
Master Programming Level
Programming
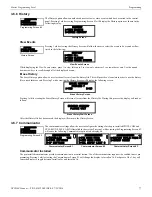
Function Keys
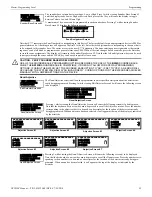
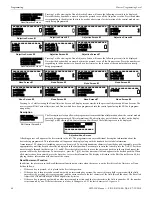
The NFW-50X keypad has 4 programmable function keys. These keys can be programmed to allow rapid disable/enable of various fire
panel inputs and outputs during scheduled maintenance. Pressing any function key results in a trouble signal at the panel. Pressing
1
on
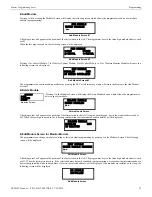
System Setup Screen #1 displays the following:
Select
1
,
2
,
3
, or
4
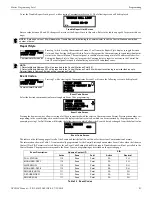
to program the corresponding Function Key. The following screens display for each
Function Key where “(X)” represents the number of the key chosen.
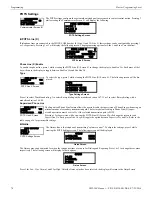
To Enable or Disable the Function Key, press the
1
key while viewing the Function Keys Screen #1. Each press of the key will toggle the
screen between
Key Enabled Yes
and
Key Enabled No
.
Pressing
2
key while viewing the Function Keys Screen #1 allows the user to select individual zones that the Function Key will control.
Pressing
3
assigns all zones to the selected Function Key.
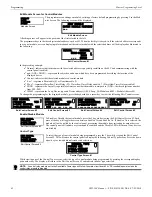
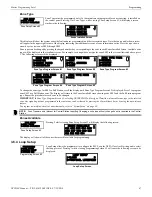
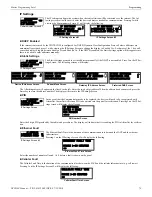
Each function key can be assigned to control any of the 2 onboard NAC circuits on the NFW-50X. By pressing the
2
key while viewing
the Function Keys Screen #2 the following screen displays, allowing the user to select the desired NAC circuit(s).
Pressing
1
or
2
toggles the screen between
Yes
(controlled by function key) and
No
(not controlled by function key) for each onboard
NAC circuit.
The Remote Synchronization (TB8 on the FACP’s main circuit board) can also be disabled through pro-
gramming of a function key. To disable remote synchronization, press the
3
key while viewing the Function
Keys Screen #2. Each press of the key will toggle the screen between
Rem Sync Disb Yes
and
Rem Sync
Disb No
.
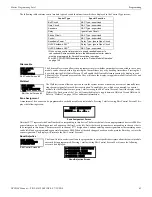
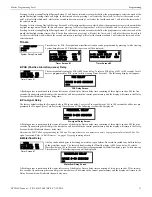
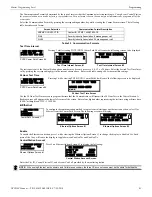
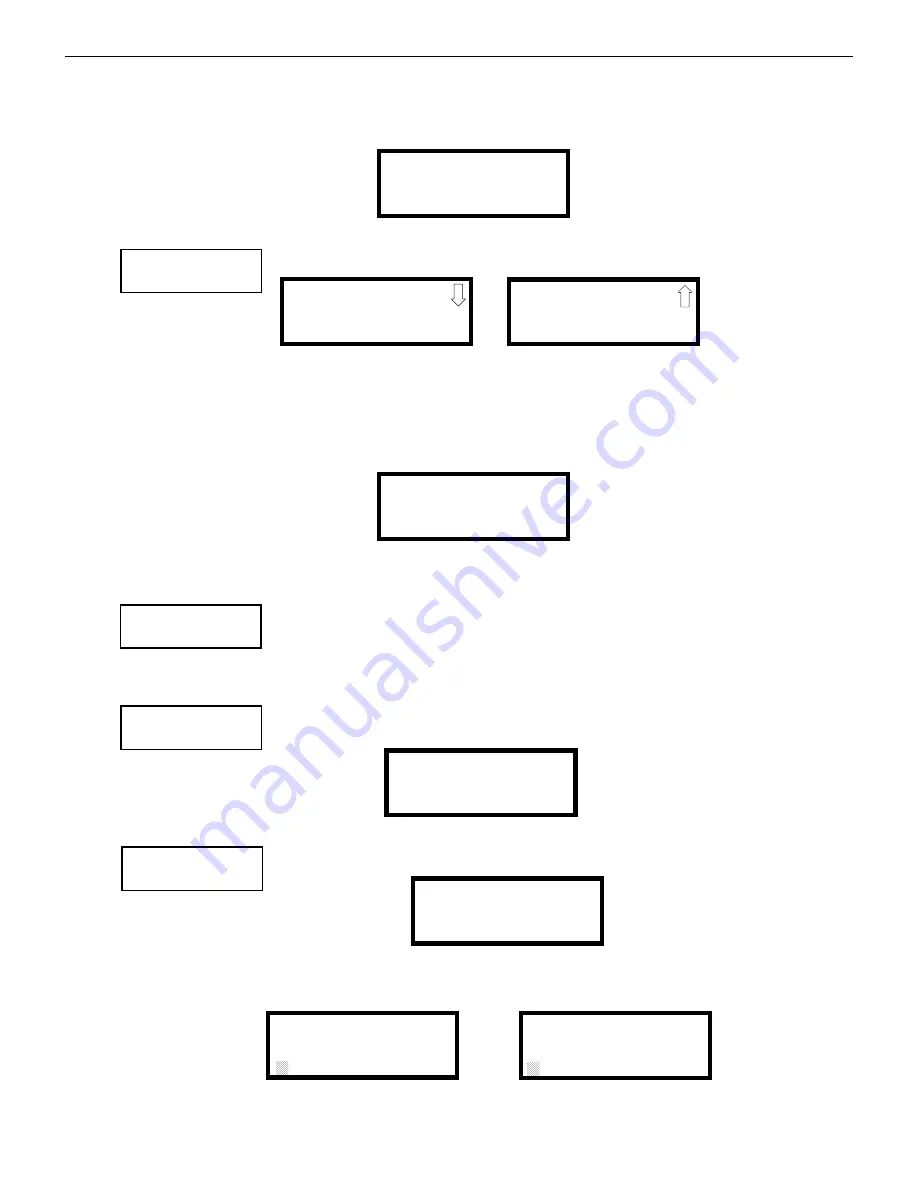
Banner
The top line of the display, which appears when the control panel is in normal mode, can be changed by
using the Banner option. Pressing
2
while viewing System Setup Screen #1 will cause the following to be
displayed:
Pressing
1
while viewing the Banner Screen will select the blank factory default banner setting and display
the following screen:
Pressing the Enter key will store this selection in nonvolatile memory and return the display to the Banner Screen.
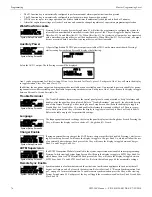
Pressing
2
while viewing the Banner Screen will cause the following screens to be displayed:
FUNCTION KEYS
1=F1 3=F3
2=F2 4=F4
Function Keys Screen
FUNCTION KEYS
1=F1 3=F3
2=F2 4=F4
Function Keys Screen
Function Keys Screen #1
Function Keys Screen #2
F(X) KEY OPERATION
1=KEY ENABLED NO
2=ZONES
3=ALL ZONES
F(X) KEY OPERATION
1=NACS
2=DIS REM DISB NO
F(X) NACS
1=NAC 1 N 2=NAC 2 Y
Function Keys Screen
F(X) KEY OPERATION
1=NACS
2=REM SYNC DISB NO
Function Keys Screen #2
SYSTEM SETUP
1=FUNCTION KEYS
2=BANNER
3=TIME-DATE
System Setup Screen #1
BANNER
1=FACTORY
2=USER DEFINED
Banner Screen
BANNER
1=FACTORY
2=USER DEFINED
Banner Screen
FACTORY BANNER
Factory Banner Screen
USER DEFINED BANNER
PRESS ENTER IF OK
User Defined Banner Screen #1
USER BANNER - LINE 2
PRESS ENTER IF OK
User Defined Banner Screen #2