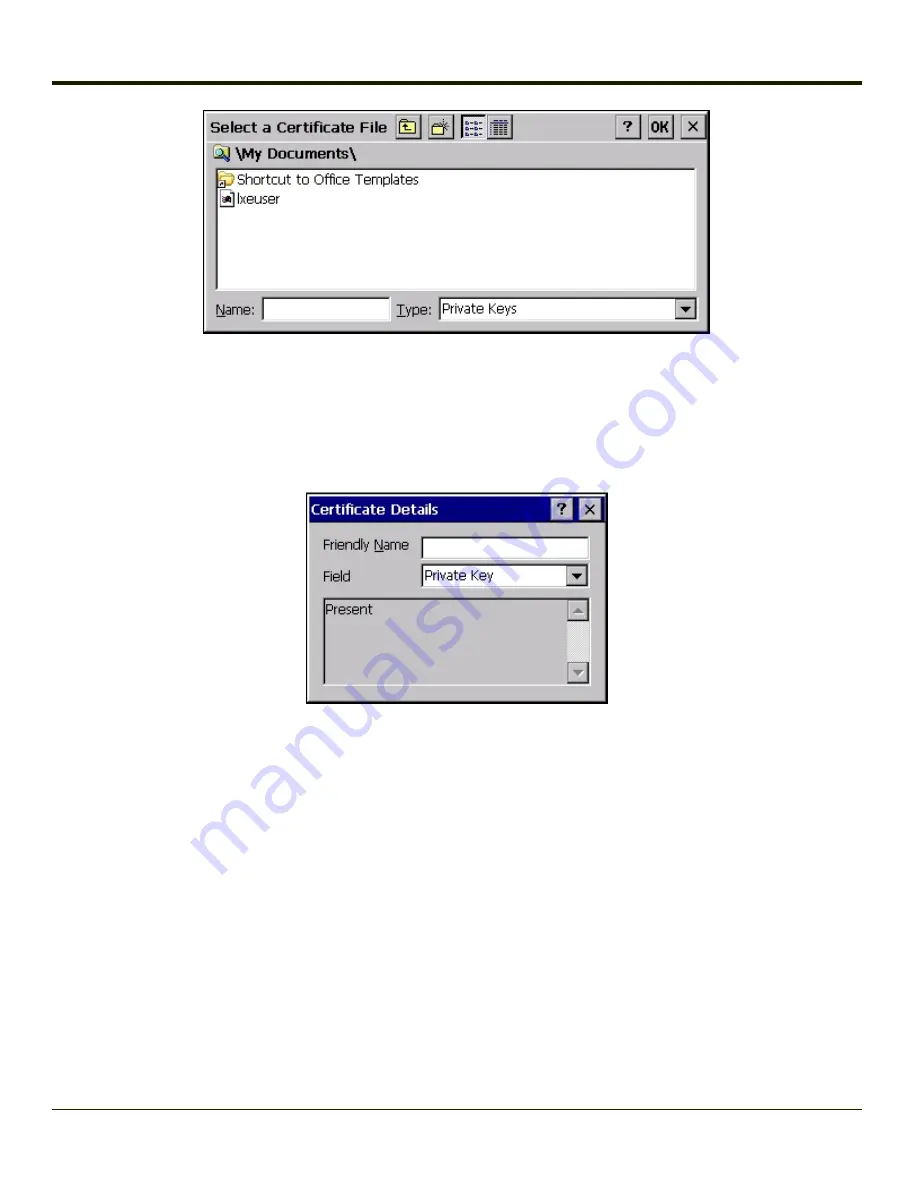
Using the explorer buttons, browse to the location where you copied the private key file, change the Type pull down list to
Private Keys
, select the certificate desired and tap
OK
. Enter the password for the certificate if appropriate.
Verify Installation
Tap on
View
to see the certificate details again.
The private key should now say present. If it does not, there is a problem. Possible items to check:
l
Make sure the certificate was generated with a separate private key file, as shown earlier in this section. If the
certificate was not generated with a separate private key file, generate a new certificate and follow the import process
again.
l
Make sure the certificate and private key file have the same name, for example LXEuser.cer for the certificate and
LXEuser.pvk for the private key file. If the file names are not the same, rename the private key file and import it again.
6-52
Summary of Contents for MX3PLUS
Page 1: ...MX3Plus Hand Held Computer Microsoft Windows CE 5 Operating System Reference Guide ...
Page 14: ...xii ...
Page 42: ...3 6 ...
Page 127: ...4 85 ...
Page 148: ...Enter user name password and domain to be used when logging into network resources 4 106 ...
Page 157: ...4 115 ...
Page 183: ...Hat Encoding Hat Encoded Characters Hex 00 through AD 4 141 ...
Page 184: ...Hat Encoded Characters Hex AE through FF 4 142 ...
Page 230: ...5 28 ...
Page 275: ...Click the Request a certificate link Click on the advanced certificate request link 6 45 ...
Page 276: ...Click on the Create and submit a request to this CA link 6 46 ...
Page 298: ...7 16 ...
Page 302: ...8 4 ...
Page 305: ...9 3 ...


