


INTELLIDOX DOCKING MODULE USER MANUAL || CONFIGURE SETTINGS VIA
SAFETY SUITE DEVICE CONFIGURATOR AND SAFETY SUITE SOFTWARE
HONEYWELL
PAGE 69 OF 119
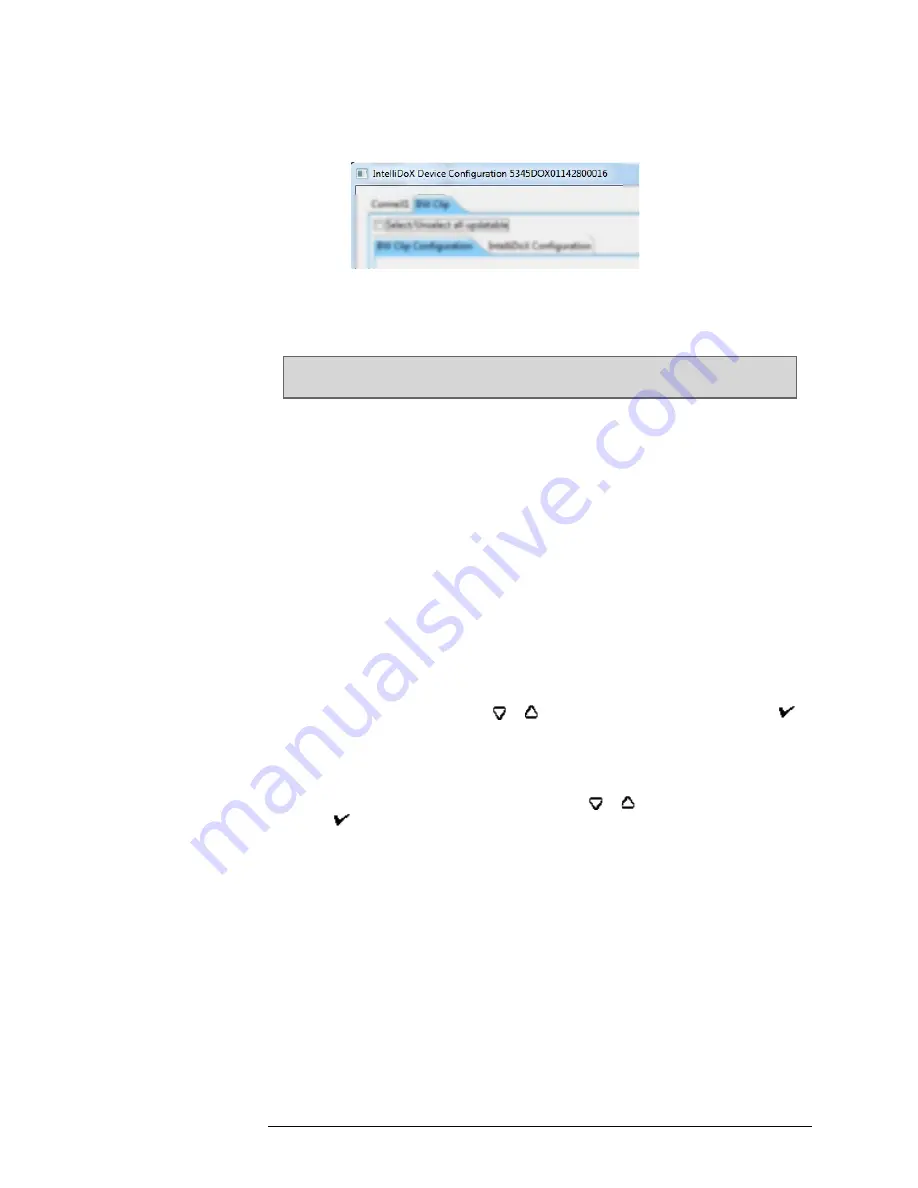
e) After the settings are retrieved, the
IntelliDoX Device Configuration
dialog
box is displayed. The serial number of the selected module is appended to
the dialog box title bar.
f) Verify that the configuration settings are updated.
g) Repeat steps 3 through 6 until configuration settings are verified for all modules.
Transferring the Configuration File to a Module via USB Flash Drive
For connected modules, transfer the configuration file to each appropriate
module in the group.
Note:
during update through USB two messages can be shown “Communication
Failure” and/or “Configuration Corrupt”. These messages may appear only while the
IntelliDoX is in a gang arrangement. If one IntelliDoX in this arrangement displays the
warning message “CONFIGURATION CORRUPT SETTINGS LOADED FROM FILE” it
is likely that another IntelliDoX will show the “MULTI-DOCK COMMUNICATION
FAILURE” warning message since the devices have different configuration
parameters. To make the message disappear press the check mark button to remove
the message from the screen.
1. Insert a USB flash drive into a USB port on your PC. Use Windows Explorer or My
Computer to open the USB flash drive, and then create a new folder named
System
.
2. Create the configuration file. See Error! Reference source not found.
Safety Suite
Device Configurator or Safety Suite
.
3. Click
Save to File
. The
Save Settings to File
dialog box is displayed.
4. Save the configuration file to the
System
folder on the USB flash drive. Do not
change the file name or extension. Eject the USB flash drive from the PC.
5. Insert the USB flash drive into the USB port on the module. The
USB File Copy
Utility
menu is displayed. Press or to select
Copy to dock
and then press to
continue.
6. The LCD changes to yellow. A progress bar and alternating
Do not remove stick
and
USB transfer in progress
messages are displayed while the file is transferred.
7. After the transfer is successfully completed, the LCD changes to blue and the
USB File Copy Utility
menu is displayed. Press or to select
Exit
and then
press to continue.
8. The LCD changes to green. Remove the USB flash drive from the port when
prompted.
Transferring Configuration Settings to a Detector
1. Insert a compatible detector into the module. Detector identification is displayed on
the LCD.
2. If the detector is configured to update settings on insertion, then the detector settings
are updated automatically after the detector is recognized.
3. After the configuration update is completed, other procedures specified to occur on
insert are performed.
4. After all procedures are performed, remove the detector from the module and verify
that the configuration settings are updated. For more information, refer to the
appropriate detector operator manual.