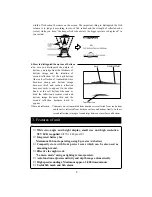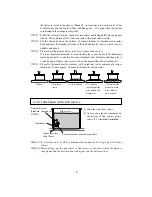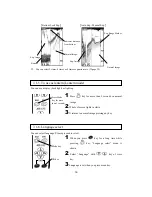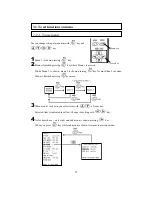
(In this case, set auto function to “Manual” , set sensitivity to nearly center of bar
with Gain key and the depth to 20m with Range key. It is good when the bottom
is indicated in the strongest color (red).
(2)
Polish the surface of contact (bottom of transducer and inside hull) with sand paper
like No. 240 and drain all oil, water and stain with alcohol and etcetera.
(3)
Put the silicon bond on the surface of contact (bottom of transducer and inside
hull) and press the transducer firmly to the hull and gently twist to remove any air
bubbles and glue it.
(4)
Please check the display before resin is set. (same as above (1).)
If it is not displayed normally, it is considered glue is poor. Take off the transducer
inserting the knife or etcetera between transducer and hull plate and then glue it
correctly again. (Please take care not to hurt the transmitted side of transducer.)
(5)
Please fix the transducer for example, with weight not to slip contact until resin is
thickened. (It takes approx. 24 hours to thicken the silicon resin.)
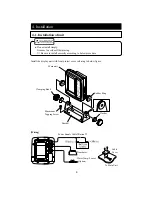
×
Air is entered
×
Too thick
resin
×
If contact side
is uneven, resin
is too thick or
air is entered.
○
Good
×
No display
just only putting
glue around the
transducer
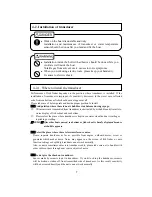
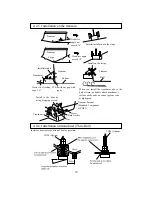
4-2-4. Installation in the fish reserve
(1) Drain the water from reserve.
(2) In case you glue the transducer on
the bottom of fish reserve, please
refer to “4.2.3. Inside hull installation”.
Fish reserve
Transducer
Lessen clearance as much as possible
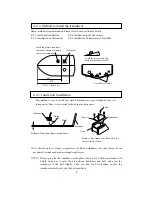
Transom Bracket
(Standard Component
of TD03)
Single layer less
than 10mm
9
Note 1)
It is effective only for FRP or aluminum boat whose hull is single layer (less than
10mm).
Note 2)
Before gluing
,
put the transducer in fish reserve at the place where the depth is
enough and find the best location which gives you the best sensitivity.

