61
Utilisation
Manuel d’Utilisation
Operator’s Manual
Operation
•
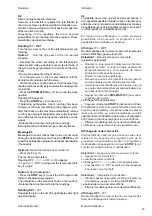
Tourner jusqu’à ce que la valve soit exactement
perpendiculaire à et au–dessus de l’arbre principal.
•
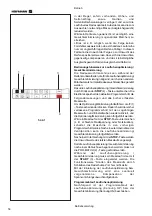
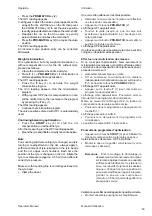
Appuyer sur la touche
PRO-MATCH
(2) pour entrer
la position de la valve.
L’affichage OP.4
apparaît alors.
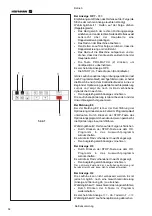
•
Appuyer sur la touche
START
(3).
La lancée de mesure est effectuée. Après la lancée de
mesure deux affichages sont possibles :
OP.5 - H1
Il n’est pas recommandé, mais possible, de continuer
l’optimisation.
OP.5 - repère
Poursuivre le programme OP.
Affichage OP.5 - H 1
Si OP.5 - H1 est affiché, il n’est en général pas
recommandé de continuer l’optimisation, car les valeurs
mesurées ne dépassent pas les limites fixées pour que
l’optimisation soit recommandée. Il est cependant
possible de continuer l’optimisation pour améliorer les
conditions de marche du véhicule, même au–dessous
de la valeur limite (véhicule critique).
Pour poursuivre l’optimisation :
•
Poursuivre comme pour affichage “OP.5 - repère”
(voir page suivante).
Pour interrompre l’optimisation :
•
Appuyer sur la touche
STOP
pour repasser au
programme d’équilibrage et équilibrer la roue suivant
l’affichage.
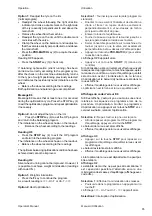
Affichage OP.5 - repère
•
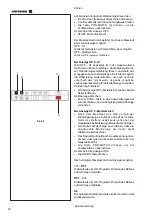
Après la lancée de mesure, orienter la roue suivant
l’indicateur de direction et tracer un repère à la craie
exactement perpendiculairement à et au–dessus de
l’arbre principal du côté droit du pneu.
•
Tourner le pneu sur la jante jusqu’à ce que le repère
sur le pneu coïncide avec la valve (à l’aide d’une
machine demonte-pneus).
•
Serrer l’ensemble pneu/jante sur la machine et le
tourner jusqu’à ce que la valve soit exactement
perpendiculaire à et au–dessus de l’arbre principal.
•
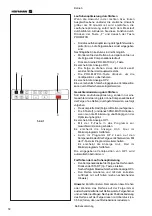
Appuyer sur la touche
PRO-MATCH
pour entrer la
position de la valve.
L’affichage OP.6 apparaît alors.
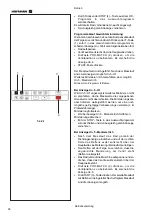
•
Appuyer sur la touche
START
.
Après la lancée de mesure, quatre affichages sont
possibles :
=== - OP.7
Poursuivre le programme OP. Il est recommandé de
renverser le pneu par rapport à la jante.
OP.7 - ===
Poursuivre le programme OP. Il est recommandé de
tourner le pneu sur la jante.
H0
L’état optimal de la roue est déjà atteint et ne peut pas
être amélioré.
•
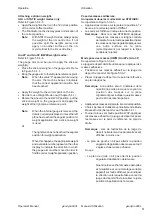
Position the valve exactly perpendicular to and
above the main shaft.
•
Press the
PRO-MATCH
key (2) to acquire the valve
position.
OP.4 appears.
•
Press the
START
key.
The measuring run is carried out. After the measuring
run two readings are possible:
OP.5 - H1
Further optimisation is not recommended, but possible.
OP.5 – Reference mark
Continue with the OP program.
Reading OP.5 - H1
If OP.5 - H1 appears, further optimisation is not
recommended, since the measurement values which
activated the optimisation recommendation are below
the limit value. However, it is possible to continue
optimisation for the most silent possible wheel running,
reducing imbalances below the limit value (critical
vehicle).
To continue optimisation
•
To continue with the OP program proceed as
specified for OP.5 – Reference mark (see next page).
To abort optimisation
•
Press the
STOP
key to return to the balancing
program and balance the wheel according to the
readings.
Reading OP.5 - Reference mark
•
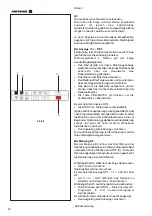
After the measuring run readjust the wheel following
the direction indicator and make a chalk mark on
the right side of the tyre exactly perpendicular to
and above the main shaft.
•
Readjust the tyre on the rim so that the reference
mark made is aligned with the valve (use tyre
changer).
•
Clamp the wheel on the balancer and readjust it
until the valve is exactly perpendicular to and above
the main shaft.
•
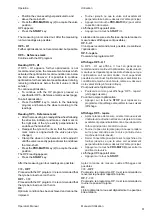
Press the
PRO-MATCH
key (2) to acquire the valve
position.
The OP.6 reading appears.
•
Press the
START
key.
After the measuring run four readings are possible:
=== - OP.7
Proceed with the OP program. It is recommended that
the tyre be turned over on the rim.
OP.7 - ===
Proceed with the OP program. It is recommended that
the tyre be turned over on the rim.
H0
Optimum condition has been achieved and cannot be
improved.
Summary of Contents for EEWBUS732A
Page 102: ...102 geodyna 980L ...
Page 117: ...117 geodyna980L ...
Page 118: ...118 geodyna980L BLANK PAGE ...
Page 119: ...119 geodyna980L BLANK PAGE ...

