


13
English
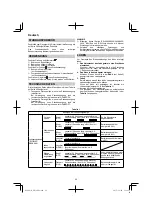
MOUNTING AND OPERATION
Action
Figure
Page
Removing and inserting the
battery
3
3
Charging
4
3
Remaining battery indicator
5
3
Installing / Removing the side
handle
6
3
Inserting SDS-plus drilling tools
7
4
Removing SDS-plus drilling tools
8
4
Selecting rotation direction
9
4
Selecting the operating mode
10
4
Adjusting the drilling depth
11
4
Changing the chisel position
12
4
Removing drill bit holder
(DH36DPC, DH36DPD)*
13
5
Inserting drill chuck holder
(DH36DPC, DH36DPD)
14
5
Inserting round shank applications
tools (DH36DPC, DH36DPD)
15
5
Switch operation
16
5
How to use the LED light
17
5
Cleaning of the battery installation
compartment
18
5
Charging a USB device from a
electrical outlet
19-a
6
Charging a USB device and
battery from a electrical outlet
19-b
6
How to recharge USB device
20
6
When charging of USB device is
completed
21
6
Selecting accessories
―
263, 264
* If it is hard to pull out the drill chuck holder or the drill bit
holder, align the change lever with the mark and turn
the lock grip.
For details on how to use the dust extraction unit, refer to
the separate instruction manual included with this tool.
(DH36DPB / DH36DPD)
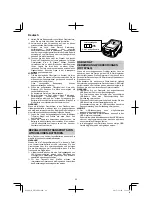
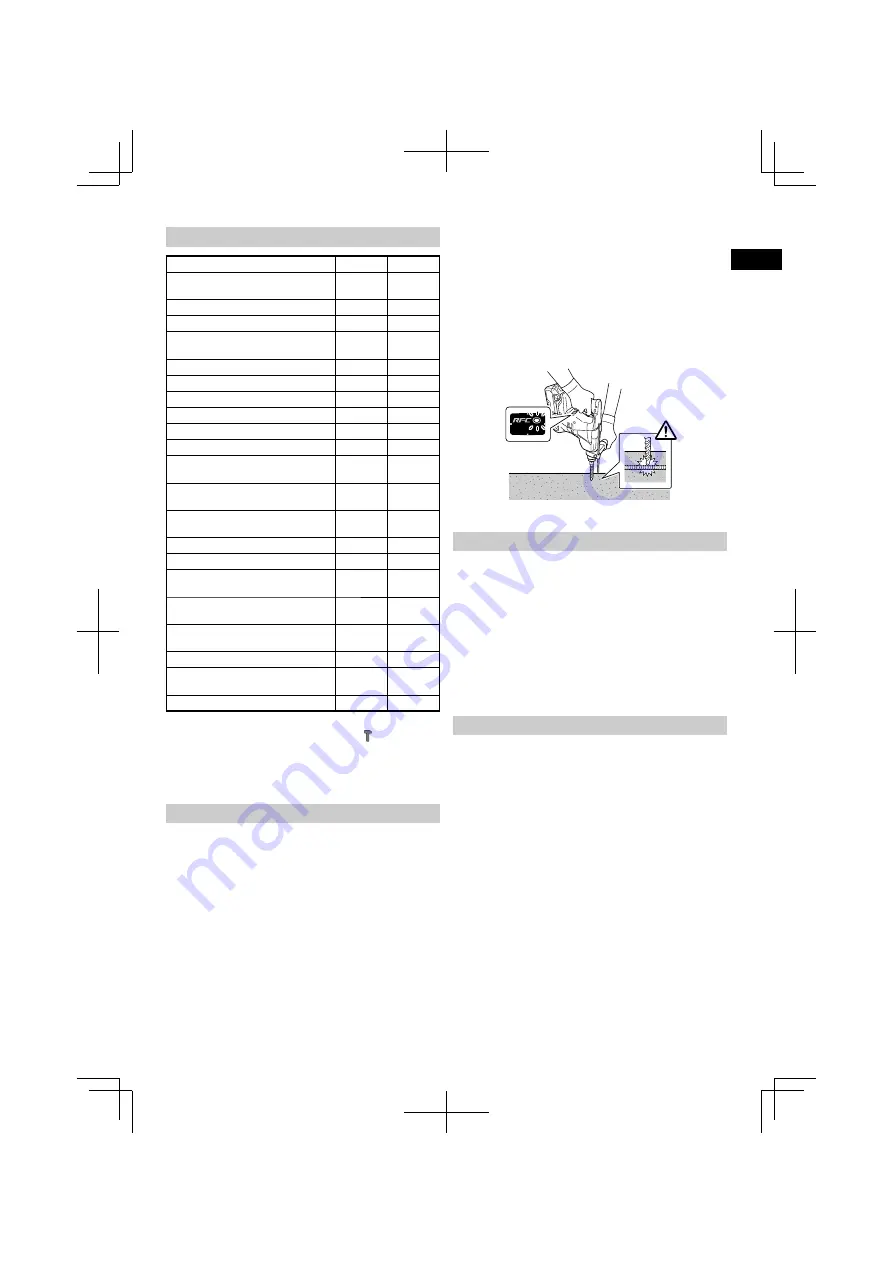
REACTIVE FORCE CONTROL
This product is equipped with a Reactive Force Control
(RFC) feature that reduces jerking of the tool body.
If the tool bit is suddenly overburdened, any jerking of the
tool body is reduced by activation of the slip clutch or by
stopping of the motor by the sensor built into the tool body.
If the motor is stopped because of overburdening detection
by the controller, the RFC indicator lamp will blink while the
switch is pulled. In addition, the lamp will continue blinking
for approximately three seconds after the switch is released.
The motor will remain stopped while the lamp is blinking.
(
Fig. 22
)
Because the RFC feature may not activate or its performance
may be insufficient depending on the working environment
and conditions, be careful not to suddenly overburden the
tool bit while operating.
●
Possible causes of sudden overburdening
1
Tool bit biting into material
2
Impact against nails, metal or other hard objects
3
Tasks involving prying or any excess application of
pressure, etc.
Also, other causes include any combination of the
aforementioned.
●
When the reactive force control (RFC) is triggered
When the RFC is triggered and the motor stops, turn
off the tool’s switch and remove the cause of the
overburdening before continuing operation.
Fig. 22
LUBRICATION
Low viscosity grease is applied to this rotary hammer so
that it can be used for a long period without replacing the
grease. Please contact the nearest service center for grease
replacement when any grease is leaking form loosened
screw.
Further use of the rotary hammer despite the grease
shortage causes damage to reduce the service life.
CAUTION
A specific grease is used with this machine, therefore,
the normal performance of the machine may be badly
affected by use of different grease. Please be sure to let
one of our service centers to undertake replacement of
the grease.
MAINTENANCE AND INSPECTION
CAUTION
Be sure to turned off the switch and remove the battery
before maintenance and inspection.
1. Inspecting the tool
Since use of as dull tool will degrade efficiency and
cause possible motor malfunction, sharpen or replace
the tool as soon as abrasion is noted.
2. Inspecting the mounting screws
Regularly inspect all mounting screws and ensure that
they are properly tightened. Should any of the screws be
loose, retighten them immediately. Failure to do so could
result in serious hazard.
3. Maintenance of the motor
The motor unit winding is the very “heart” of the power
tool. Exercise due care to ensure the winding does not
become damaged and/or wet with oil or water.
4. Inspection of terminals (tool and battery)
Check to make sure that swarf and dust have not
collected on the terminals.
On occasion check prior, during and after operation.
CAUTION
Remove any swarf or dust which may have collected on
the terminals.
Failure to do so may result in malfunction.
5. Cleaning on the outside
When the power tool is stained, wipe with a soft dry cloth
or a cloth moistened with soapy water. Do not use chloric
solvents, gasoline or paint thinner, for they melt plastics.
0000Book̲DH36DPA.indb 13
0000Book̲DH36DPA.indb 13
2017/12/06 11:16:20
2017/12/06 11:16:20


