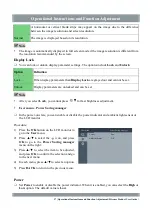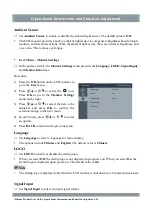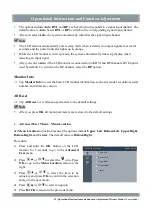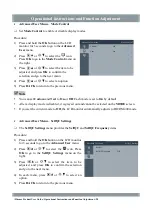
Installation
Before using the hanging bracket or base provided by another manufacturer, ensure that it meets
the following requirements and complies with the VESA standard:
– Screw hole spacing: 100 mm x 100 mm
– It is solid enough to bear the weight of the monitor (excluding the base) and accessories, such as
cables.
Before using the hanging bracket or base provided by another manufacturer, use the following
screw:
– Screw (GB/T 819.1-2000; M4x14) used to fix the base to the monitor
When using the hanging arm or base, install it based on the following inclination of the monitor:
– 15° upwards and 5° downwards
Connect cables after the hanging arm or base is installed.
Do not move the removed base vertically. Failure to comply may result in injury or equipment
damage.
The monitor and the hanging arm/base are heavy. Their falling may result in injury or equipment
damage.
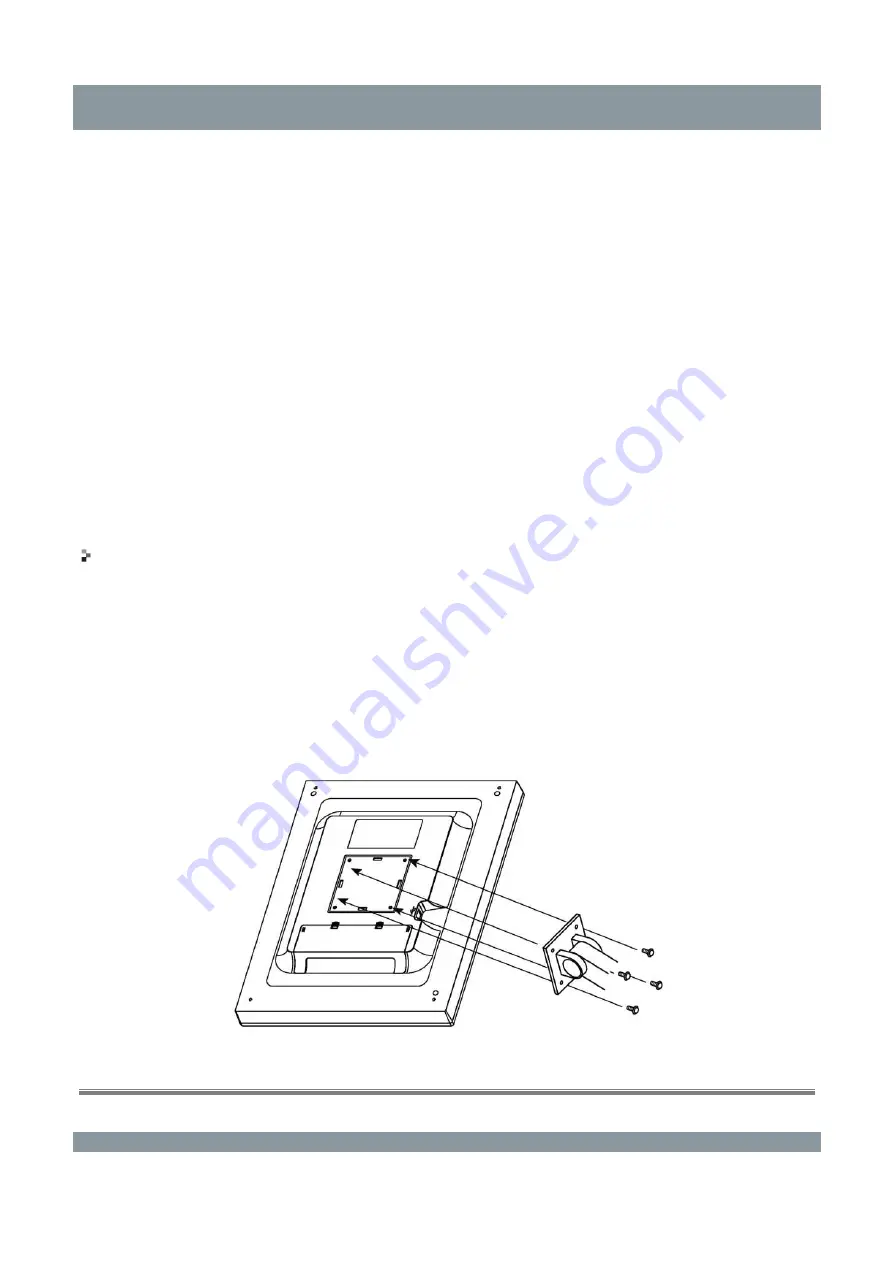
Installation procedure
1)
Place the LCD monitor on a stable bench top covered with a piece of soft cloth, with the panel
surface facing down.
2)
Uninstall the base.
Remove the screw rubber stoppers and unfasten the four fixing screws on the monitor and base by
using a screwdriver.
3)
Install the hanging arm or bracket on the monitor.
Fix the monitor on the hanging arm or base by using the screws specified by the User Guide.
PC Connection
The LCD monitor provides multiple connections to a PC and allows you to switch to any of the
9 | Installation | Hisense Product User Guide |


