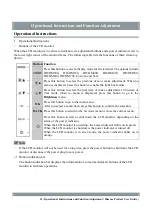
Operational Instructions and Function Adjustment
Menu Adjustment
Main Menu Display
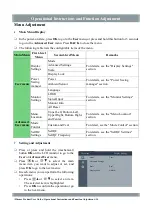
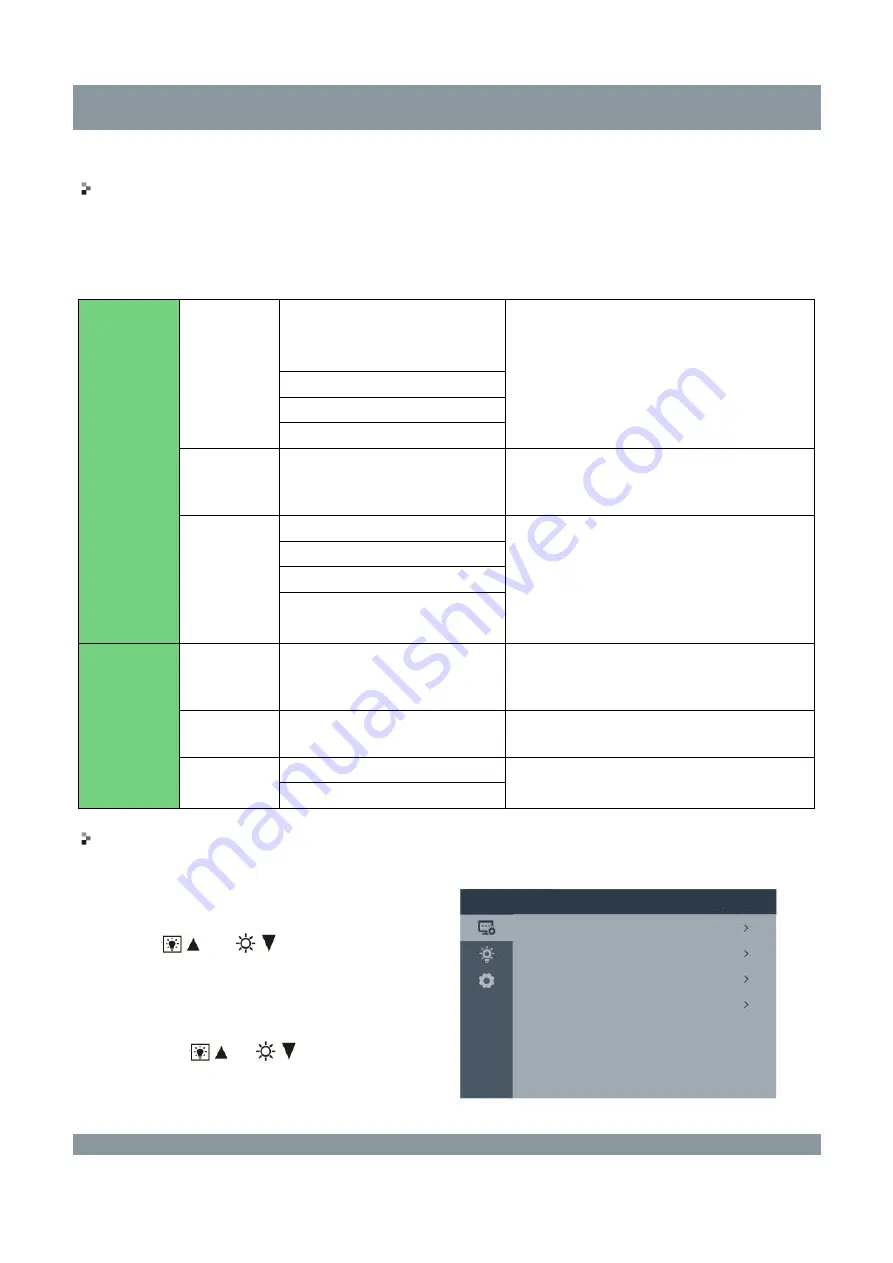
In the power-on state, press
OK
to go to the
User
menu, or press and hold this button for 3 seconds
to go to the
Advanced User
menu. Press
BACK
to close the menu.
The following table lists the configurable items of the menu.
Main Menu
First-level
Menu
Second-level Menu
Remarks
User menu
Display
Settings
Mode
For details, see the "Display Settings"
section.
Advanced Settings
Scale
Display Lock
Power
Saving
manager
Power
For details, see the "Power Saving
manager" section.
Ambient Sensor
Monitor
Settings
Language
For details, see the "Monitor Settings"
section.
LOGO
Signal Input
Monitor Info
All Reset
Advanced
User menu
Menu
Location
Upper Left, Bottom Left,
Upper Right, Bottom Right,
and Center
For details, see the "Menu Location"
section.
Mode
Control
Custom and Text
For detail, see the "Mode Control" section.
SelfQC
Settings
SelfQC
For details, see the "SelfQC Settings"
section.
SelfQC Frequency
Setting and Adjustment
Press or press and hold the (mechanical)
button
OK
on the LCD monitor to go to the
User
or
Advanced User
menu.
Press
or
to select the main
menu item you want to adjust or set, and
press
OK
to go to the next menu.
In each menu, you can perform the following
operations:
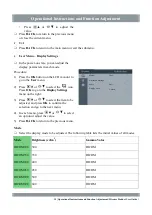
Press
or
to select an item.
The selected item is highlighted.
Press
OK
to confirm the operation or go
to the next menu.
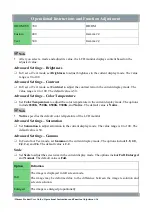
User menu
Display Settings
Mode
Advanced Settings
Scale
Display Lock
Text
Full
Unlock
| Hisense Product User Guide | Operational Instructions and Function Adjustment | 14


