Digital Video Recorder User Manual
106
eSATA usage as data storage and manage the eSATA.
Steps
1. Go to Storage → Advanced.
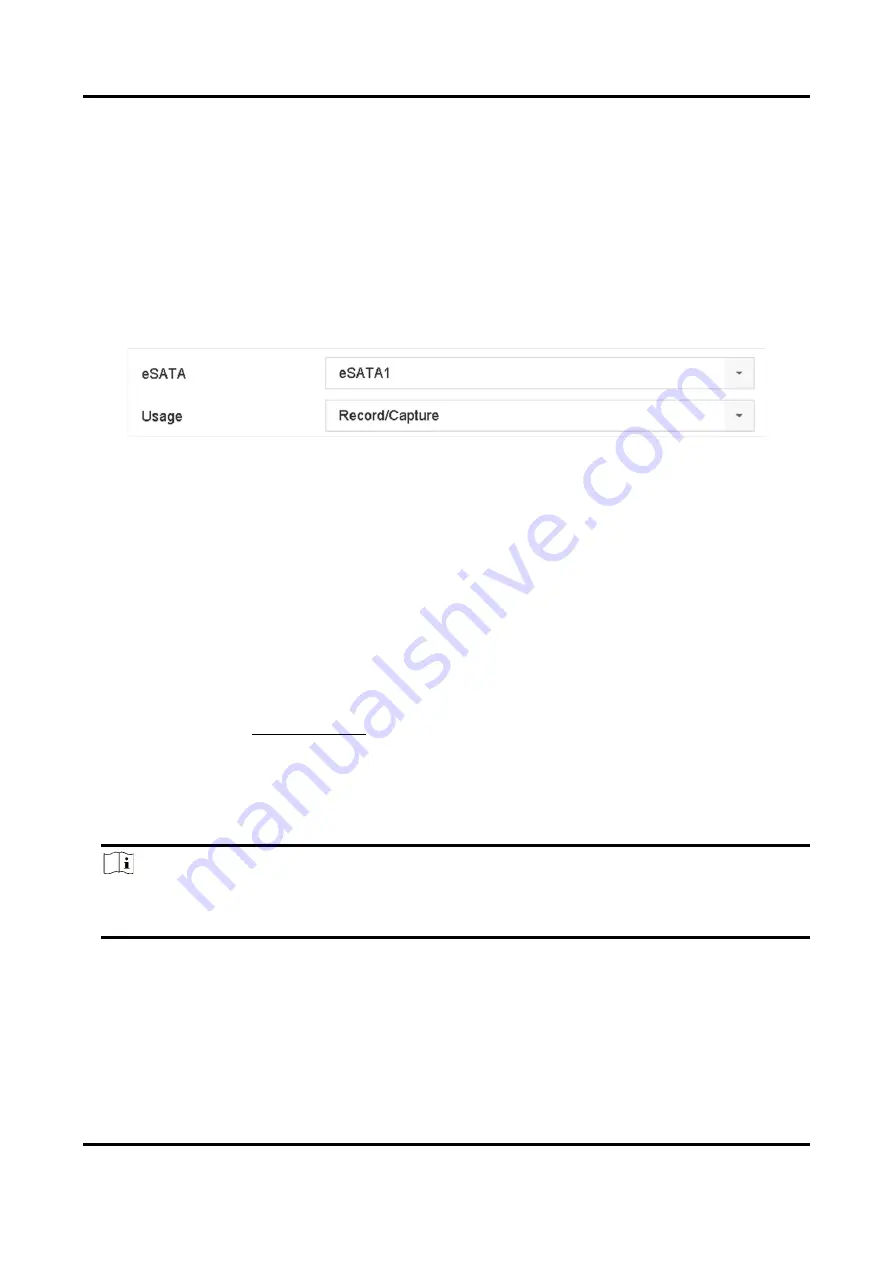
2. Select eSATA Usage as Export or Record/Capture.
Export
Use the eSATA for backup.
Record/Capture
Use the eSATA for record/capture. Refer to the following steps for operating instructions.
Figure 9-4 eSATA Mode
What to do next
If eSATA usage is set as Record/Capture, enter the storage device interface to edit its property or
initialize it.
Configure eSATA for Auto Backup
If you made an automatic backup plan, the video recorder will back up the local videos of 24 hours
ahead of the backup start time to eSATA.
Before You Start
Ensure the device has correctly connected with an external eSATA hard drive, and its usage type is
set as Export. Refer to Manage eSATA for details.
Steps
1. Go to Storage → Auto Backup.
2. Check Auto Backup.
3. Set the backup start time in Start Backup at.
Note
If the day experiences a failed backup, the video recorder will back up the videos 48 hours
ahead of the backup start time in the next day.
4. Select channels for backup.
5. Select Backup Stream Type as your desire.
6. Select Overwrite type.
–
Disable: When HDD is full, it will stop writing.
–
Enable: When HDD is full, it will continue to write new files by deleting the oldest files.
7. Click Apply.
Summary of Contents for DS-7204HQHI-K1
Page 1: ...Digital Video Recorder User Manual ...
Page 184: ...UD30030B ...


