2 • COATS 1000/1000D Wheel Balancer
Installation and Setup
A factory trained COATS
®
Service Technician must perform the
install, setup, and initial test procedures on your balancer. Do
not attempt to install and setup the unit yourself. Accurate and
reliable operation of your unit depends on proper installation.
Please contact COATS
®
directly at 1-800-688-9240 for the
Certified Service Partner nearest you.
Floor and Space Requirements
The balancer must be located on a flat floor of solid construc-
tion, preferably concrete. The balancer must sit solidly on its 3
feet. If the balancer is not level, does not sit solidly on its 3 feet,
or is placed on an unstable floor, the balancer will not function
properly and will produce inaccurate balance readings.
The balancer is not designed to be bolted down, nor will it
function properly if left on the pallet.
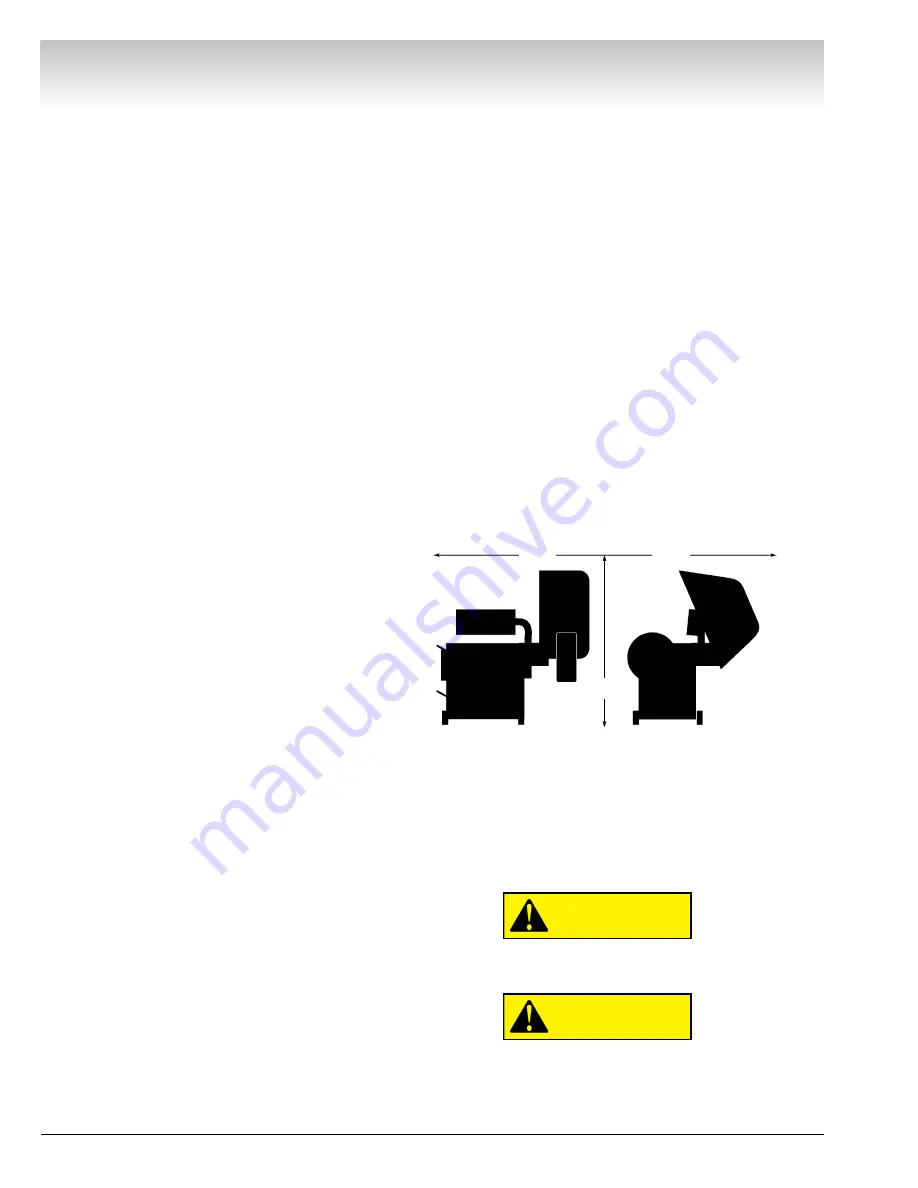
Select a location for the balancer that provides a level, solid
floor, and adequate clearance around and above the balancer
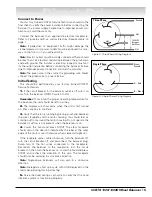
(Figure 1). Make sure the location selected has enough room
above and behind the unit so the hood can be raised completely.
The location must also provide working room for mounting and
removing wheels.
Unpack and Setup the Unit
1.
Remove the carton from the pallet.
2.
Remove the shipping bolts in the three support feet.
3.
Cut the strap holding the hood in shipping position.
Do not use the control pod, control pod arm, face-
plate, hood or stub shaft to lift the balancer.
Use help to remove the balancer from the pallet. The
unit is heavy and the weight is not evenly distrib-
uted. Dropping the unit may cause personal injury or
equipment damage.
CAUTION
CAUTION
Direct Drive
Features
• Exclusive Direct Drive System - No Belts
or Pulleys
• Single-Spin Balancing
• Vertical Wheel Mounting
• Hood Safety Interlock System
• Extended Mounting Flange for Deeper
Wheels
• Removable Center Shaft for Closed Center
Wheels and Combi-Adapter Mounting
• Dynamic, Static, RV, Match Mount, and
four Alloy Balancing Modes
• Adjustable Control Panel
- Scratch and Solvent Resistant
- Large, Bright Digital Displays
- Easy-to-Read Position Indicators
- Large Keypad for Data Entry
- Easily Repositioned for Best Visibility
- Electronics Isolated from Motor Heat
- Automatic Memory and Program Check
• Operator A/B
• Automatic Data Entry for Offset and
Diameter
• Self-Calibrating
• Wheel Weight Bins - Standard, Custom,
and Tape-A-Weight
• Four Storage Pegs for Accessories
• Convenient Cone and Hub Nut Storage in
Top Tray
• "No Bolt-Down" Installation
• Side Storage Tray for Extra Wheel Weights
• Solid State Motor Control
Figure 1 - Space Requirements
6 Ft.
6 Ft.
7 Ft.


