COATS 1000/1000D Wheel Balancer • 13
Balancing a Wheel
Procedure
The following steps walk through the balancing procedure.
Do not proceed with these instructions until you have read
and understand the previous sections of this guide (mount-
ing, balance modes, and reading the displays).
1.
Turn the balancer on. The power switch is on the rear of
the unit, near the top and to the operator's left.
Note:
When turned on, the balancer will activate the same
options that were selected when it was last turned off (hood
start, ounce/gram, etc.).
2.
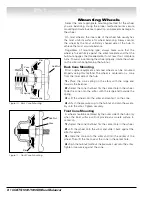
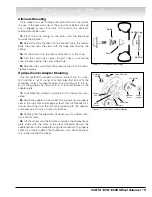
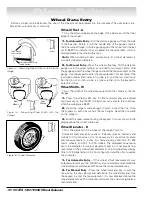
Mount the wheel to be balanced. Use the proper
mounting method as described on pages 6 and 7. Always
remove any weights attached to the wheel.
3.
Enter the wheel measurements and select balancing
mode.
4.
Set options (hood start, ounce/gram, operator A/B).
5.
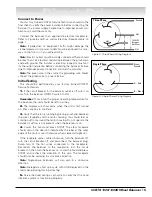
Lower the hood and press START. The wheel will spin
and then brake to a stop.
Note:
Spin will start automatically when the hood is low-
ered if the hood start option is turned on.
6.
Raise the hood.
7.
Rotate the wheel until the outer position LEDs flash.
8.
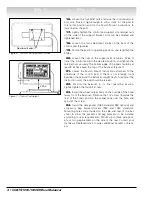
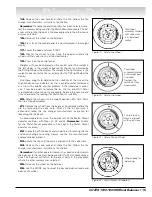
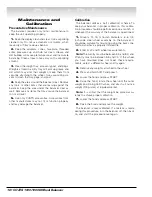
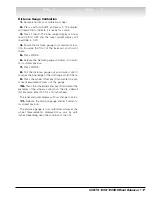
Attach the weight specified in the proper location at top-
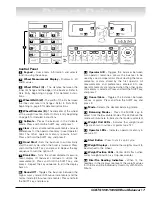
dead-center. Refer to the diagrams on the control panel for
weight locations.
9.
Rotate the wheel until the inner position LEDs flash.
10.
Attach the weight specified in the proper location at
top-dead-center. Refer to the diagrams on the control panel
for weight locations.
11.
Lower the hood and press START to respin the wheel.
The wheel will brake to a stop. The weight displays should
now read 0.00. If not, refer to page 11, Checking the Balance
for assistance.
Remember:
The more accurate you are in selecting and
positioning the weight, the more often you will balance
wheels with a single spin.
Changing Wheel Information During Balancing
The information entered into the balancer for A, W, and D
can be changed at anytime during the balancing procedure.
Follow the instructions provided earlier for entering the
measurements manually. The balancer will recalculate
weights and positions based on the new measurements.
Changing Balancing Modes During Balancing
The balancing mode can be changed at anytime and the
balancer will recalculate weight and position based on the
new selection. Does not apply when switching to and from
Match Mount.
Checking the Balance
After applying the weights indicated by the balancer, respin
the wheel. The displays should read 0.00.
If the balancer indicates an additional weight should be
applied in the same location as the first weight, the first
weight is too small. Correct the first weight and respin.
If the balancer indicates an additional weight should be
applied directly opposite the first weight, the first weight is
too big. Correct the first weight and respin.
If the balancer indicates an additional weight should be
applied at an angle to the first weight, the first weight was
not applied in the correct position. Move the first weight
towards the position indicated for the second weight or add
the second weight as indicated.
After Balance Vibration Problems
If vibration is still present after balancing the wheels and
driving the vehicle on smooth pavement remove the wheels
and recheck the balance. If a wheel is out of balance the
cause may be:
1.
A weight has come off the wheel. Remove the other
weights from the wheel and rebalance.
2.
Tire slippage on the wheel. Remove and remount the
tire using proper tire lubricant and inflate to 40 PSI. Do not
over-inflate. Rebalance the wheel and reduce air pressure to
recommended PSI.
3.
Stones or other foreign objects caught in the tire tread.
Remove the objects and repair tire as necessary. Check and
rebalance if needed.
If the balancer still indicates the wheels are balanced to
within 0.05 ounces on both inner and outer displays, the
problem is not in the balance of the wheels. Check the fol-
lowing possible sources of vibration:
1.
Tire pressure. Bring all tires up to the recommended PSI.
2.
Radial or lateral runout in the tire or wheel. Replace the
damaged part.
3.
Foreign material inside the tire. Remove the tire from
the wheel, remove the material, and remount. Remove
wheel weights and rebalance the wheel.
4.
Imbalanced wheel covers or trim rings. Remove the
wheel covers or trim rings and test drive. If the vibration is
gone, remove the arbor and use the optional Combi-Adapter
to mount the wheel to the balancer. Balance the wheel with
the wheel cover or trim ring attached to the wheel.
5.
Incorrectly mounted wheel. Remount correctly.
6.
Damaged wheel bolt holes. Replace wheel.
7.
Worn universal joints. Replace as required.
8.
Drive shaft imbalanced or damaged. Balance, repair, or
replace.
9.
Imbalanced brake rotor(s) or drum(s).
10.
Suspension out of alignment. Align the vehicle and
replace any damaged or worn parts.
Direct Drive

