Helvar Service Kit: Installation and Set-Up Guide
2
Follow these steps to install and set up Helvar’s Service Kit package:
1. Install the Helvar Cloud Gateway. For details, see section 3 on page 2.
2. Configure the router network and the workgroup. For details, see section 4 on page 7.
3. Connect to Helvar Cloud Platform. For details, see section 5 on page 8.
4. Install the TOSIBOX
®
Lock 100. For details, see section 6 on page 8.
5. Serialise the TOSIBOX
®
Key 200. For details, see section 7 on page 10.
6. Set up the IP address of the VPN adapter. For details, see section 8 on page 10.
7. Set up the IP address of the TOSIBOX
®
Lock 100. For details, see section 9 on page 12.
8. Connect the TOSIBOX® Lock 100 to the internet. For details, see section 10.
9. Connect the lighting router network to the TOSIBOX
®
Key 200. For details, see section 11 on page 15.
10. Test the VPN connection. For details, see section 12 on page 16.
1. Overview
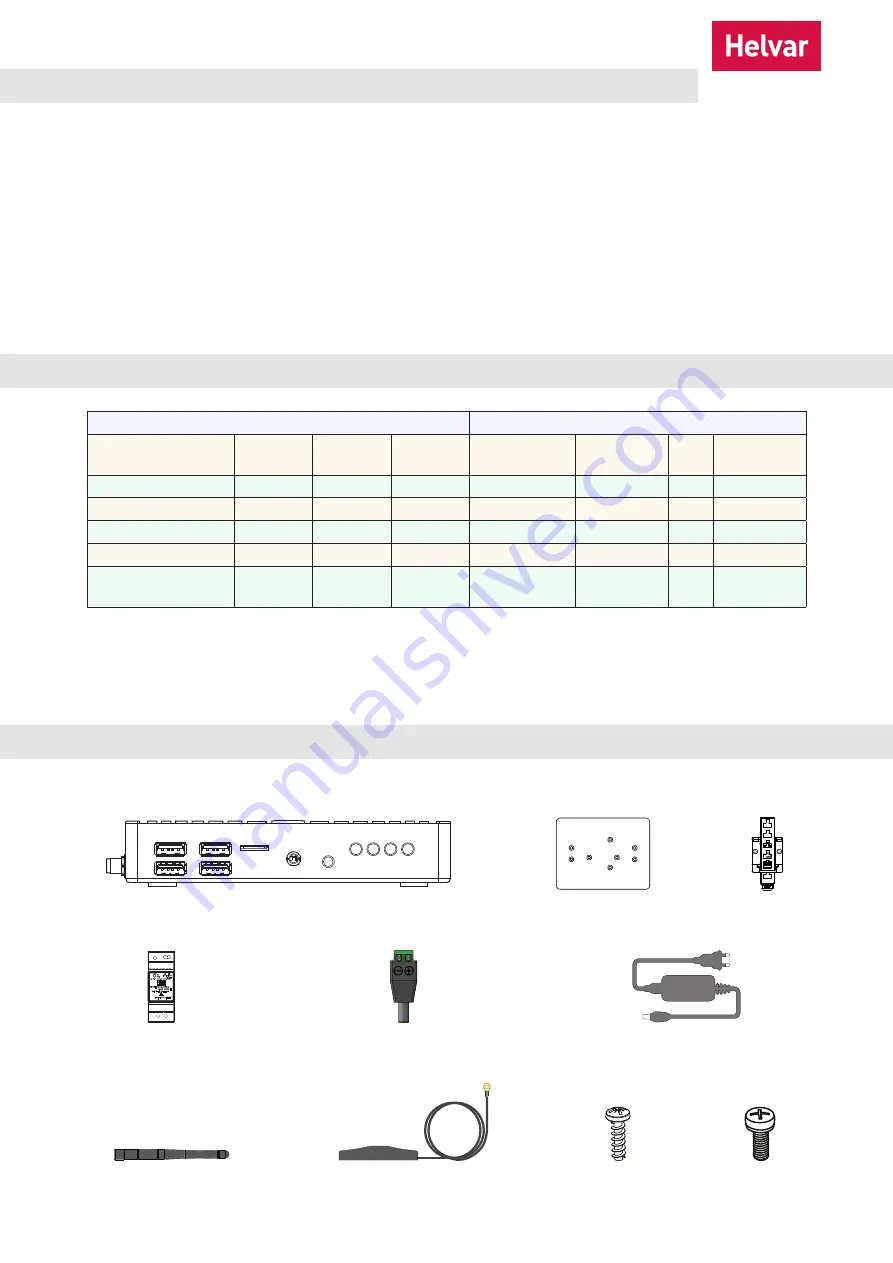
HDR-30-12 PSU
DC feed plug
12 VDC AC/DC
power adaptor
3. Install the Helvar Cloud Gateway
Package contents (HCG1TBLK KIT, HCG1TBL KIT and HCG1 KIT)
Helvar Cloud Gateway
DIN-rail
mounting plate
DIN-rail
mounting clip
Wi-Fi antenna
Antenna extension
with magnetic base
Screws (2)
Washer screws (2)
2. DIN-Rail spacing requirements
* If Wi-Fi is used, place the units in such a way that interference between antennas is minimised. Do not place them in
close proximity.
** The TOSIBOX® Key 200 is a USB device that requires temporary connection to the TOSIBOX
®
Lock 100 during setup only.
It does not require permanent DIR-Rail space.
KIT
Dimensions
Kit Description
Starter
Next Site
Site
Expansion
(L / W / D) mm Unit size
Note Antenna
incl.
HCG
✓
✓
✓
108 / 140 / 28
8
*
W 180 mm
TOSIBOX
®
Lock 100
✓
✓
99 / 132 / 35
8
*
W 165 mm
TOSIBOX
®
Key 200
✓
78 / 21.5 / 9
4
**
PSU 12 V 30 W (HCG)
✓
✓
✓
90 / 35 / 58
2
PSU 24 V 10 W
(TOSIBOX
®
Lock 100)
✓
✓
91 / 18 / 57
1


