background image

- 4 - 


INITI AL SETUP 


I

MPORTANT

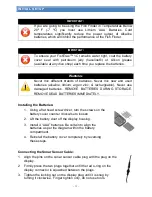
If you are going to be using the Fish Finder in Temperatures Below 
20º F 

(-7 ºC) 

you must use Lithium ‘AAA’ Batteries. Cold 

temperatures significantly reduce the power output of Alkaline 
batteries, which will inhibit the performance of the Fish Finder. 


I

MPORTANT

To ensure your FishTrax™  1C  remains water tight, coat the battery 
cover  seal  with petroleum jelly 

(Vaseline®)

  or silicon grease 

(available at any dive shop) 

each time you replace the batteries


W

ARNING

Never mix different brands of batteries. Never mix new and used 
batteries 

(alkaline, lithium, argon zinc, & rechargeable). 

Never use 

damaged batteries. REMOVE BATTERIES DURING STORAGE. 
REMOVE DEAD BATTERIES IMMEDIATELY. 


Installing the Batteries: 

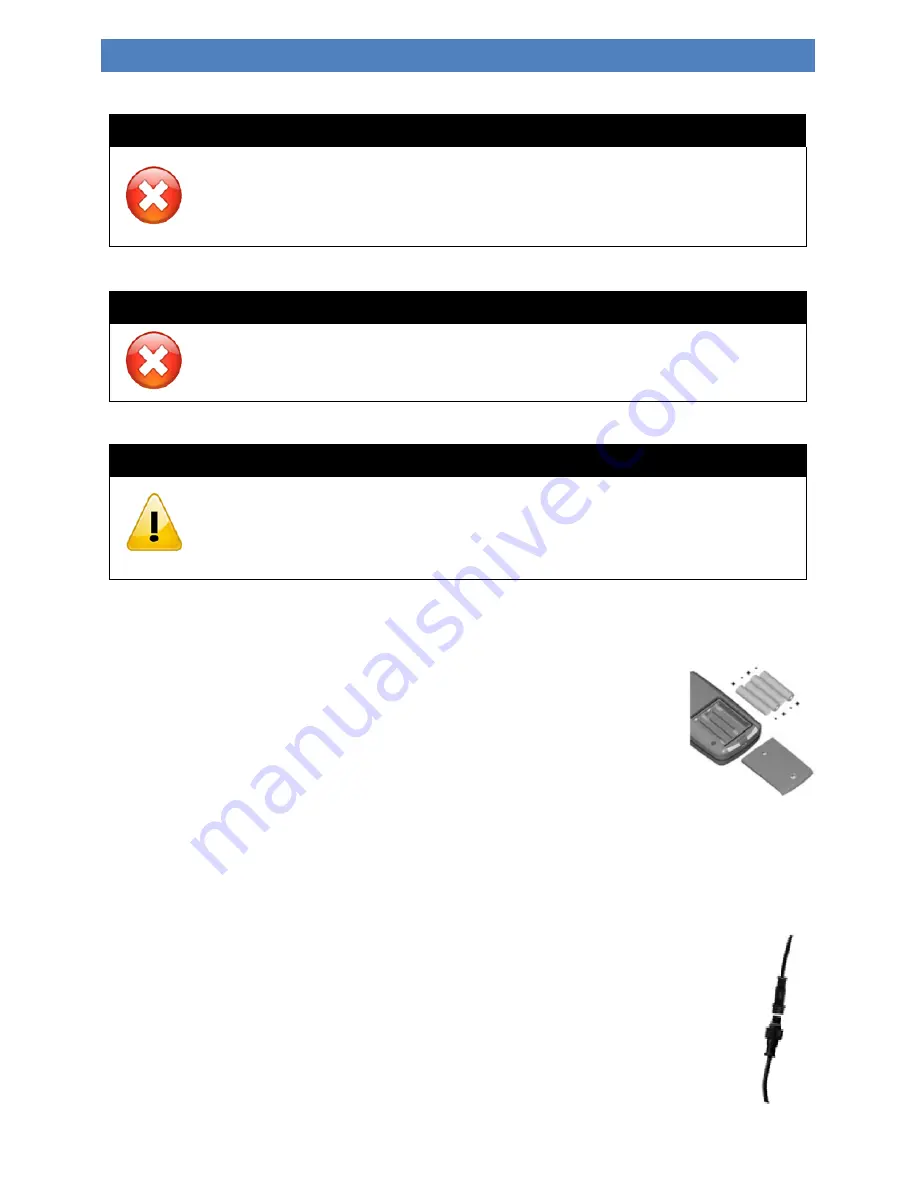
1.  Using a flat head screw driver, turn the screws on the 

battery cover counter clockwise to loosen. 

2.  Lift the battery door off the display housing. 

3.  Install 4 “AAA” batteries. Be certain to align the 

batteries as per the diagram within the battery 
compartment. 

4.  Reinstall the battery cover completely by reversing 

these steps.  


Connecting the Sonar Sensor Cable: 

1.  Align the pins on the sonar sensor cable plug with the plug on the 

display. 

2.  Firmlly press the two plugs together until the red o-ring on the 

display connector is squashed between the plugs. 

3.  Tighten the locking nut on the display plug until it is snug by 

turning it clockwise.  Finger tighten only, do not use tools. 

Summary of Contents for FishTrax FT1PXC

Page 1: ...ansducer The sonar sensor acting first as a speaker emits these sound waves as a series of pulses Then microseconds later the sonar sensor switches to a microphone and listens for the return of the pu...

Page 2: ...ou how to avoid it NOTICE Indicates important information that helps you make better use of the device and tells you how to correct a performance problem INFORMATION Indicates resources to obtain the...

Page 3: ...with Integrated Harness and Cable Strap Sonar Sensor Float with Rubber Stopper If any items are missing or damaged please contact our customer service department FISHING PLATFORM CONFIGURATION NOTICE...

Page 4: ...ever use damaged batteries REMOVE BATTERIES DURING STORAGE REMOVE DEAD BATTERIES IMMEDIATELY Installing the Batteries 1 Using a flat head screw driver turn the screws on the battery cover counter cloc...

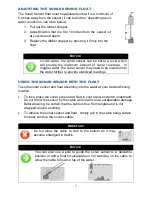
Page 5: ...stabilized readings USING THE SONAR SENSOR WITH THE FLOAT Toss the sonar sensor and float assembly into the water at your desired fishing location To toss place the sonar sensor and float in your hand...

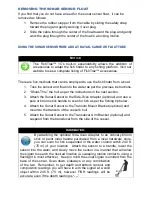
Page 6: ...an Adapter optional and use a pole or broom stick handle to scan for fish as per the fishing tip below 4 Attach the Sonar Sensor to the Transom Mount Bracket optional and mount to the transom of the v...

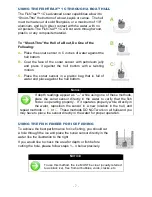
Page 7: ...t the hull bottom NOTICE If depth readings appear as while using one of these methods place the sonar sensor directly in the water to verify that the fish finder is operating properly If it operates p...

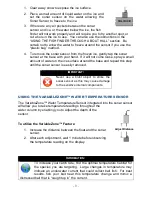
Page 8: ...repeat this step until the sonar sensor is easily removed USING THE VARIABLEZONE WATER TEMPERATURE SENSOR The VariableZone Water Temperature Sensor integrated into the sonar sensor will allow you to t...

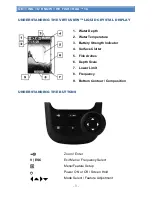
Page 9: ...2 Water Temperature 3 Battery Strength Indicator 4 Surface Clutter 5 Fish Arches 6 Depth Scale 7 Lower Limit 8 Frequency 9 Bottom Contour Composition UNDERSTANDING THE BUTTONS V ESC Zoom Enter Exit M...

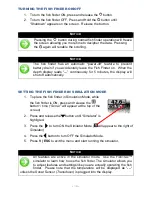
Page 10: ...atically SETTING THE FISH FINDER IN SIMULATION MODE 1 To place the fish finder in Simulation Mode while the fish finder is ON press and release the button 1 time Sonar will appear at the top of the sc...

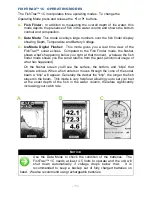
Page 11: ...ent whereas the fish finder mode shows you the sonar returns from the past a historical image of what has happened On the flasher screen you ll see the surface the bottom and blips that indicate echoe...

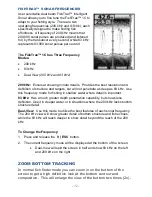
Page 12: ...or fishing in shallow water where detail is important 83 kHz Has a much greater depth penetration capability but shows less definition Use it in deeper water or in situations where the 200 kHz lacks b...

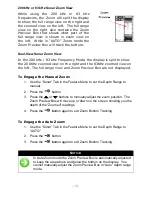
Page 13: ...t The full range view and Zoom Preview Box are not displayed To Engage the Manual Zoom 1 Use the Sonar Tab in the Feature Menu to set the Depth Range to manual 2 Press the button 3 Press the or button...

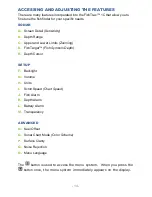
Page 14: ...nd Lower Limits Zooming D FishTarget Fish Symbols Depth E Depth Cursor SETUP F Backlight G Volume H Units I Scroll Speed Chart Speed J Fish Alarm K Depth Alarm L Battery Alarm M Transparency ADVANCED...

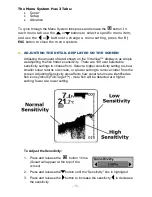
Page 15: ...tivity There are 100 user selectable sensitivity settings to choose from Select a higher sensitivity setting to show smaller sonar returns on screen or a lower setting to remove clutter from the scree...

Page 16: ...e As the Fish Finder s sensitivity is elevated a broader view and smaller details show on the screen But with a broader and stronger view comes more clutter and debris The clearer the water the less s...

Page 17: ...se the button 1 time Sonar will appear at the top of the screen 2 Press and release the button until the Upper Limit box is highlited 3 Press and release the button to increase the Upper Limite to but...

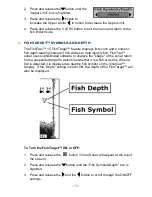
Page 18: ...p identify fish FishTrax sonar uses sophisticated software to analyze the shape of the sonar return from a suspended target to determine whether it is a fish or debris When a fish is detected it is di...

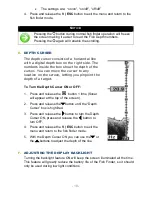
Page 19: ...ou pinpoint the depth of a target To Turn the Depth Curser ON or OFF 1 Press and release the button 1 time Sonar will appear at the top of the screen 2 Press and release the button until the Depth Cur...

Page 20: ...p will appear at the top of the screen 2 Press and release the button until the Volume box is highlited 3 Press and release the button to increase the Volume or the to button to decrease the Volume 4...

Page 21: ...Slowing the Scroll Rate will help to conserve battery life To Adjust the Display Scroll Speed 1 Press and release the button 2 times Setup will appear at the top of the screen 2 Press and release the...

Page 22: ...r the targeted species K SHALLOW WATER DEPTH ALARM When turned on the FishTrax 1C s shallow water alarm will notify you of shallow water by sounding an audible alarm and flashing Depth Alarm on the di...

Page 23: ...highlited 3 Press and release the button to increase the voltage or the to button to decrease the voltage The Battery Alarm can be set from 4 0V to 6 0V 4 Press and release the V ESC button to exit t...

Page 24: ...depth will be displayed as 2 feet 6 M indicating to the operator that there is 2 6 M feet of safe operating water The maximum Keel Offset setting is 20 FT 6 1 M and can be set in 1 1 10th Feet or Mete...

Page 25: ...g the more surface clutter will be displayed To Adjust the Color Scheme 1 Press and release the button 3 times Advanced will appear at the top of the screen 2 Press and release the button until the Su...

Page 26: ...ng in close proximity to the FishTrax 1C R MENU LANGUAGE The Language setting selects the display language for the Menus To Adjust the Menu Language 1 Press and release the button 3 times Advance d wi...

Page 27: ...nd through water is about 4800 feet per second Fish rocks logs weed debris the bottom etc all echo the pulse at a different intensity A built in computer then organizes all of this information and sho...

Page 28: ...re that you are pointing the sonar sensor perpendicular to the water when trying to obtain depth readings Extremely heavy vegetation may confuse the sonar of the fish finder causing it to misinterpret...

Page 29: ...rare occurrence that you need to send your product in for service Complete the information below and store this manual in a safe place You can print additional copies of this manual from our website I...

Page 30: ...WARNING 2015 NorCross Marine Products Inc All Rights Reserved ALL unauthorized copying of the content of this document without the expressed written consent of NorCross Marine Products Inc is strictly...

Page 31: ...31...

Page 32: ...32...

Reviews:

Related manuals for FishTrax FT1PXC