28
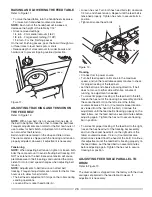
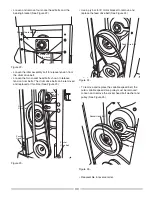
• Place the end of the belt between the clamp and drum
and tighten the socket head bolt in the clamp.
NOTE:
The drum body is spring-loaded between the drum
and end pieces. Use this feature to stretch belt tightly and
then secure belt in clamp.
• Close drum cover and secure by tightening socket head
bolt.
FEED BELT REPLACEMENT
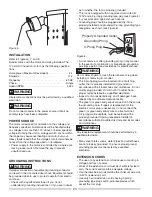
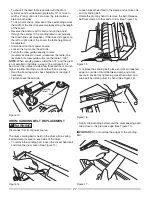
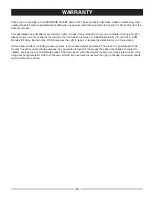
Refer to Figure 18.
• Disconnect tool from power source.
• Position table approximately halfway between drum and
base.
• Loosen and remove the socket head bolts from the two
outboard elevating screws.
• Relieve the tension on the belt; refer to “Adjusting
Tracking and Tension of Feed Belt” in the manual.
• Lift table and slide feed belt off table. Place new feed
belt on table. Apply tension to belt.
• Secure table by tightening the socket head bolts on the
elevating screws.
• Adjust tension and tracking; refer to “Adjusting Tracking
and Tension of Feed Belt” in the manual.
RETURN ROLLER
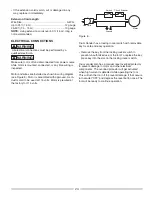
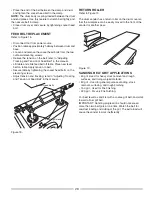
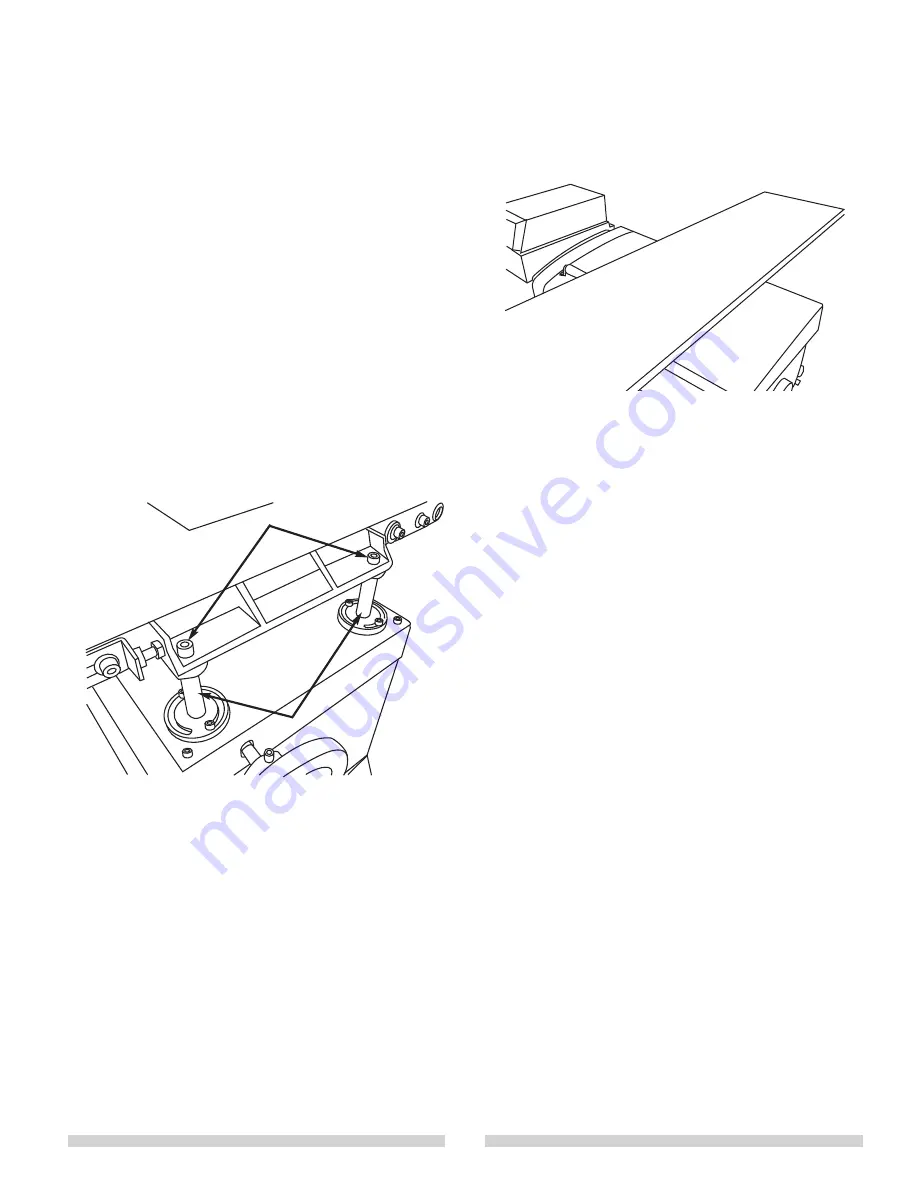
Refer to Figure 19.
The drum sander has a return roller on the drum cover so
that the workpiece can be easily moved to the front of the
sander for another pass.
SANDING BELT GRIT APPLICATIONS
• 60 grit -Used for heavy stock removal and rough
surfaces, and truing warped material.
• 80 grit - Used for general purpose sanding, stock
removal, surfacing, and rough finishing.
• 150 grit - Used for fine finishing.
• 220 grit - For very fine finishing.
For best results, sand first with a coarse grit belt, and work
toward a finer grit belt.
IMPORTANT: Sanding progression should not exceed
more than two belt grits at one time. Watch the belt for
sawdust loading and dulling of the grit. The extra load will
cause the sander to work inefficiently.
Elevating Screws
Socket Head Bolts
Figure 18 -
Figure 19 -


