62
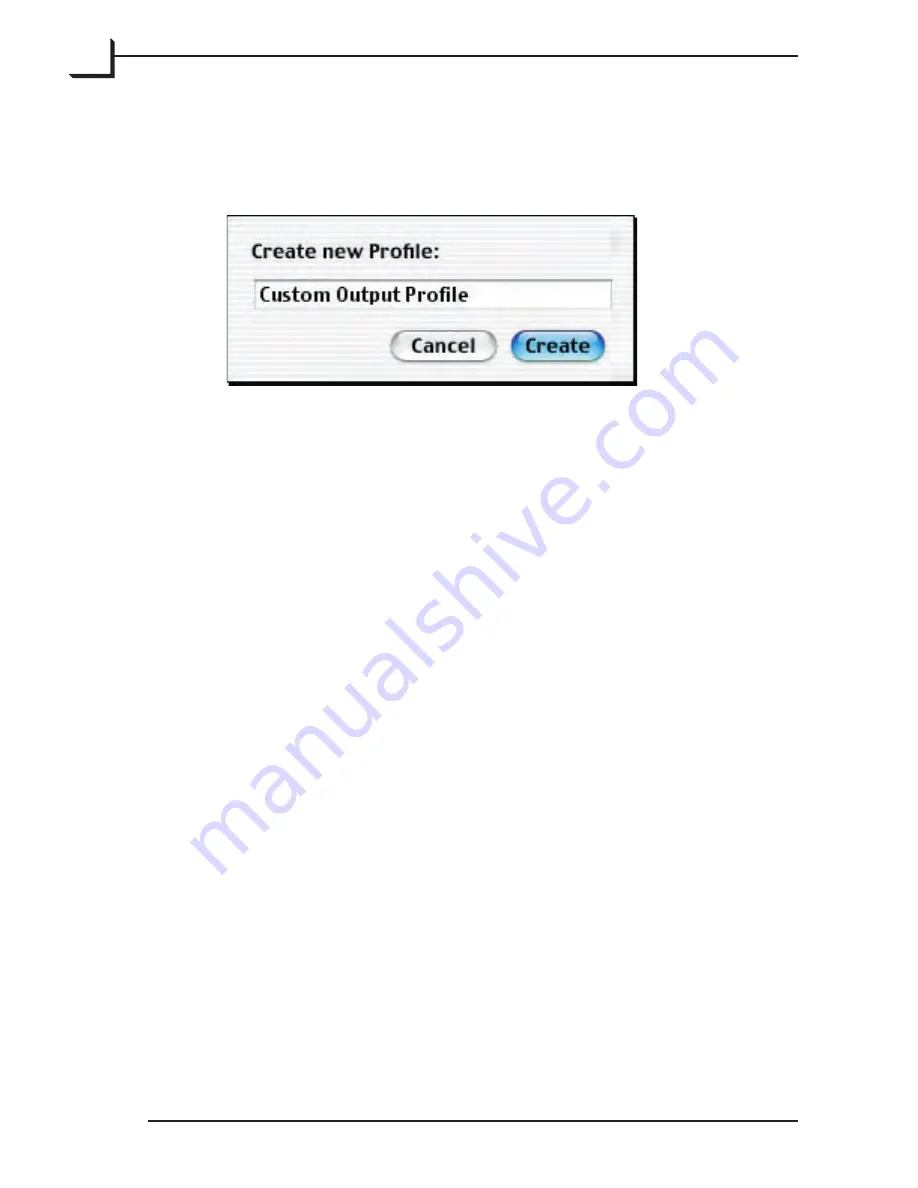
5. We recommend that you save your edited profile using a new name, so
click on the
Save as...
button. The
Create new Profile
window appears.
Type a name for your edited profile and click on the
Create
button.
6. Return to the
Output Profile
window. It shows the output values
applied in the final separated file for each color at each of four
brightness (neutral-gray) levels (0%, 5%, 50%, and 100%). By
adjusting these levels, you are able to control how colors will appear
in your output. For example, if your prints look too yellow in the
highlights, then you could turn down the Y value for 0% and/or 5%
values. In many cases, this is all the level of detail you will need.
7. The
Dot Gain Compensation
setting compensates for the default
dot-gain setting of the existing profile. The setting is relative, and can
be positive or negative. Generally, this value varies from printer to
printer. Finding the correct setting will require some trial and error.
8. If you need to make even more detailed adjustments, then click on the
triangle next to the
Advanced
heading.
Summary of Contents for Flextight X1
Page 1: ...User Manual Flextight X5 X1 English v 1 3 ...
Page 15: ...PRESS PULL OUT PULL OUT PRESS A B D C E G H F A 15 ...
Page 18: ... CE Declaration of conformity 18 ...
Page 19: ... CE Declaration of conformity 19 ...
Page 21: ...Software Reference FlexColor 4 0 for Flextight Scanners by Hasselblad Imacon ...
Page 26: ...6 ...
Page 32: ...12 ...
Page 40: ...20 ...
Page 50: ...30 ...
Page 84: ...64 ...
Page 98: ...78 ...
Page 112: ...92 ...
Page 126: ...106 ...
Page 134: ...114 ...
Page 148: ...128 ...
Page 149: ...129 ...


