Chapter 3: NVR Web Interface Configuration Options
26
N6123 NVR User Manual
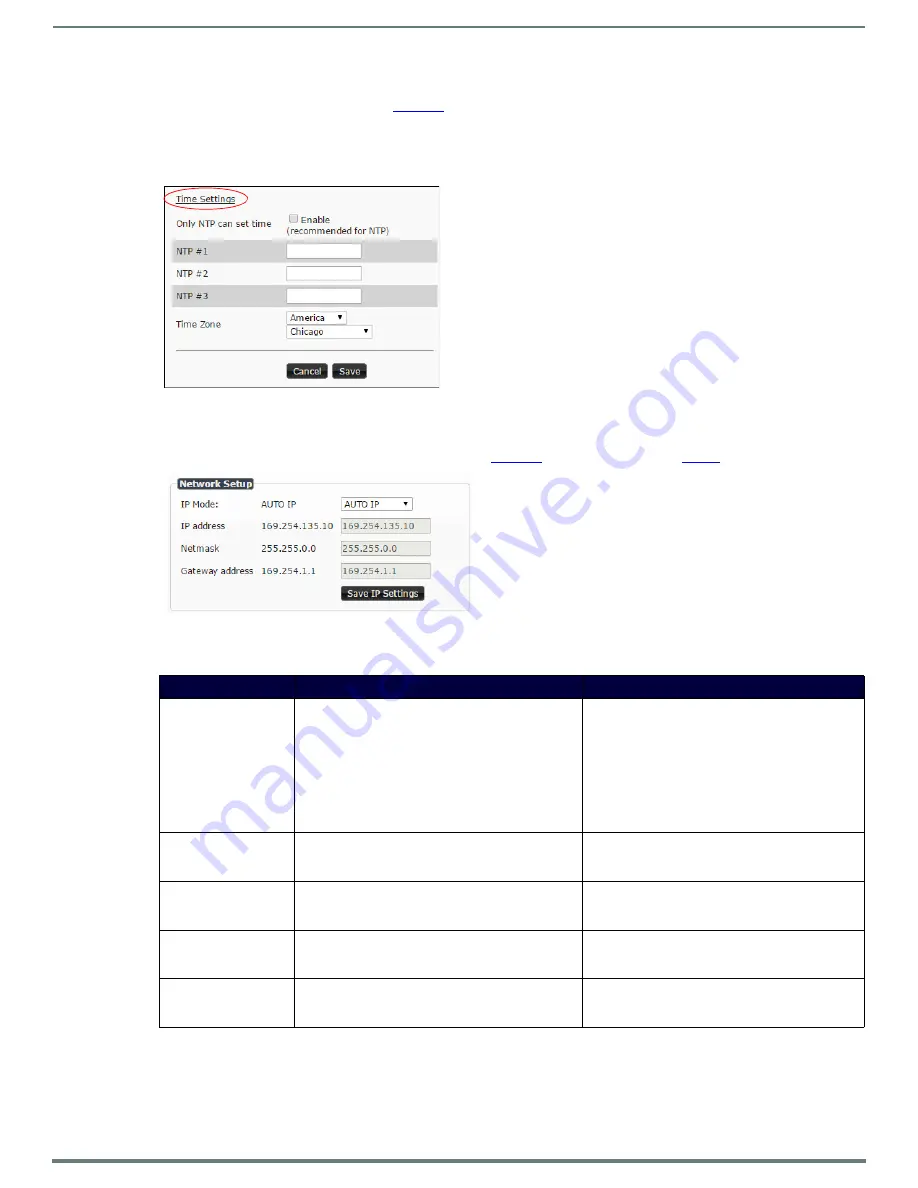
Time Settings
The section of the
Settings
is displayed when you click the
Time Settings
link. Use this section to specify
Network Time Protocol (NTP) servers and the time zone. This information is used to provide accurate stream time stamping.
NOTE:
The NVR can accept a time change command. However, if you want the device to ignore them, check the Only NTP can set time
(Enable) box. This is recommended if using NTP.
FIG. 20
Time Settings Section
Network Setup Section
The
Network Setup
section of the
Settings
page is shown in
. Options are described in
.
FIG. 21
Network Setup Section
TABLE 5
Settings Page: Network Setup Section
Option
Description
Notes
IP Mode
Configure the IP address mode. When set to
AUTO IP
,
an IP Address in the range of 169.254.xxx.xxx with
Netmask
of 255.255.0.0 and
Gateway
address
of
169.254.1.1 will be automatically assigned to the
N6123 NVR by the control software. When set to
DHCP
,
an IP Address in the range of the DHCP server on the
network will be automatically assigned to the N6123
NVR. When set to
STATIC
, an
IP address
,
Netmask
, and
Gateway
address
must be manually entered.
DHCP
is the default setting. However, using
DHCP
beyond initial setup is generally not recommended. If
the device is set to
DHCP
and fails to receive an
address from the DHCP server in time, it will revert
back to the
AUTO
IP
Address (169.254.xxx.xxx) until
the unit is rebooted.
IP address
View the current IP address of the N6123 NVR. When in
STATIC
mode, you may enter a new IP address into this
field.
Netmask
View the current
Netmask
of the N6123 NVR. When in
STATIC
mode, you may enter a new
Netmask
into this
field.
Gateway address
View the current
Gateway address
of the N6123 NVR.
When in
STATIC
mode, you may enter a new
Gateway
address
into this field.
Save IP Settings
Click to initially save IP address changes. Once you log
in to the unit using the new address, you will be able to
confirm and accept the changes permanently.


