


33
OPERATION
INDEPENDENT, the AVR 145 will change the speaker size configuration
to the one you programmed for the source. If you selected a surround
mode for the source, the AVR 145 will switch to that mode.
The source name will appear in the upper line of the front-panel display.
If you retitled the source, only the new title will appear. Otherwise, the
audio input assigned to the source (analog or one of the digital audio
inputs) will also appear. The surround mode will be displayed on the
lower line. The same information will also appear on screen in the
semi-OSD, unless you have set the semi-OSD to OFF in the System
Setup menu.
Audio Input Selection
The AVR 145 is programmed at the factory to use the analog audio
inputs for each source (except for the DVD and Video 2 sources, which
default to Coax 1 and Optical 1). To assign a digital audio input to a
source (if you have not done so using the Input Setup menu during
Initial Setup), press the Digital Button on the remote or front panel. The
current audio input selection will flash in the display, and you may press
the
⁄
/
¤
(or
‹
/
›
on the front panel) Buttons to scroll through the
audio inputs. When the desired input appears, press the Set Button to
select it.
Figure 53 – Digital Input Selection
If the Auto Poll feature has been left ON in the Input Setup menu, and if
a digital audio input has been assigned to the source, the AVR 145 will
first check the digital audio input for a signal. If a signal is present, the
AVR 145 will select the digital audio input. If no signal is present, the
AVR 145 will switch to the analog audio inputs for the source.
Video Input Selection
When a source is selected, the AVR 145 switches to a video input
as follows:
The COMPONENT IN line of the Input Setup menu indicates which
of the two component video inputs on the AVR 145 is assigned to
each source. All of the sources listed in the left column of the Source
Indicators display on the front panel are assigned to the Component
Video 2 inputs by default, and the sources listed in the right column
default to the Component Video 1 sources. This list appears in
Figure 54.
Figure 54 – Front-Panel Input Indicators
You may reassign either component video input to another source, but
there is no option to disable the component video inputs for any source.
If a signal is present at the component video input assigned to that
source, it will be selected. If your device is not using component video,
make sure that other devices connected to the component video inputs
are turned off.
If no signal is present at the component video input, then the S-video or
composite video input for the source will be selected. It is not possible
to reassign the S-video or composite video inputs to other sources.
For audio-only sources, such as the tuner or CD inputs, when no
component video signal is present, the last-used video source will be
selected.
6-Channel Direct Inputs
If you wish to hear audio through the 6-Channel Direct Inputs together
with video, then connect your multichannel player to the Component
Video 1 Inputs (the default for the 6-Channel Inputs), and the correct
audio and video inputs will be selected when you select 6CH as your
source. If your multichannel player uses S-video or composite video
connections, you will first need to select the source you connected the
video output to (e.g., DVD), and then select the 6CH source.
Figure 55 – 6-Channel Input Selector
NOTE:
The 6-Channel Inputs pass the incoming signals directly
to the volume control, without digitizing or processing them.
Therefore, you will need to configure bass management settings
(i.e., speaker size, delay and output level) on your source device
so that they match the settings you programmed using the
Manual Setup menu. Consult the owner’s guide for your multi-
channel player for more information.
Using the Tuner
The AVR 145’s built-in tuner may be selected in one of three ways:
1. Press the Source Selector Button on the front panel repeatedly until
the tuner is selected. The last-used band (AM or FM) will be active.
2. Press the Tuner Band Button (marked AM/FM). Press this button
again to switch bands.
3. Press the Tuner Input Selector (marked AM/FM) on the remote. Press
this button again to switch bands.
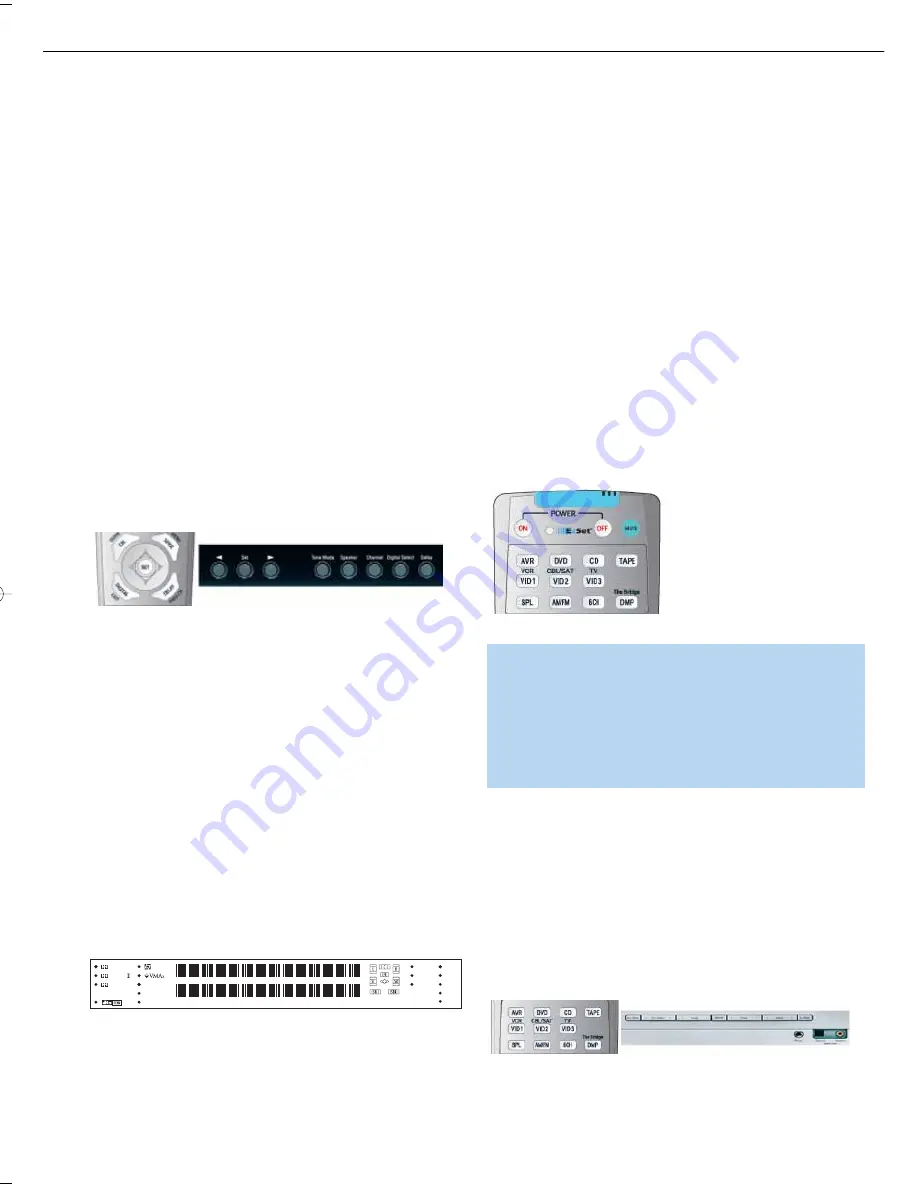
Figure 56 – Tuner Input Selection
DIGITAL
LOGIC 7
VID 1
DVD
CD
FMAM
TAPE
6 8 CH
VID 2
VID 3
PRO LOGIC
3 STEREO
DSP
5 7 CH. STEREO
SURR. OFF
AVR 145 OM (New) 8/4/06 1:19 PM Page 33
24
AVR145
harman/kardon
Summary of Contents for AVR 145
Page 32: ...32 AVR145 harman kardon ...
Page 34: ...34 AVR145 harman kardon ...
Page 35: ...35 AVR145 harman kardon ...
Page 36: ...36 AVR145 harman kardon ...
Page 37: ...37 AVR145 harman kardon ...
Page 38: ...38 AVR145 harman kardon ...
Page 39: ...39 AVR145 harman kardon ...
Page 40: ...40 AVR145 harman kardon ...
Page 41: ...41 AVR145 harman kardon ...
Page 76: ...76 AVR145 harman kardon ...
Page 77: ...77 AVR145 harman kardon ...
Page 78: ...78 AVR145 harman kardon ...
Page 79: ...79 AVR145 harman kardon ...
Page 80: ...80 AVR145 harman kardon ...
Page 81: ...81 AVR145 harman kardon ...
Page 82: ...82 AVR145 harman kardon ...
Page 83: ...83 AVR145 harman kardon ...
Page 84: ...84 AVR145 harman kardon ...
Page 85: ...85 AVR145 harman kardon ...
Page 86: ...86 AVR145 harman kardon ...
Page 87: ...87 AVR145 harman kardon ...
Page 90: ...90 AVR145 harman kardon ...
Page 91: ...91 AVR145 harman kardon ...
Page 92: ...92 AVR145 harman kardon ...
Page 93: ...93 AVR145 harman kardon ...
Page 94: ...94 AVR145 harman kardon ...
Page 95: ...95 AVR145 harman kardon ...
Page 96: ...96 AVR145 harman kardon ...
Page 97: ...97 AVR145 harman kardon ...
Page 98: ...98 AVR145 harman kardon ...
Page 99: ...99 AVR145 harman kardon ...
Page 100: ...100 AVR145 harman kardon ...
Page 101: ...101 AVR145 harman kardon ...
Page 102: ...102 AVR145 harman kardon ...
Page 103: ...103 AVR145 harman kardon ...
Page 111: ...111 AVR145 harman kardon ...
Page 125: ...125 AVR145 harman kardon ...
Page 126: ...126 AVR145 harman kardon ...
Page 128: ...128 AVR145 harman kardon ...
Page 129: ...129 AVR145 harman kardon ...
Page 130: ...130 AVR145 harman kardon ...
Page 142: ...142 AVR145 harman kardon ...
Page 143: ...143 AVR145 harman kardon ...
Page 144: ...3 SCH sch 1 Mon Oct 23 17 10 00 2006 144 AVR145 harman kardon ...
Page 145: ...061023 SCH sch 3 Mon Oct 23 17 22 48 2006 145 AVR145 harman kardon ...
Page 146: ...061011 SCH sch 2 Fri Oct 13 14 43 06 2006 146 AVR145 harman kardon ...
Page 147: ...61011 SCH sch 1 Fri Oct 13 14 42 17 2006 147 AVR145 harman kardon ...
Page 148: ...1023 SCH sch 1 Mon Oct 23 17 28 12 2006 148 AVR145 harman kardon ...
Page 149: ...149 AVR145 harman kardon ...
Page 150: ...23 SCH sch 1 Mon Oct 23 17 14 10 2006 150 AVR145 harman kardon ...
Page 151: ...t 13 11 20 20 2006 151 AVR145 harman kardon ...


