These Instruments are in Compliance with the CE Directives
Instruction Manual
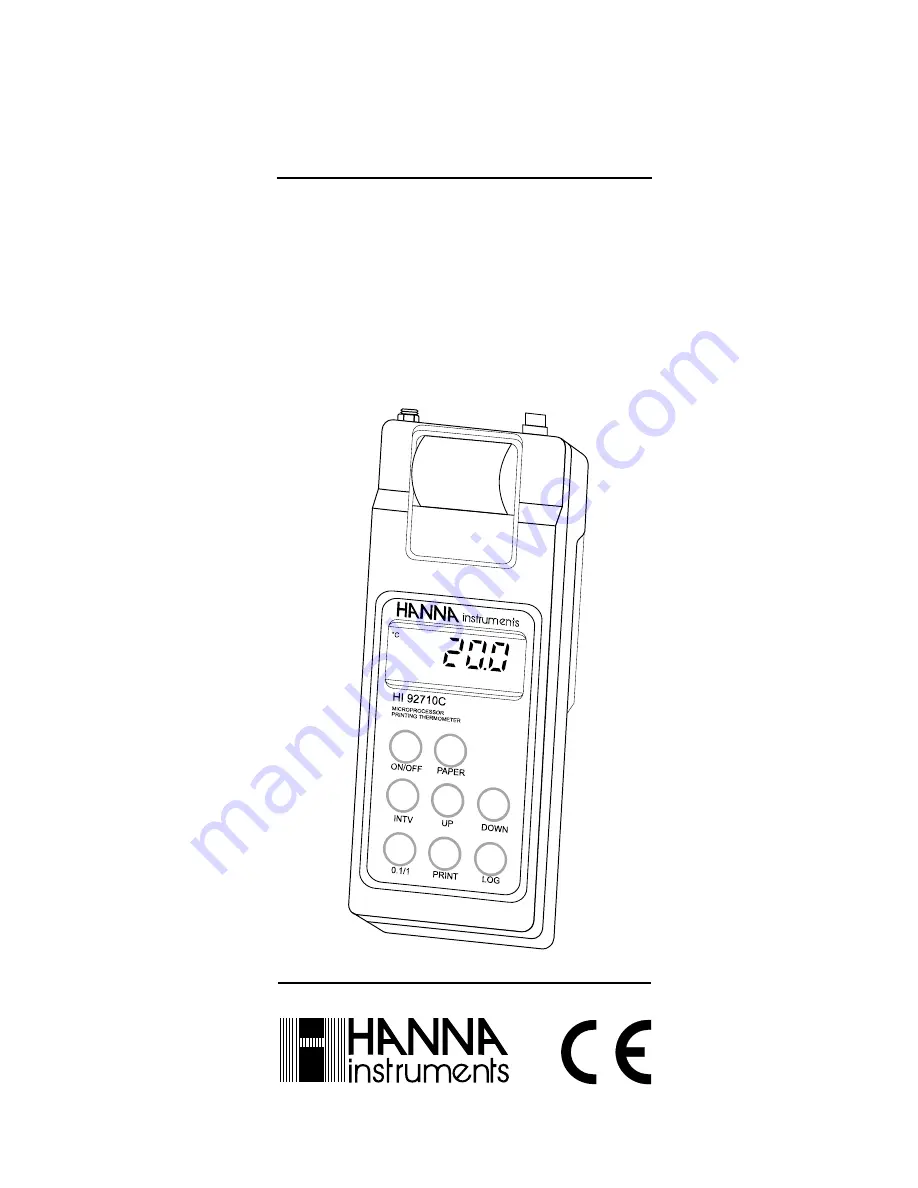
HI 92710 / HI 92740
HI 92810 / HI 92840
Portable Microprocessor
Printing and Logging
Thermometers
Page 1: ...These Instruments are in Compliance with the CE Directives Instruction Manual HI 92710 HI 92740 HI 92810 HI 92840 Portable Microprocessor Printing and Logging Thermometers...
Page 2: ...NTENTS TABLE OF CONTENTS Preliminary Examination 1 General Description 1 LCD Display Functional Description 2 Functional Description HI 92710 and HI 92740 3 Functional Description HI 92810 and HI 9284...
Page 3: ...s must be re turned in its original packaging together with the supplied accessories The Hanna Instruments portable thermom eters with built in printers are microproces sor based and enable you to acc...
Page 4: ...er selectable recording logging inter vals automatic memorization of measured values HI 92810 and HI 92840 only use of pre calibrated completely interchangeable probes printing on plain paper automati...
Page 5: ...t the resolution 8 UP key to set up printing interval and to select channel for HI92740 only 9 DOWN key to set up printing interval and to select channel for HI92740 only 10 PRINT key to obtain a prin...
Page 6: ...nd to reactivate the meter when in stand by 8 UP key to set up date time printing interval and to select channel for HI92840 only 9 DOWN key to set up date time printing interval and to select channel...
Page 7: ...xcluding probe error Typical EMC 0 6 C 1 2 F Deviation Battery 4x1 5V AA size life of 500 hours Type Life with 60 printing interval Socket for 12VDC adapter Auto Shut off After 5 minutes of non use Ch...
Page 8: ...e top of the instrument To switch the HI 92710 and the HI 92740 ON press the ON OFF key To switch the HI 92810 and the HI 92840 ON press the TEMP key Choose the most appropriate temperature probe s fo...
Page 9: ...e To ensure accurate readings it is rec ommended that the temperature probes be connected to consecutive channels beginning with channel 1 For ex ample if only one probe is to be used it must be conne...
Page 10: ...lay the printing interval will be flashing Keep the INTV key pressed and set the print ing interval by pressing the UP or DOWN key Select between 1 2 5 10 15 30 60 120 and 180 minutes SETTING THE MEAS...
Page 11: ...e date set ting At the bottom of the display the year will be blinking Use the UP or the DOWN arrow keys to select the year When the correct year is selected press the TIME key once The left digit of...
Page 12: ...usly and the display will now show the clock time with the printing interval blinking Any interval can be selected from 1 2 5 10 15 30 60 120 or 180 minutes by using the UP and the DOWN arrow keys Onc...
Page 13: ...ress the TIME key once the minutes start blinking Use the UP or the DOWN keys to select the minutes Press the ALT and the TIME keys to leave this mode The time date and printing interval are now set a...
Page 14: ...displaying time To view temperature press TEMP key Using UP or DOWN keys select which chan nel to monitor four channels versions only If is displayed it indicates that the temperature probe or calibr...
Page 15: ...appear for a few seconds on the display to indicate the correct operational mode The meter will write the first mea surement taken in that mo ment and will print at the interval selected thereafter un...
Page 16: ...annels When the meter is in record ing mode LOG is displayed on the bottom left corner of the LCD with the tempera ture value on the primary dis play If no keys are pressed the meter goes to standby m...
Page 17: ...annel numbers HI92840 only LOGGING MODE This function is suggested when remote mea surements have to be taken automatically without the necessity of an operator and for a long period of time In this m...
Page 18: ...ut provides the following informa tion a Date DD MM YY b A running log number c Printing interval indicator in minutes d Time HH MM e Temperature value s f Running sample number in that particular log...
Page 19: ...cording of the data into memory Press the ALT and the LOG key simultaneously to enter the logging mode The log number and page number will appear for a few seconds on the display to indicate the corre...
Page 20: ...OG symbol will start to blink to indicate that the data are now stored only into memory Notes It is recommended to use the adapter during logging with printing mode espe cially when many printout are...
Page 21: ...etting the new in terval If the PRINT key is pressed while in logging mode a printout is pro duced without affecting the running sample number TO STOP LOGGING Press the ALT and the LOG keys simultaneo...
Page 22: ...key press the DOWN key until the log number to scan appears on the secondary display The primary display will show the number of samples of that particular log Press the ALT and the TEMP keys simulta...
Page 23: ...play one by one all the memorized data of the same log in the above sequence i e time and tem perature value Press the DOWN key to revert back to sam pling time and move back through samples To exit f...
Page 24: ...ible to print only the sample shown on the display by pressing the PRINT key Note Before proceeding with printing make sure there is enough paper for the data to be printed When the paper is fin ished...
Page 25: ...rough 10 Example Step One Setting the printing logging inter val at 2 minutes Press ALT and TIME keys twice The time will appear on the primary display with a number representing the printing logging...
Page 26: ...rs Press the LOG key again to view the running sample number Step Three Stopping the printer during the log mode After the third printout is completed press the ALT and PAPER keys At this point the me...
Page 27: ...vailable log and page number will be shown on the display Press the ALT and DOWN keys until the number 10 and L1 appear indicating that a total of 10 samples were recorded in log number 1 To view the...
Page 28: ...Printing the stored data samples 5 through 10 Press and hold the ALT key and press the DOWN key until the total number of samples recorded in log number 1 is displayed Scroll through the sample number...
Page 29: ...smitter ensuring that the two infrared LEDs are placed on top of each other The memory can be downloaded to your PC through the HI9200 s RS 232 port During the data transfer the instrument displays th...
Page 30: ...support you throughout any situation To install HI 92000 you need a 3 5 drive and a few minutes to follow the instructions con veniently printed on the disk label Windows is registered Trademark of M...
Page 31: ...tomatically re turns to the oldest page in the memory and if it contains data it will overwrite In this case the first log will not correspond to the oldest set of data It is recommended to periodical...
Page 32: ...ntact your Hanna authorized center TO INSERT THE PAPER ROLL The HI 92710 HI 92740 HI 92810 and HI 92840 use plain paper rolls 38 mm width HI710034 To insert a new roll is very easy Open the paper cove...
Page 33: ...ov ing the screws Us ing a pencil press the black button This will reset the printing mecha nism Beforereplacingthe batterycoverinves tigate the cause of the printer jam e g the paper caught underthec...
Page 34: ...displayed continuously in the LCD Battery replacement must only take place in a non hazardous area using the battery types specified in this instruction manual see page 39 In order to replace run dow...
Page 35: ...HI92740 HI 92810 and HI 92840 can also be used with other adapters In this case remember to check the correct polarity of your adapter before connecting it to the meter WARNING In HI92810 and HI92840...
Page 36: ...a quick and easy way to test the meter s accuracy by simply connecting these Test Plugs to the probe connector of the meter If the reading differs by more than 0 4 C 0 8 F from the Test Plug value th...
Page 37: ...switch from one to another without wasting time and money going through tedious calibration procedures They are avail able in different handle colors to avoid cross contamination during testing HI762...
Page 38: ...2PR Penetration probe with 1 m 3 3 cable and red handle HI762PR 10 Penetration probe with 10 m 33 cable and red handle HI 762PW Penetration probe with 1 m 3 3 cable and white handle HI 762PW 10 Penetr...
Page 39: ...to your requirements The following is a list of the NTC Thermistor sensors and plug available HI 76P2 1 RCA plug with 1 meter 3 3 cord HI 76S2 1 NTC Thermistor sensor Teflon coated with hole for moun...
Page 40: ...tip for protection in aggressive environments HI 76S2 7 NTC Thermistor sensor Can be housed and used in any custom application 6 4mm 0 25 406mm 16 9 6mm 0 38 EPOXY FILLET MOLDED TIP 2mm 0 08 1 6mm 0 0...
Page 41: ...o 12 VDC OTHER ACCESSORIES HI 721308 1 5V AA battery 10 pcs HI 9200 Infrared Transmitter 25 pin HI 9200 9 Infrared Transmitter 9 pin HI 92000 Windows software for data transfer to PC HI 710031 Rugged...
Page 42: ...rvice is required contact the dealer from whom you purchased the instrument If under warranty report the model number date of purchase serial number and the nature of the failure If the repair is not...
Page 43: ...41 CE DECLARATION OF CONFORMITY RecommendationsforUsers Before using these products make sure that they are entirely suitable for the environment in which they are used Operation of these instruments...
Page 44: ...MANPRNR2 03 98 Stay in Touch with the Manufacturer PRINTED IN ITALY...