8
Section 1: Joining the Wing
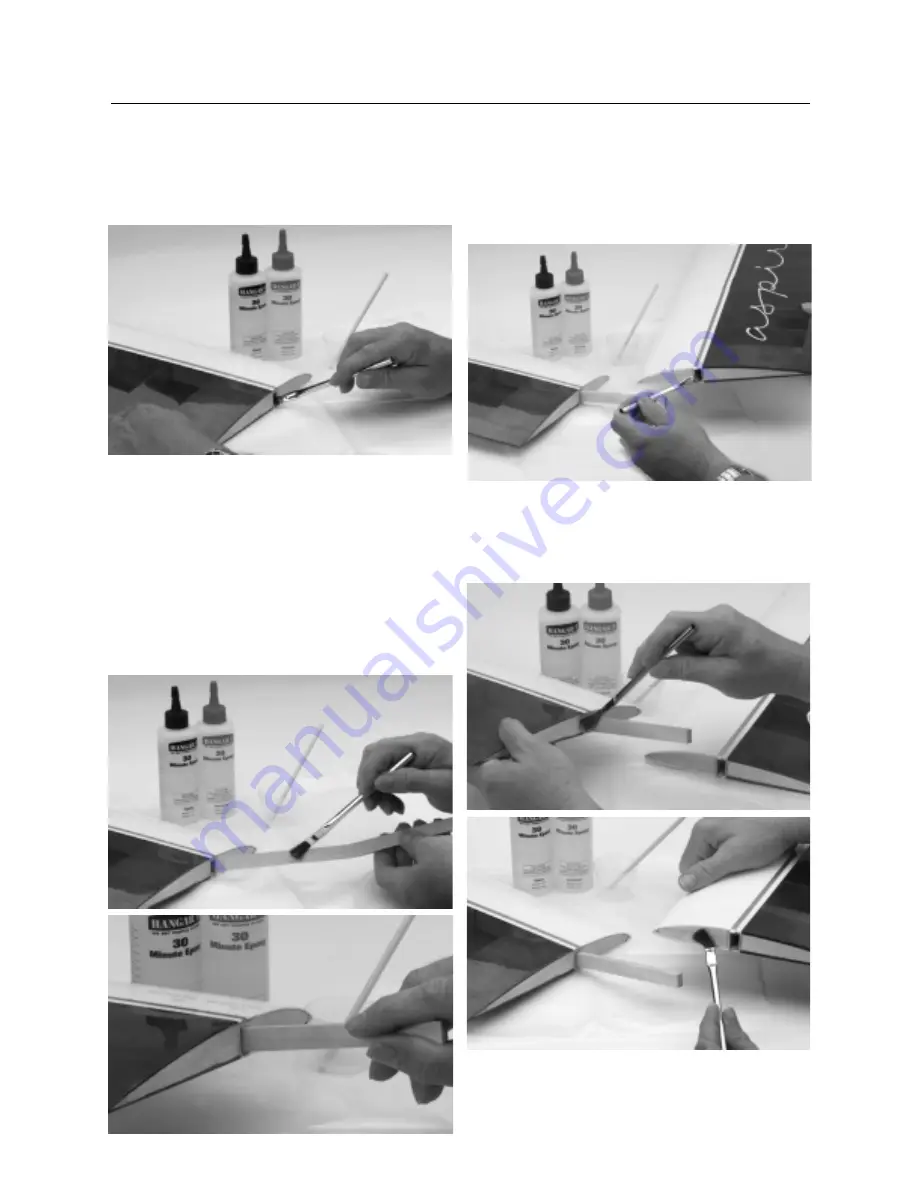
Step 6.
Place one wing half on a flat surface (remember the
wax paper under the wing). Use an epoxy brush to smear a
generous amount of epoxy into the wing joiner cavity in the
wing half.
Step 7.
Coat one half of the wing joiner with epoxy on both
sides, up to the line drawn in Step 1. Note the orientation of the
wing joiner — the “V” points to the top of the wing, or faces up
when the wing half is placed on the workbench topside up.
Install the epoxy-coated half of the wing joiner into the wing
joiner cavity of the wing panel, up to the centerline mark, making
sure the “V” of the hardwood wing joiner is orientated correctly
(see below). Any spilled epoxy can be cleaned up with rubbing
alcohol and paper towels. Allow the epoxy to cure before joining
the other wing half.
Note:
You will need to mix up an additional ounce or so of
epoxy to complete the wing joining process.
Step 8.
Apply a generous amount of epoxy into the wing joiner
cavity of the other wing half.
Step 9.
Next, apply epoxy to all sides of the exposed area of
the hardwood wing joiner and uniformly coat both wing roots
with epoxy.
CONTINUED
Summary of Contents for ULTRA aspire
Page 37: ...37 Notes...
Page 38: ...38 Notes...
Page 39: ...39 Notes...
Page 40: ...Copyright 1999 Horizon Hobby Inc www horizonhobby com...


