42
Step 5.
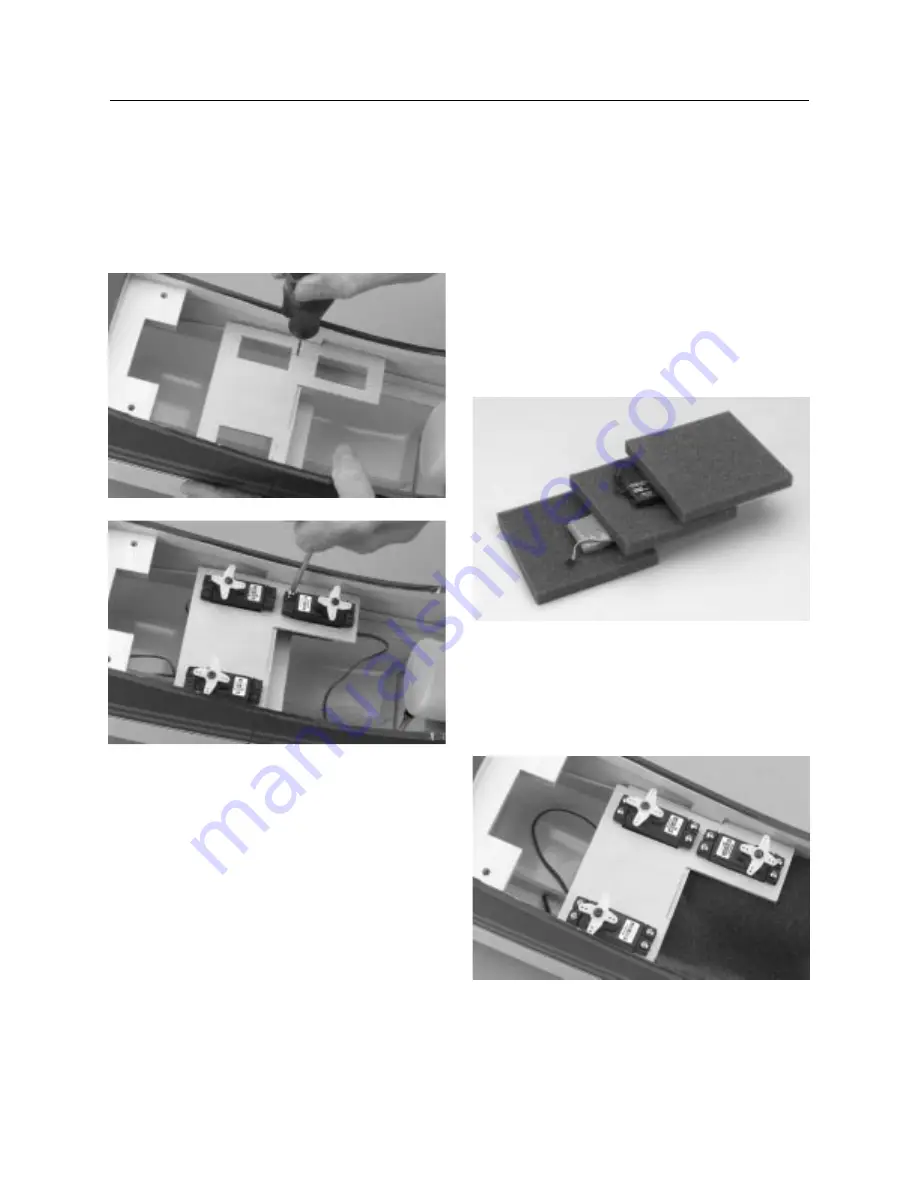
Remove the servos and, using a 1/16
′′
drill bit, drill the
12 mounting holes as marked. Re-install the servos, again
noting the position of the output horns. Screw the servos in
place using the 12 servo screws, which are included with the
servos.
Installing the Receiver
and Battery Pack
Step 6.
Use radio packing foam (available at your local hobby
dealer) when installing the receiver and battery. Using a sharp
hobby knife, cut a solid layer of foam the size of the
compartment that is in front of the servo tray. Cut out another
layer of foam that is identical in size, however, cut an opening in
the center of this foam so it will accept the receiver battery pack.
Place another solid layer of foam on top of this layer. Cut
another layer of foam to accept the receiver. The final layer of
foam should be solid.
Step 7.
Place the layers of foam with the battery and receiver in
their respective locations in the front compartment of the
fuselage as shown. Route the antenna back through the fuselage
using an antenna tube (not included), or route it outside the
fuselage back to the vertical stabilizer.
CONTINUED
Section 15: Installing the Radio


