32
Step 8.
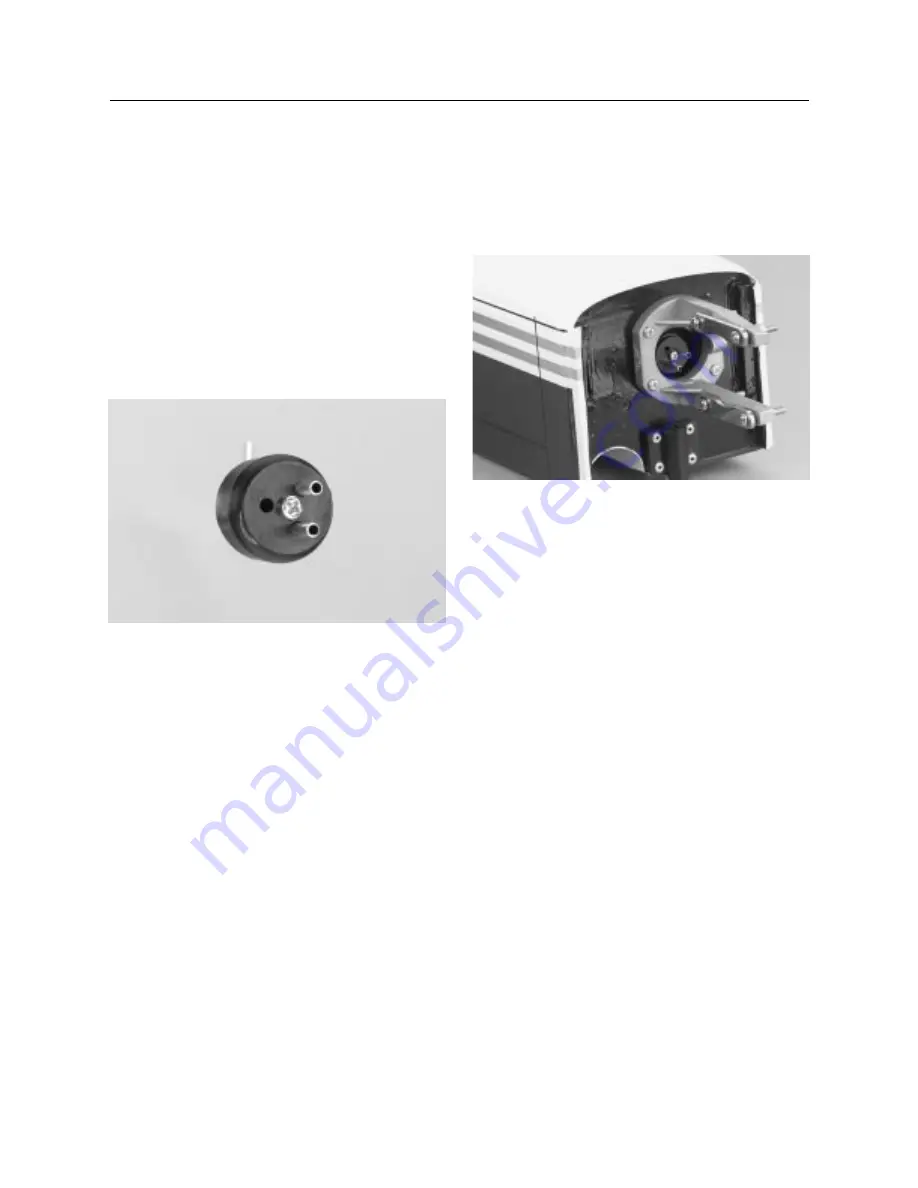
Carefully insert the assembly into the fuel tank and,
using the self-tapping screw, screw the stopper together firmly.
It helps if the screw has been inserted in the assembly and
started, then insert the assembly into the tank and tighten the
screw so the stopper is snug in the tank. As the screw is
tightened, the stopper parts come together, compressing the
rubber stopper snugly inside the throat of the tank.
Note:
It’s important to make sure the fuel tank clunk does
not touch the rear of the fuel tank. If it does, simply
cut a small portion of the silicone fuel tubing until the
clunk no longer reaches the rear of the tank.
Step 9.
Place the foam fuel tank collar around the neck of the
fuel tank and press the fuel tank firmly against the firewall until
the stopper inserts into the hole in the firewall. The plastic cap
will be nearly flush with the firewall.
Step 10.
Cut the fuel tubing (not supplied) into a 3-1/2
′′
piece
and a 4-1/2
′′
piece. Attach the 4-1/2
′′
section of fuel tubing to
the vent tube. Attach the 3-1/2
′′
piece to the fuel tank pickup
tube.
CONTINUED
Section 9: Assembling & Installing the Fuel Tank


