54
Hangar 9 Jackal 50 ARF
Wing Installation
Required Parts
Fuselage assembly
#4 washer (2)
#4 lock washer (2)
Aluminum wing tube
Wing assembly (right and left)
4-40 x 1-inch socket head machine screw (2)
Fiberglass inlet (right and left)
3mm x 8mm sheet metal screw (2)
1.7mm x 6mm sheet metal screw (2)
9-inch (228mm) servo extension (4)
Tie wraps (not included)
Required Tools and Adhesives
Phillips screwdriver: #1
Hex wrench or ball driver: 3/32-inch
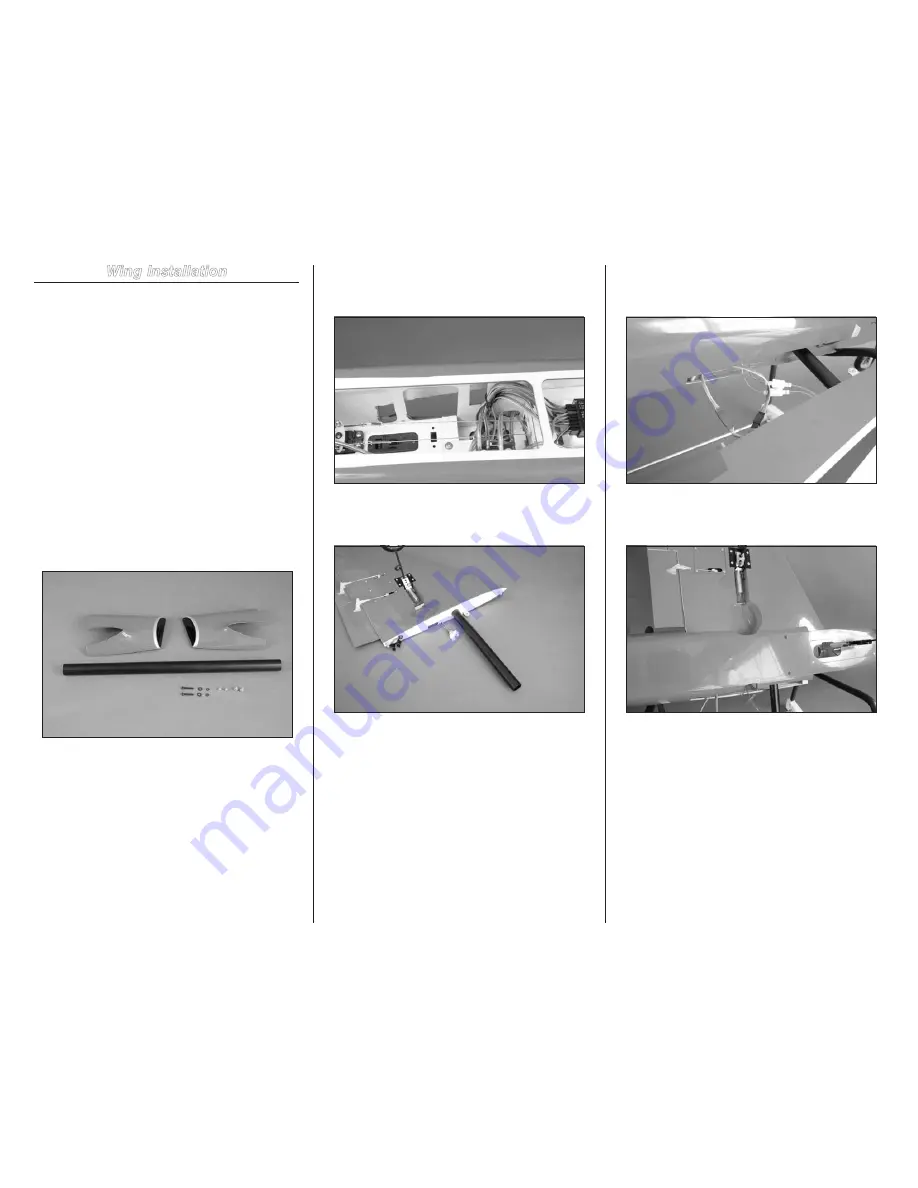
1. Locate the items necessary to install the wing to
the fuselage. You will also need both wing panels and the
fuselage for this section of the manual.
2. Plug the 9-inch (228mm) servo extensions into the
receiver for the flaps and ailerons. Route the extensions out
of the fuselage so the leads in the wing can be plugged in
when the wing is installed.
3. Use tie wraps to secure the servo leads inside the
fuselage. This will prevent them from interfering with the
operation of the radio system inside the fuselage.
4. Slide the wing tube into one of the wing panels. The
tube will slide in easily, so don’t force it in farther than it will
slide easily.
5. Insert the tube into the fuselage. Before sliding the
panel tight against the fuselage, connect any extensions or
air lines at this time.
6. Guide the extensions (and air lines) into the
fuselage while sliding the wing into position. The wing will fit
tightly against the fuselage.


