
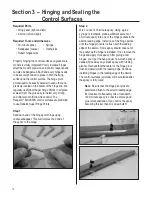

Section 2 – Aileron Control Horn Installation
9
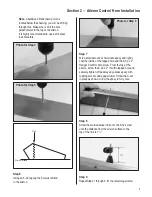
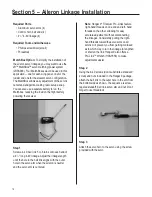
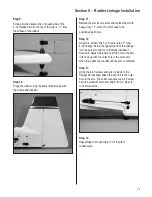
Note
: A hardwood block (hard point) is
located below the sheeting; you will be drilling
through this. Make sure to drill the hole
perpendicular to the top of the aileron.
It is highly recommended to use a drill press
to achieve this.
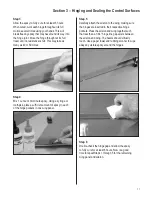
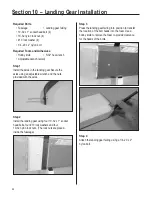
Step 6
Using an 8-32 tap, tap the hole just drilled
in the aileron.
Work Surface
Drill
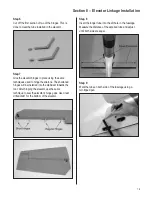
Step 7
Mix a small amount of 30-minute epoxy and lightly
coat the inside of the tapped hole and the 8-32 x 2"
Hangar 9 control horn screw. From the top of the
aileron, screw the 8-32 x 2" into the tapped hole and
securely tighten. Wipe away any excess epoxy with
rubbing alcohol and a paper towel. Screw the A-nut
in place as shown. Allow the epoxy to fully cure.
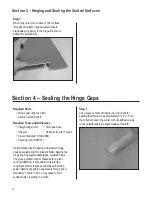
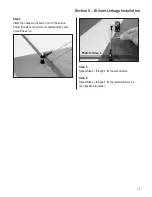
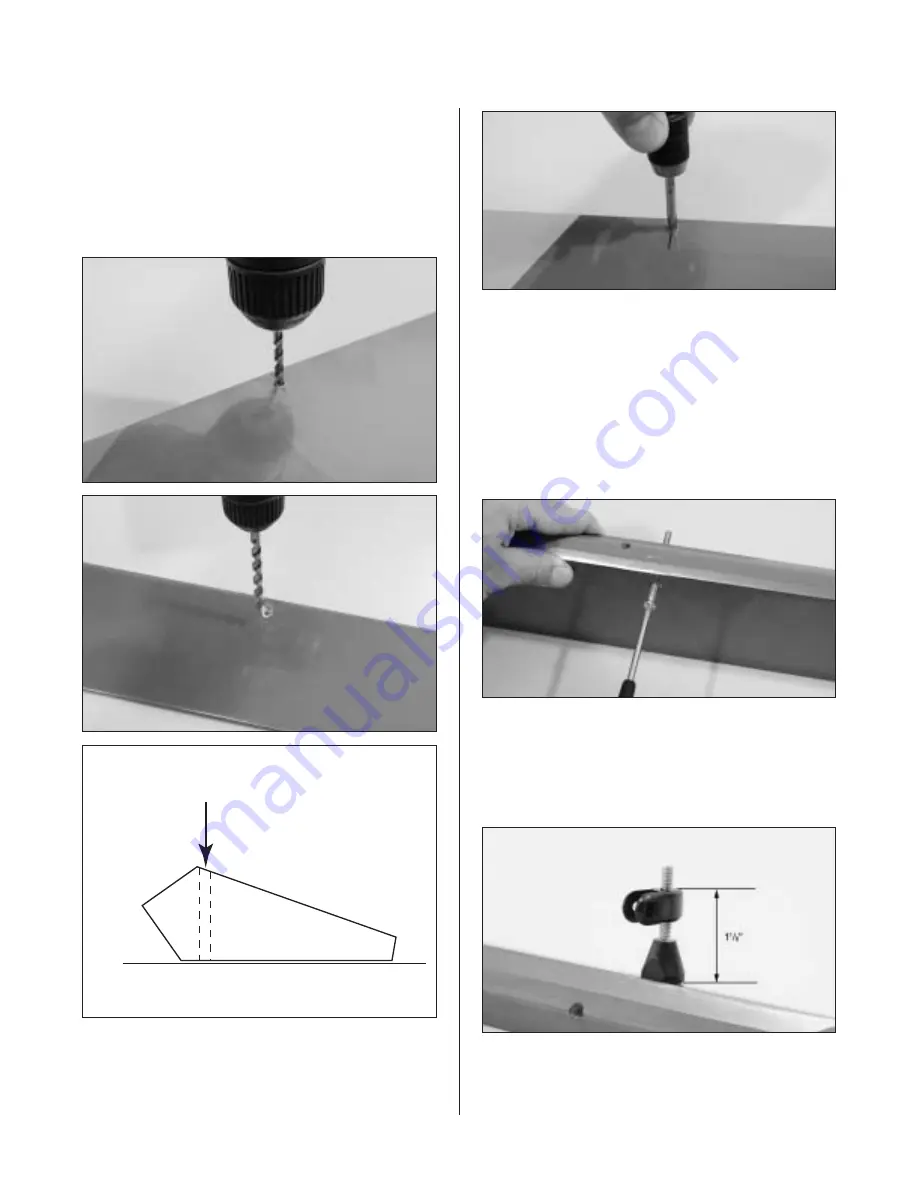
Step 8
Screw the molded swivel link onto the 8-32 screw
until the distance from the aileron surface to the
top of the link is 1
1
/
8
".
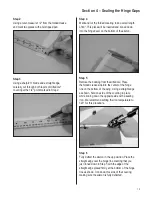
Step 9
Repeat Steps 1 through 8 for the remaining aileron.
Photo for Step 6
Photo for Step 5
Photo for Step 5


