12
Hangar 9 33% Pawnee 80cc ARF
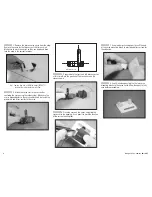
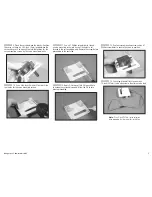
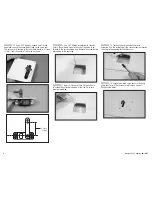
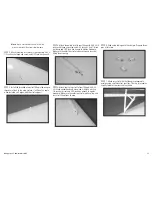
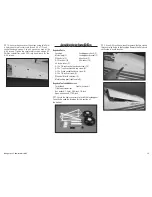
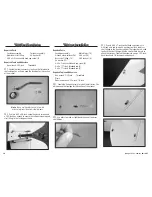
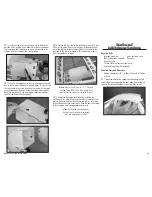
8. Use canopy glue to glue the front and rear wing
strut covers to the wing. Use low-tack tape to hold the
covers in position until the glue cures.
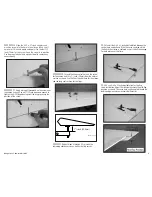
9. Repeat steps 2 through 8 to install the remaining strut
to the opposite wing panel.
Rudder and Elevator Servo Installation
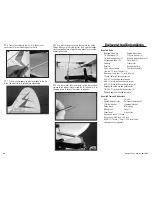
Required Parts
Fuselage
Servo with hardware (3)
Rudder cable (2)
Ball end with hardware (2)
Cable fitting (2)
#4 washer (3)
Cable crimp (2)
Receiver
Receiver battery
Transmitter
String or dental floss
Hook and loop strap
24-inch (610mm) servo extension
36-inch (915mm) servo extension (3)
4-40 x 1/2-inch socket head cap screw (3)
2mm x 8mm sheet metal screw (8)
Aluminum Servo Arm, 3-inch (152mm)
Aluminum Servo Arm, 1
1
/
2
-inch (38mm) (2)
Required Tools and Adhesives
Crimping tool
Phillips screwdriver: #1
Fuel tubing
Nut driver: 1/4-inch
Pliers
Threadlock
Thin CA
Hex wrench: 3/32-inch
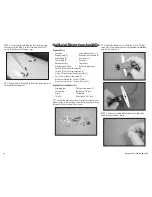
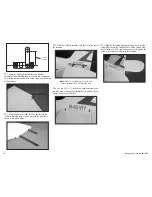
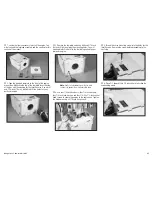
1. Locate the items necessary to install the elevator and
rudder servos in the fuselage. You will also need to have the
fuselage for this section of the manual.
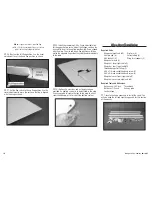
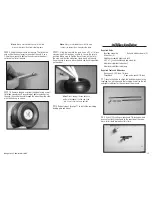
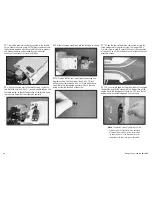
2. Center the rudder servo. Attach the 3-inch (152mm)
servo arm to the rudder servo using the hardware provided
with the arm and servo.
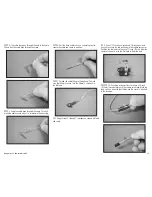
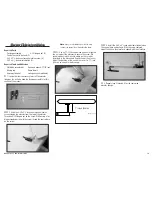
3. Locate the rudder cable and pass one end of the
cable through the brass crimp.


