19
Hangar 9 33% Pawnee 80cc ARF
Elevator Linkage Installation
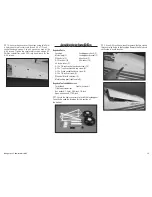
Required Parts
Fuselage assembly
8-32 flanged nut (2)
Control horn with ball end (2)
8-32 x 2
1
/
4
-inch countersunk machine screw (4)
4-40 x 4
1
/
2
-inch adjustable link (2)
Required Tools and Adhesives
Flat blade screwdriver
Open-end wrench: 11/32-inch
Mixing cup
Paper towels
Isopropyl alcohol
Linkage wrench (optional)
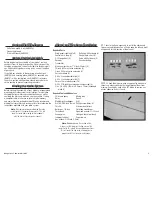
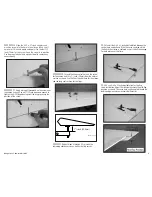
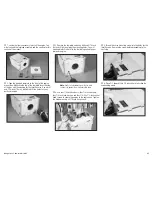
1. Locate the items necessary to install the elevator
linkages. You will also need the fuselage assembly for this
section of the manual.
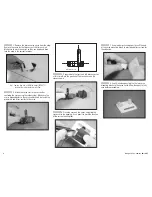
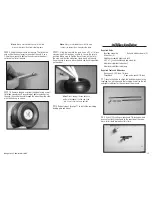
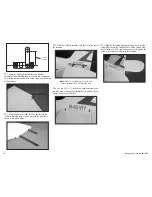
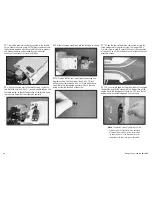
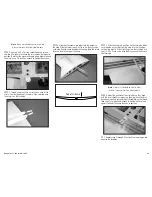
2. Slide the 8-32 x 2
1
/
4
-inch countersunk machine
screw through the elevator from the top of the elevator.
Thread an 8-32 flanged nut on the screw. While using a flat
blade screwdriver to hold the screw, thread the control horn
on the screw.
Note
: Always use threadlock on metal-to-metal
fasteners to prevent them from vibrating loose.
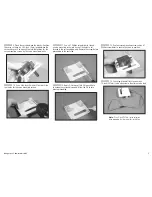
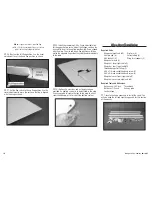
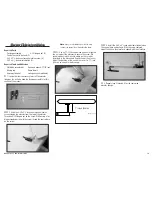
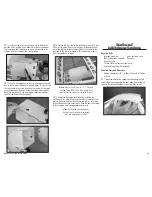
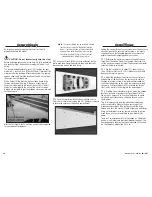
3. Use an 11/32-inch open-end wrench to tighten
the nut against the elevator to secure the screw. We
recommend using 30-minute epoxy on the screw as
described in the aileron and flap section of the manual.
Adjust the position of the control horn so it is 1
1
/
8
-inch
(28mm) as shown in the drawing.
1
1
/
8
-inch (28mm)
*Drawing not to scale
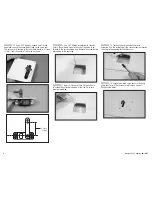
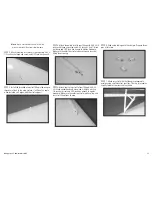
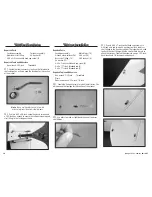
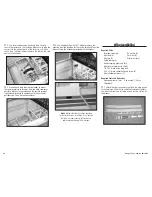
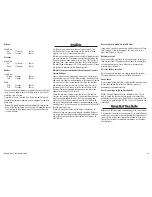
4. Install the 4-40 x 4
1
/
2
-inch adjustable link between
the control horn and ball end. With the servo centered,
adjust the link so the elevator is aligned with the stabilizer.
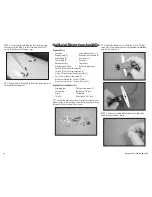
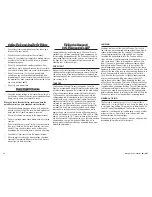
5. Repeat steps 2 through 4 for the remaining
elevator linkage.

