21
Hangar 9 33% Pawnee 80cc ARF
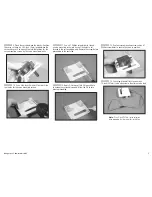
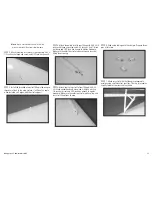
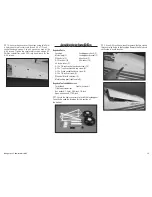
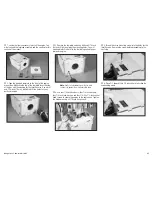
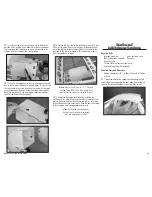
4. Attach the last two brass strut fittings to the bottom
of the fuselage by removing the screws that hold the
servo cover in position. Tighten the screws using a 3/32-
hex wrench.
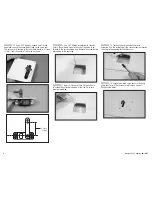
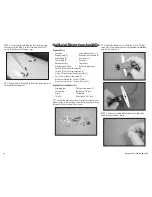
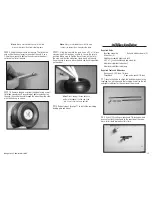
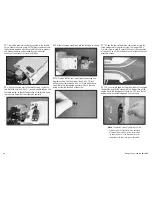
5. Thread a 4-40 nut on each of the threaded rods. After
sliding a silicone clevis retainer on each of the clevises,
thread the clevis on the rod until the end of the rod can be
seen between the forks of the clevis. Make sure to set aside
the two longer 4-40 x 11
7
/
8
-inch threaded rods so they can
be installed in the correct location on your model.
Note
: Always use threadlock on metal-to-metal
fasteners to prevent them from vibrating loose.
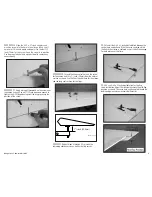
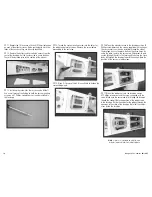
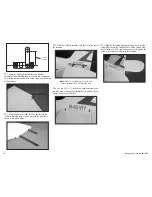
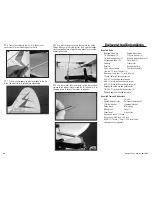
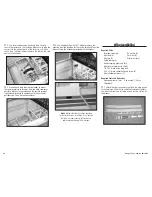
6. Attach the rods to the brass strut fittings on the
stabilizer. Adjust each rod so they fit to their specific location
without forcing them into position. The longer 4-40 x
11
7
/
8
-inch threaded rods are used on the underside of the
stabilizer toward the rear of the fuselage. Once all the rods
are installed, use a 3/16-inch open-end wrench to tighten the
4-40 nuts against the clevises to keep them from moving.
Slide the clevis retainer over the clevises to keep them from
opening accidentally in flight.
Rudder Preparation
Required Parts
Rudder
8-32 flanged nut (2)
Rudder tiller arm
8-32 x 4-inch threaded rod
#4 x 5/8-inch sheet metal screw (2)
Control horn with ball end (2)
Required Tools and Adhesives
Phillips screwdriver: #1
Pin vise
Thin CA
Felt-tipped pen
Drill bit: 1/16-inch (1.5mm)
Open-end wrench: 11/32-inch
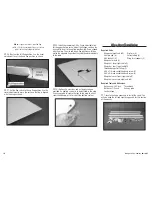
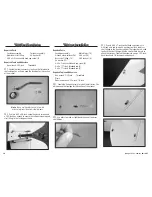
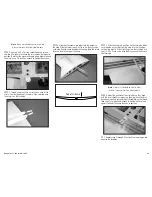
1. Locate the items to prepare the rudder for installation
on the fuselage. You will also need to have the rudder for
this section of the manual.
Note
: Always use threadlock on metal-to-metal
fasteners to prevent them from vibrating loose.
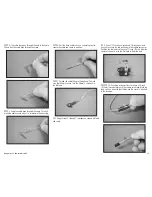
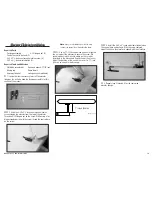
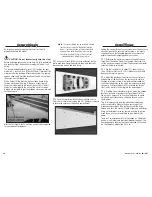
2. Insert the 8-32 x 4-inch threaded rod into the hole in
the rudder. Thread an 8-32 flanged nut on either side of the
rudder to secure the threaded rod.

