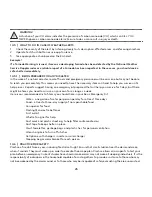
10.1.5 | INSERT PINS ON THE BACK OF YOUR
HALO
Locate the two circular crosshatched areas on
the back of your Halo. Punch through the marked
holes with a small screwdriver or paper clip. Insert
the two pins into the two holes. When you insert
each pin, you will hear a click to let you know the
pin has been placed correctly.
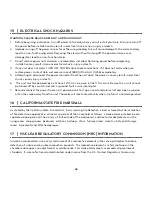
10.1.6 | SLIDE DEACTIVATION SWITCH
Locate the rectangular crosshatched area on the
back of your Halo. Remove part of the sticker
using a small screwdriver or paperclip. Locate the
black switch on the hole and fully slide it to the
corner to complete deactivation. Once switch
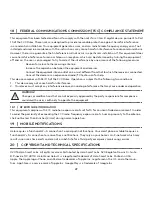
is pushed, it will no longer be visible. A white
light will emit indicating Halo is deactivating and
draining the battery.
After 3 hours, the battery will be discharged. The
white light will turn off to indicate when draining
complete. Once deactivation is complete, the
alarm can then be safely disposed of.
CAUTION!
Alarm may get hot while the battery discharges.
WARNING!
Do not dispose of your alarm before battery is fully discharged. This may take up to 3 hours. The
white light will turn off to indicate when draining complete.
15


