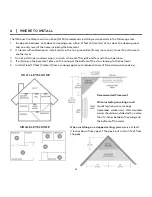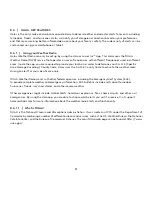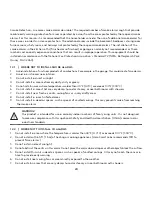
7.10 | INSTALL YOUR HALO
First, tuck any excess wiring into the electrical box.
Line up the four tabs on the back of your Halo with the
notches on the mounting plate. Hold Halo against the
mounting plate and turn clockwise. If needed, follow
the same steps to install the rest of your Halos.
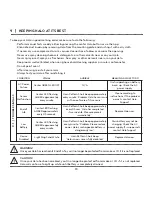
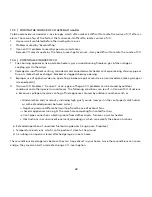
7.11 | SWITCH POWER BACK ON
Turn the power back on at the circuit breaker.
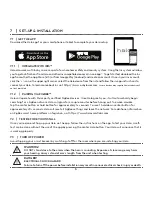
Confirm the status LED is green. This means the
power is on.
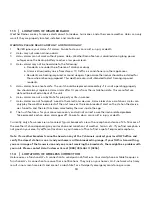
7.12 | PRESS TO TEST
Press the center Halo button to ensure your Halo is
working properly. Your Halo will announce the test
results.
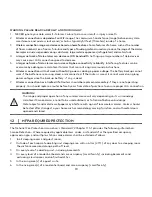
7.8 | INSTALL THE HALO MOUNTING PLATE
Screw the Halo mounting plate to the existing
electrical box, reusing the existing screws or the ones
provided.
7.9 | CONNECT TO POWER
Plug the 120V power connector into the back of
your Halo.
WARNING!
DO NOT stand close to the alarm when the horn is sounding. Exposure at close range may harm
your hearing. Always stand at arm’s length from the unit when testing.
7
Test/Hush
Button
Status
LED


