15
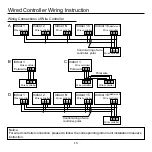
Wired Controller Wiring Instruction
Installation
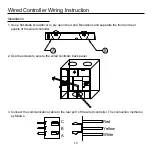
1. Use a flat-blade screwdriver to pry open the A and B positions and separate the front and rear
panels of the wired controller.
A
B
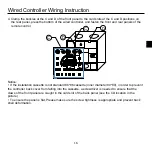
2. Use the screws to secure the wired controller back panel.
3. Connect the communication cable to the rear port of the wired controller. The connection method is
as follows:
C
A
B
Red
Yellow
White
Summary of Contents for HW-BA101ABT
Page 2: ......
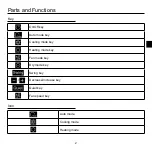
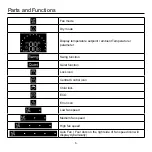
Page 4: ...1 Parts and Functions Interface Display ...
Page 20: ...17 Wired Controller Wiring Instruction 5 Finish installation ...
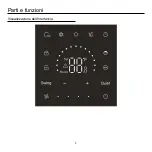
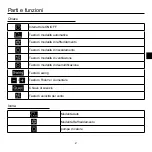
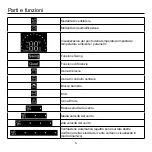
Page 22: ...1 Parti e funzioni Visualizzazione dell interfaccia ...
Page 38: ...17 5 Completazione dell installazione Istruzioni di cablaggio del controller cablato ...
Page 40: ...1 Pièces et Fonctions Affichage d Interface ...
Page 56: ...17 5 Terminer l installation Instruction de câblage du contrôleur câblé ...
Page 58: ...1 Teile und Funktionen Benutzeroberfläche ...
Page 74: ...17 5 Beenden Sie die Installation Verkabelungsanleitung für die kabelgebundene Steuerung ...
Page 76: ...1 Piezas y Funciones Pantalla de interfaz ...
Page 92: ...17 5 Termine la instalación Instrucciones de cableado del controlador alámbico ...
Page 94: ...1 Componentes e funções Interface de exibição ...
Page 111: ...18 5 Concluir a instalação Instruções de fiação do controlador com fio ...
Page 112: ......
Page 114: ...1 Onderdelen en functies Interface weergave ...
Page 130: ...17 5 Voltooi de installatie Bedrade controller Bedradingsinstructie ...
Page 132: ...1 Детали и функции Отображение интерфейса ...
Page 148: ...17 5 Монтаж выполнился Инструкция по монтажу проводного контроллера ...
Page 149: ......

