11
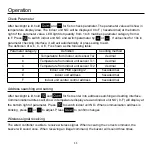
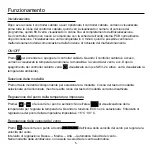
After backlight is lit, hold
and
for 5s to check parameter. The parameter value will show in
temperature display area. The indoor unit NO. will be displayed 0 to F ( hexadecimal) at the bottom
right of the parameter value. LED light dot quantity from 1 to 6 matches parameter category from A
to F. Press
to switch indoor unit NO. and switch parameter by
or
. If untouched for 10s in
parameter checking interface, it will exit automatically or press swing to exit.
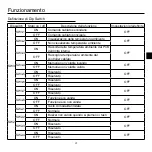
The definition of A, b, C, d, E, F is shown as the following table:
Check Parameter
Parameter category
Definition
Counting method
A
Temperature from indoor unit sensor Tai
decimal
b
Temperature from indoor unit sensor Tc1
decimal
C
Temperature from indoor unit sensor Tc2
decimal
d
Indoor unit PMV opening/2
hexadecimal
E
indoor unit address
hexadecimal
F
Indoor unit central control address
hexadecimal
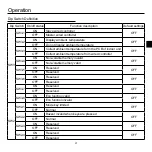
Operation
After backlight is lit, hold
and
for 5s to enter into address searching and setting interface.
Communication address will show in temperature display area and indoor unit NO.( 0-F) will display at
the bottom right of parameter. Press
to switch indoor unit NO. When communication address is
blinking, press
or
to adjust. Press
to confirm changes.
Address searching and setting
The wired controller is able to receive wireless signal. When receiving the correct command, the
buzzer will sound once. When receiving an illegal command, the buzzer will sound three times.
Wireless signal receiving
Summary of Contents for HW-BA101ABT
Page 2: ......
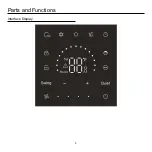
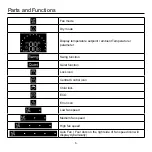
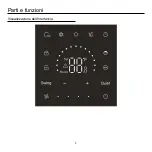
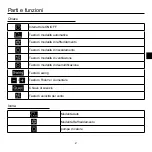
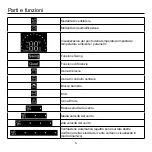
Page 4: ...1 Parts and Functions Interface Display ...
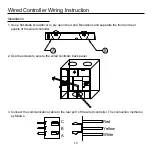
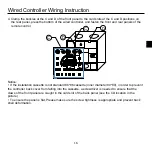
Page 20: ...17 Wired Controller Wiring Instruction 5 Finish installation ...
Page 22: ...1 Parti e funzioni Visualizzazione dell interfaccia ...
Page 38: ...17 5 Completazione dell installazione Istruzioni di cablaggio del controller cablato ...
Page 40: ...1 Pièces et Fonctions Affichage d Interface ...
Page 56: ...17 5 Terminer l installation Instruction de câblage du contrôleur câblé ...
Page 58: ...1 Teile und Funktionen Benutzeroberfläche ...
Page 74: ...17 5 Beenden Sie die Installation Verkabelungsanleitung für die kabelgebundene Steuerung ...
Page 76: ...1 Piezas y Funciones Pantalla de interfaz ...
Page 92: ...17 5 Termine la instalación Instrucciones de cableado del controlador alámbico ...
Page 94: ...1 Componentes e funções Interface de exibição ...
Page 111: ...18 5 Concluir a instalação Instruções de fiação do controlador com fio ...
Page 112: ......
Page 114: ...1 Onderdelen en functies Interface weergave ...
Page 130: ...17 5 Voltooi de installatie Bedrade controller Bedradingsinstructie ...
Page 132: ...1 Детали и функции Отображение интерфейса ...
Page 148: ...17 5 Монтаж выполнился Инструкция по монтажу проводного контроллера ...
Page 149: ......

