16
31-5000564 Rev. 1
ENGLISH
Step 3 - Installation of the Outdoor Unit
A. Prepare the Outdoor Unit for Installation
• Remove all packaging.
• Place supplied vibration pads onto outdoor unit’s feet.
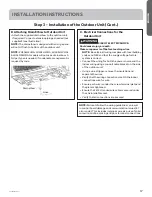
• Use team lift to place the unit on a solid foundation, 8” above the average snowfall.
INSTALLATION INSTRUCTIONS
D
H
D H
Correct
Installation
Drainage
D
H
D H
Correct
Installation
Minimum height(H) should be higher than the highest
snowfall depth(D)(H=D+8”)
D
H
D H
Incorrect
Installation
Unit may become covered in snow if the stand height is insufficient.
D
H
D H
Drainage
Drainage
Incorrect
Installation
Stand top is
covered
clearance is too
small, causing
inadequate
drainage.
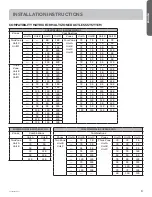
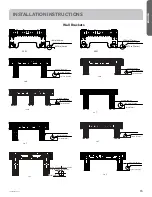
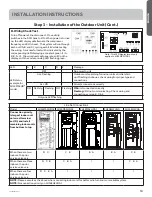
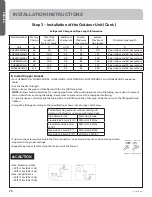
Wall Brackets (cont)
Capacity (BTUh)
Bracket Style
Part Number
Factory Reference Number
07K/09K/12K
35N/35T/40N
WJ65X23038/WJ65X23240/WJ65X23038
10101275/10103071/10101275
15K/18K
50N/50T/70N
WJ65X23251/WJ65X23251/WJ65X23056
10102598/10102598/10102740
24K
70N/70T
WJ65X23056/WJ65X23056
10102740/10102740
30K/36K
100N
WJ65X22785
10103059
09K/12K/18K
35F/50F
WJ65X27875/WJ65X25594
10103620B/10104861
18K/24K
70F
WJ65X26113
10104864
4.88 in (124mm)
2 5/32 in (55mm)
Ø 2 3/8 in (60mm)
50
F

