17
8
Open:
Recall a previously saved configuration file by either
clicking on “Open” with the mouse or by pressing Ctrl+O on the
keyboard. Locate and select the name of the configuration file
on the PC that is to be opened.
Save:
Once a configuration setup has been created on the
program screen, it is recommended that it be saved on the PC’s
hard disk. Click on “Save” with the mouse or press Ctrl+S on the
keyboard, then choose a location to save the file.
Read from KE-USBMX20:
This option will read the
current configuration in the KE-USBMX20 and display it on the
screen. Click on “Read from KE-USBMX20” with the mouse or
press Ctrl+R on the keyboard to perform this operation. **
Write to KE-USBMX20:
This option will write the current
configuration displayed on the screen to the KE-USBMX20.
The KE-USBMX20 can be programmed and re-programmed
as many times as necessary. Click on “Write to KE-USBMX20”
with the mouse or press Ctrl+W on the keyboard to perform this
operation. After the KE-USBMX20 has been loaded with the new
configuration, it will scan according to this new setup. **
** - Note that if multiple KE-USBMX20 units are detected, a
selection window will be displayed asking the user to select the
unit by it’s serial number. The 8 digit serial number is located
on the side label of the KE-USBMX20.
Exit:
This option exits and closes the KE-USBMX20.EXE
program.
*Note:
Make sure that the KE-USBMX20 is connected to the PC
before performing either the “Read to KE-USBMX20” or “Write to
KE-USBMX20” operations. If the KE-USBMX20 is not present, a
“The KE-USBMX20 was not Found” error will be displayed on the
computer screen.
The keystrokes shown for each key are the keys that will be sent
if the FN key is not active when those keys are activated.
To define the alternate keystrokes for each key that will be sent
when the FN key is held, put the cursor on the FN cell in the
matrix. While holding the right mouse button down, click the
left mouse button. This action will toggle between the key sets
that are sent with the FN held on and the FN key off.
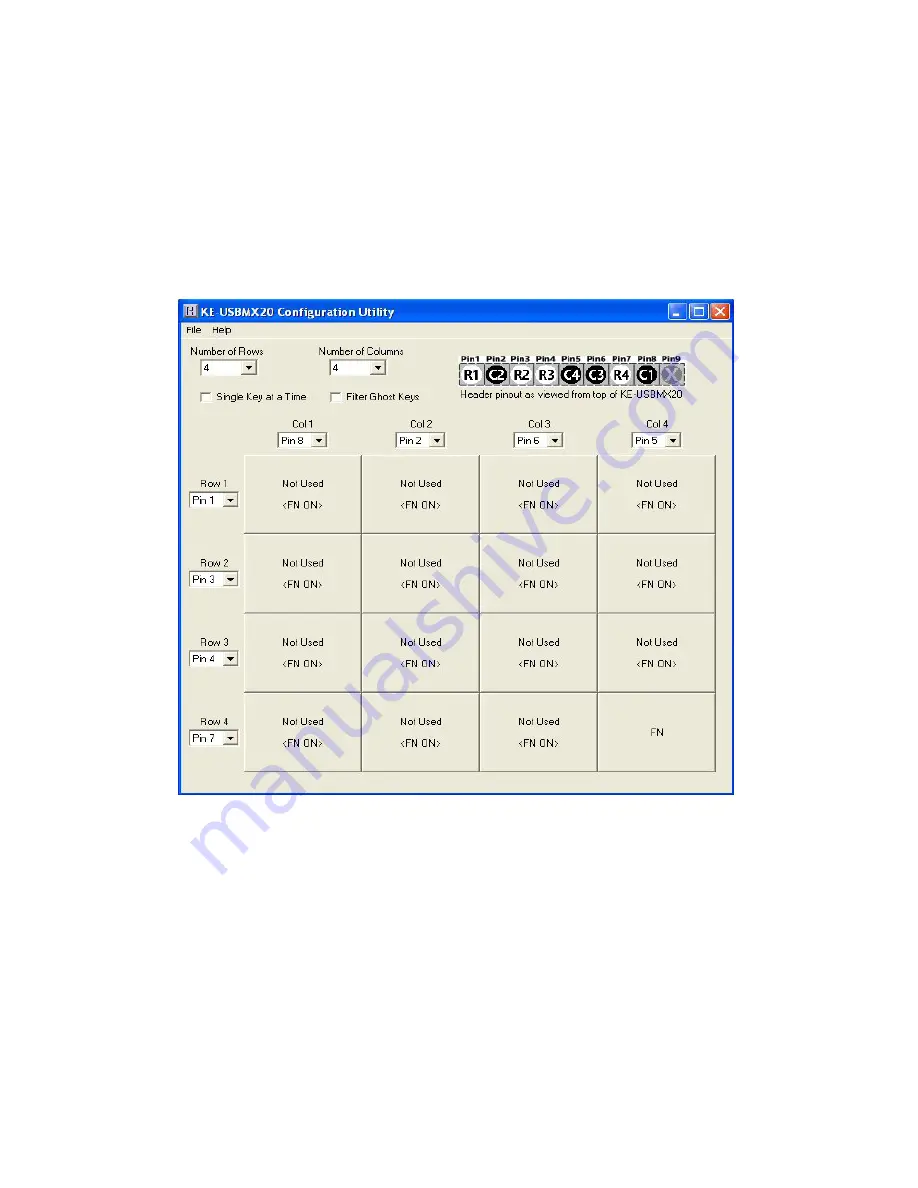
Each matrix cell now shows “<FN ON>” to indicate that keys
defined in that position are the keys to be sent when the FN key
on the keypad is held.
When toggling between the FN key on table and the FN key off
table, the “<FN ON>” will appear only on the table with keystrokes
that will be sent when the FN key is held.
To define the keys for each of the positions on this screen, select
each cell and then the keystroke for each just as done previously
for the non-FN altered keystrokes.


