7
5.3.
Setup
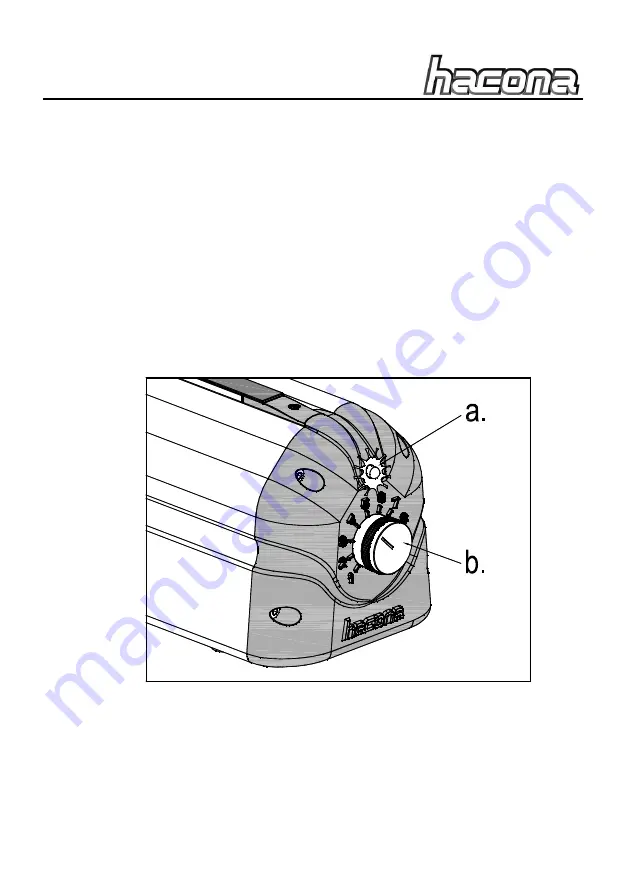
The machine is ready for operation after it is connected to the electricity
network. The yellow light of the LED (lamp) indicates the ready state.
(Figure 4 “a”)
.
The correct sealing time should be set referring to the type and width
of the used film. For effecting a trial sealing set the sealing time regulatory
button
(Figure 4 “b”)
to the lowest setting (1). Place the film between the
sealing head and the sealing electrode. Close the sealing head and wait
for the end of the sealing time while continuously pushing it down. During
sealing the light of the LED (lamp)
(Figure 4 “a”)
changes from yellow to
red. In order to achieve a perfect seal it is advisable to keep the handle
down for a few seconds after the sealing ends so that the seal cools down
under pressure and becomes extremely solid. After the cool down time lift
the handle and the seal is ready.
Figure 4 Operation setting
If the sealing of the film is not perfect or the bag is not sealed properly,
the sealing time has to be increased by changing the sealing time
regulatory button
(Figure 4 “b”)
to a higher setting.
The trial sealing always has to be carried out at a low setting and if
necessary the value needs to be increased by small steps. Sealing carried


