background image


AVC: Automatic Volume Control (ON/OFF).


9. OSD Menu (HDMI – Input) 
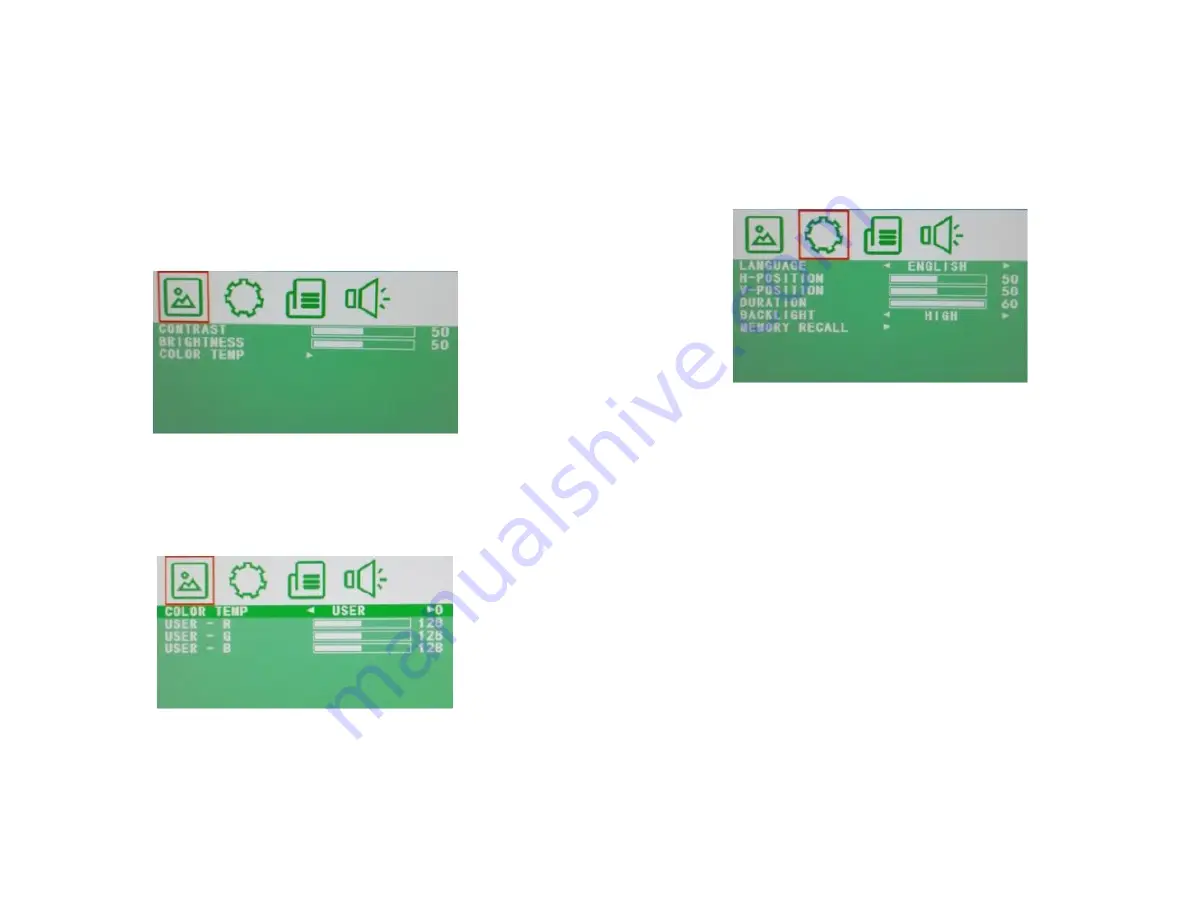
9.1. Picture


CONTRAST: Sets the contrast of the image (difference between the


light and dark areas of the picture) (0–100). 
BRIGHTNESS: Sets the brightness of the display (0–100). 
COLOR TEMP: Select here the color temperature.


COLOR TEMP: Select here the color temperature preset.


USER - R: Sets the RED color level. USER 
- G: Sets the GREEN color level.


USER - B: Sets the BLUE color level. 

9.2. OSD


LANGUAGE: Select here the preferred language for the OSD Menu 
(En/Ch/Ger/Fr/Sp/It/Pt/Pl/Ru).


H-POSITION: Sets the horizontal position of the OSD menu (0-100). 
V-POSITION: Sets the vertical position of the OSD menu (0-100). 
DURATION: Sets the time after which the OSD menu will 
automatically switch off and the screen will return to normal view 
mode (5-60).


BACKLIGHT: Set here the power use by selecting the backlight level


(HIGH/MID/LOW).


MEM-RECALL: Restores all factory default settings.


13


14


Summary of Contents for GD-ML-AP1031SD

Page 1: ..._______________________________________________________ UserGuide LEDMonitors English _______________________________________________________ UG GD ML AP2231HD 2020 12 16 V1 EN Abetechs GmbH...

Page 2: ...tainers with liquids on the product Do not place conducting items like tools screws coins or other metal items on the product These may fall from the product or can cause fire or electric shocks or ot...

Page 3: ...ivers as this could scratch the display The monitor is only for indoor use Please do not install it in an environment where it is exposed to oil vapor steam moisture and dust but in a clean environmen...

Page 4: ...e a screwdriver to remove the screws from the four holes on each side of the bottom of the monitor s base 3 Make sure all cables are already connected to the monitor 4 Follow the directions included w...

Page 5: ...I cable optional to the HDMI connector selection and navigates in the OSD POWER Turns the monitor on or off 6 How To Connect YourMonitor Ensure all cable connections are secure tighten all cable screw...

Page 6: ...again to select a menu item and press to adjust the settings of this item Press the MENU button to exit the OSD Menu Note To lock or unlock the OSD settings after set up press and hold the MENU button...

Page 7: ...power use by selecting the backlight level HIGH MID LOW MEM RECALL Restores all factory default settings 8 3 Function HSTART Sets the left alignment point of image HSIZE Sets the horizontal size of th...

Page 8: ...vel USER G Sets the GREENcolor level USER B Sets the BLUEcolor level 9 2 OSD LANGUAGE Select here the preferred language for the OSD Menu En Ch Ger Fr Sp It Pt Pl Ru H POSITION Sets the horizontal pos...

Page 9: ...ng to your needs 50 to 50 SOUND MODE Set here the user or preset audio configurations User Standard Movie Music AVC Automatic Volume Control ON OFF 10 OSD Menu VGA Input 10 1 Picture CONTRAST Set here...

Page 10: ...age is not fine tuned you may observe periodic vertical bars of video noise on your image These bars of noise usually disappear when an Auto Adjust setting is performed If the bars of noise are still...

Reviews: