


connector on the back of the monitor and the other end to the
audio output on the PC/DVR.
Connect power to the monitor and video source, and switch on.
Using the SOURCE button, press repeatedly until "VGA" is
highlighted on the display at the top of the monitor's screen,
and press "+" to select it.
7. OSD Menu Configuration
- Press the "MENU" button to access the OSD menu.
- Press "+ / -" to switch between the five menus.
- After having selected a menu, press "SOURCE" to select a menu
item. Press "+ / -" to adjust the settings of this item.
- To go to another menu, press the "MENU" button again to return
to the previous menu and go with the "+ / -" button to the desired
menu. Press "SOURCE" again to select a menu item and press "+ / -"
to adjust the settings of this item.
- Press the "MENU" button to exit the OSD Menu.
Note: To lock or unlock the OSD settings after set up, press and hold
the "MENU" button for 5 seconds.
Note: The layout of the OSD will change depending on the input
that is selected.
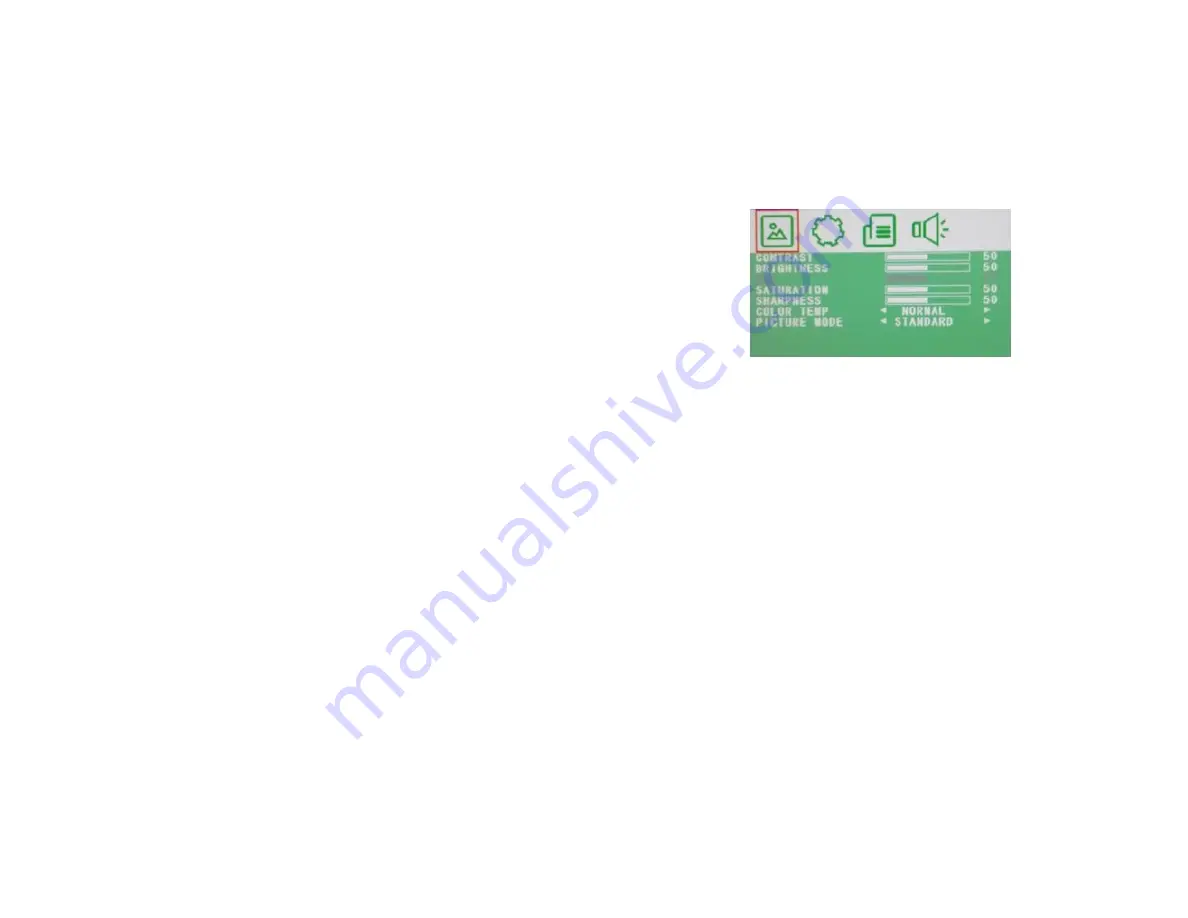
8. OSD Menu (AV – Input)
8.1. Picture
CONTRAST: Set here the contrast of the image (difference between
the light and dark areas of the picture) (0–100).
BRIGHTNESS: Set here the brightness of the display (0–100).
HUE: Set the value according to your needs (-50 to +50 / only
available if set on NTSC).
SATURATION: Set the value according to your needs (0-100).
SHARPNESS: Set the value according to your needs (0-100).
COLOR TEMP: Select here the color temperature
(Normal/Warm/Cool).
PICTURE MODE: Select the default settings or save the user setting
(User/Standard/ Soft/Vivid).
9
10


