Model T32002 (Mfd. Since 02/20)
-25-
The rotary shaft included with the T32002 allows
for grinding and polishing in tight spaces with
greater control. DO NOT operate the rotary shaft
with sharp bends.
Operating
Rotary Shaft
1.
DISCONNECT MACHINE FROM POWER!
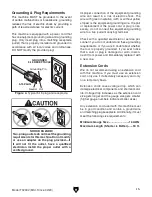
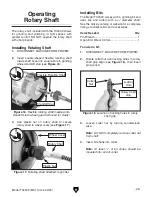
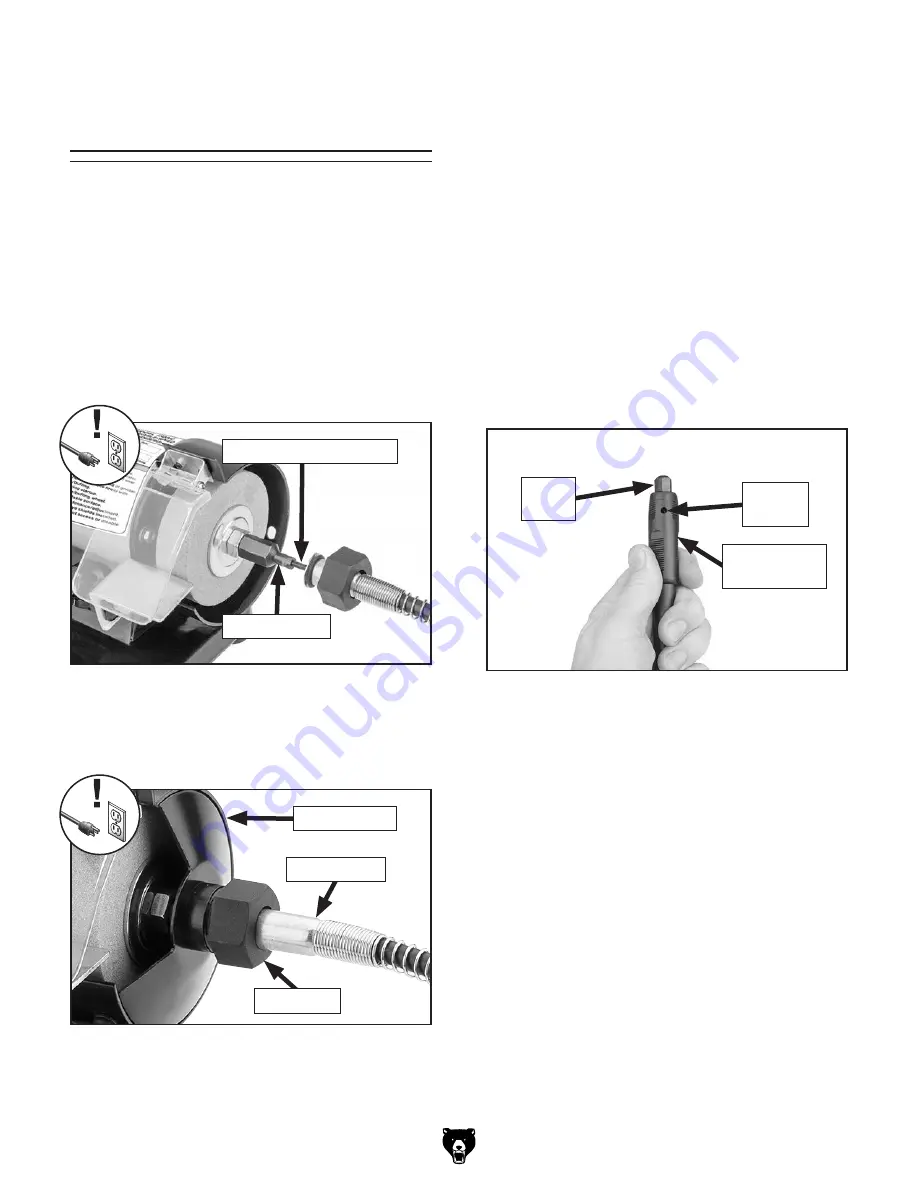
2. Insert square-shaped flexible rotating shaft
inside shaft hose into square hole in grinding
wheel standoff stud (see
Figure 16).
Installing Rotating Shaft
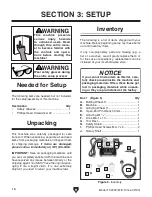
Figure 17. Rotating shaft attached to grinder.
Wheel Cover
Plastic Nut
3. Use plastic nut on rotary shaft to secure
rotary shaft to wheel cover (see
Figure 17).
Figure 16. Flexible rotating shaft inserted into
standoff stud (wheel guard removed for clarity).
Flexible Rotating Shaft
Standoff Stud
Rotary Shaft
The Model T32002 comes with a grinding bit and
uses bits and cutters with a
1
⁄
8
" diameter shaft.
See the Grizzly catalog or website for a complete
listing of available bits and accessories.
Installing Bits
To install a bit:
1. DISCONNECT MACHINE FROM POWER!
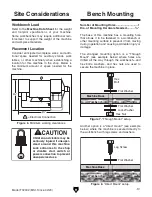
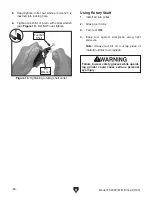
2. Rotate collet nut until locking holes in rotary
shaft grip align (see
Figure 18), then insert
pin wrench.
Figure 18. Location of locking holes in rotary
shaft grip.
Collet
Nut
Rotary Shaft
Grip
Locking
Hole
3. Loosen collet nut by turning counterclock-
wise.
Note: DO NOT completely remove collet nut
from shaft.
4. Insert bit shank into collet.
Note: At least
1
⁄
2
" of bit shank should be
mounted into end of collet.
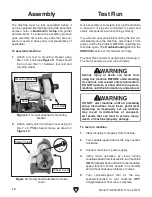
Items Needed
Qty
Pin Wrench ........................................................ 1
Open-End Wrench 9mm.................................... 1
Summary of Contents for T32002
Page 36: ......

