❏
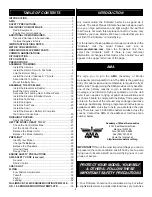
2. Test fit the plywood and balsa wing joiner into the
joiner pocket of both wing halves. When you are satisfied
with the fit of the joiners, glue the joiner into the bottom wing
panels with 30-minute epoxy. When gluing the wing panels
together, be sure to get glue into the joiner pockets in the
wing. This can be done by applying the glue into the pocket
with a small stick. Apply glue to the pocket, the joiner and the
root rib of the wing.
❏
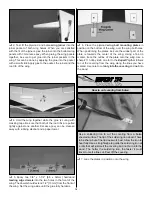
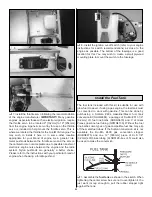
4. Hold the wing together while the glue is curing with
masking tape. Be sure that both of the root ribs are pulled
tightly against one another. Excess epoxy can be cleaned
away with rubbing alcohol and a paper towel.
❏
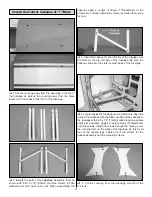
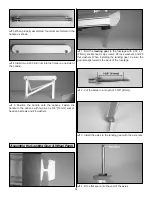
5. Epoxy two 3/8" x 1-1/4" [9.5 x 32mm] hardwood
leading edge dowels into the two holes in the front of the
wing. The dowel should extend 1/2" [13mm] from the front of
the wing. Set the wing aside until the glue fully hardens.
❏
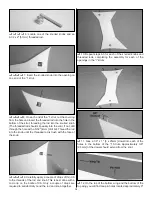
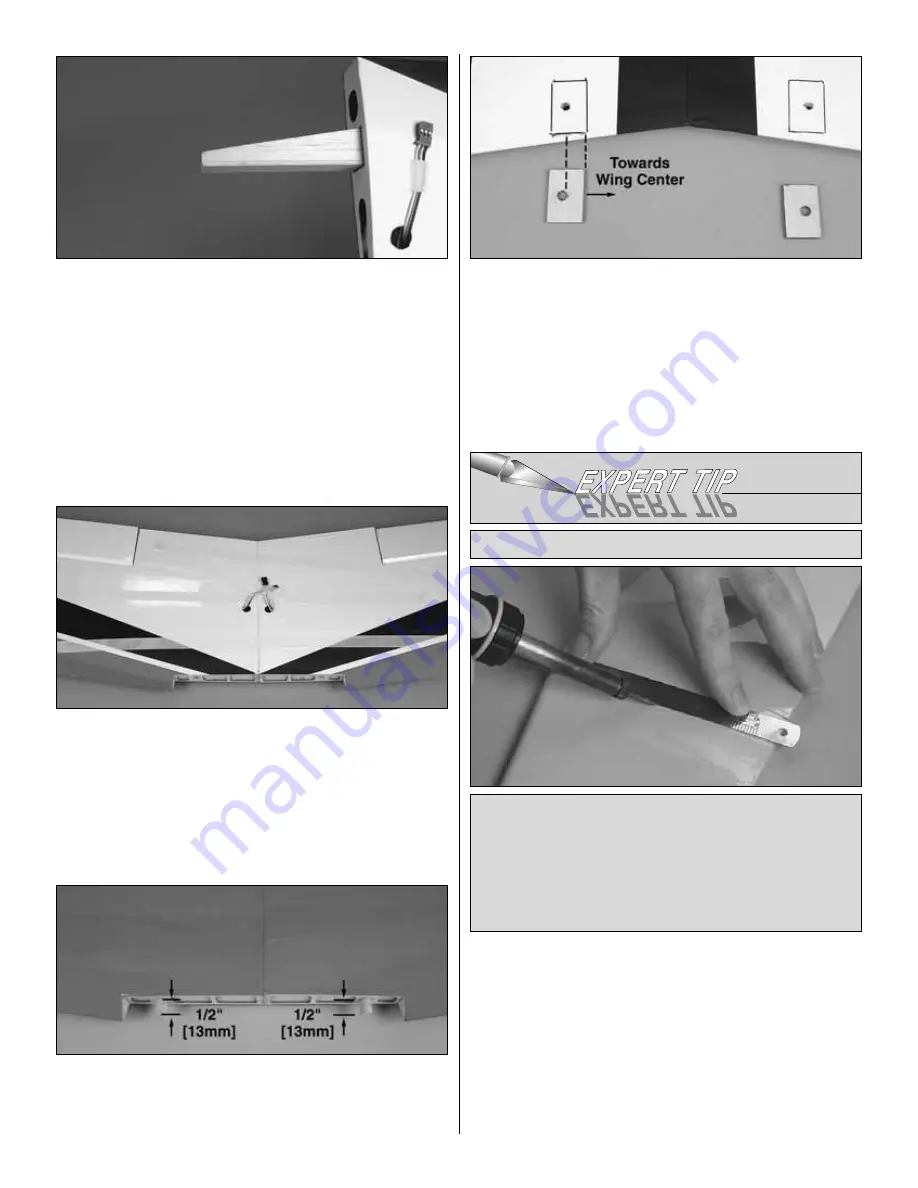
6. Place the plywood wing bolt mounting plates in
position on the bottom of the wing, over the wing bolt holes.
When positioning the plates be sure the widest part of the
plate is towards the center of the wing. Using a fine tip
marker, trace the outline of the plate onto the wing. Use a
sharp #11 hobby knife or refer to the
Expert Tip that follows
to cut the covering from the wing along the lines you have
marked. Use care to cut only into the covering and not into
the wood.
❏
7. Glue the plates in position onto the wing.
Use a soldering iron to cut the covering from a balsa
sheeted surface. The tip of the soldering iron doesn’t have
to be sharp, but a fine tip does work best. Allow the iron to
heat fully. Use a straightedge to guide the soldering iron at
a rate that will just melt the covering and not burn into the
wood. The hotter the soldering iron, the faster it must
travel to melt a fine cut. Peel off the covering.
How to cut covering from balsa
10


