❏
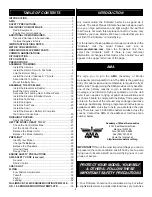
6. Glue the stab in place making sure that the stab is
properly aligned. Allow the glue to harden before continuing
with step #7.
❏
7. Insert the vertical fin into the slot at the rear of the
fuselage. Mark the outline of the fuselage to the fin. Cut the
covering from the fin and glue the fin in place, making sure it is
perpendicular to the stab. If needed, hold the fin in position with
masking tape to assure that the fin remains perpendicular.
You can now remove the wings and continue with the
assembly of the fuselage.
❏
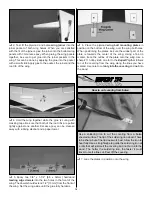
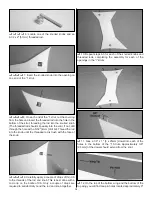
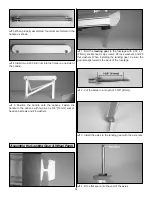
1. Using the same installation method used for the ailerons,
install three 1" x 1" [25 x 25mm] hinges into each elevator half
and then install the elevators into the stab. Glue the hinges
using thin CA.
❏
2. Glue four hinges to the fin and rudder with thin CA.
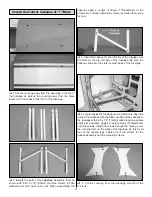
This kit comes with a convenient carrying handle for the
fuselage. In addition to its use as a handle, when installed,
it will allow you to turn the plane upside-down on the
workbench without flexing or bending the center cabanes.
❏
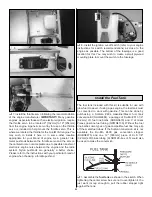
1. Locate all of the 1/8" [3mm] plywood parts of the handle.
❏
2. Glue the five parts together in the sequence shown.
Build the Carry Handle
Install the Elevators & Rudder
15


