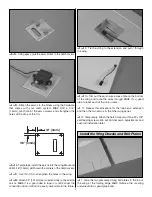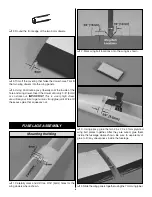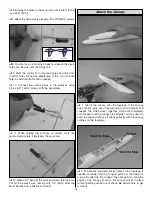
NOTE: This section is VERY important and must not be
omitted!
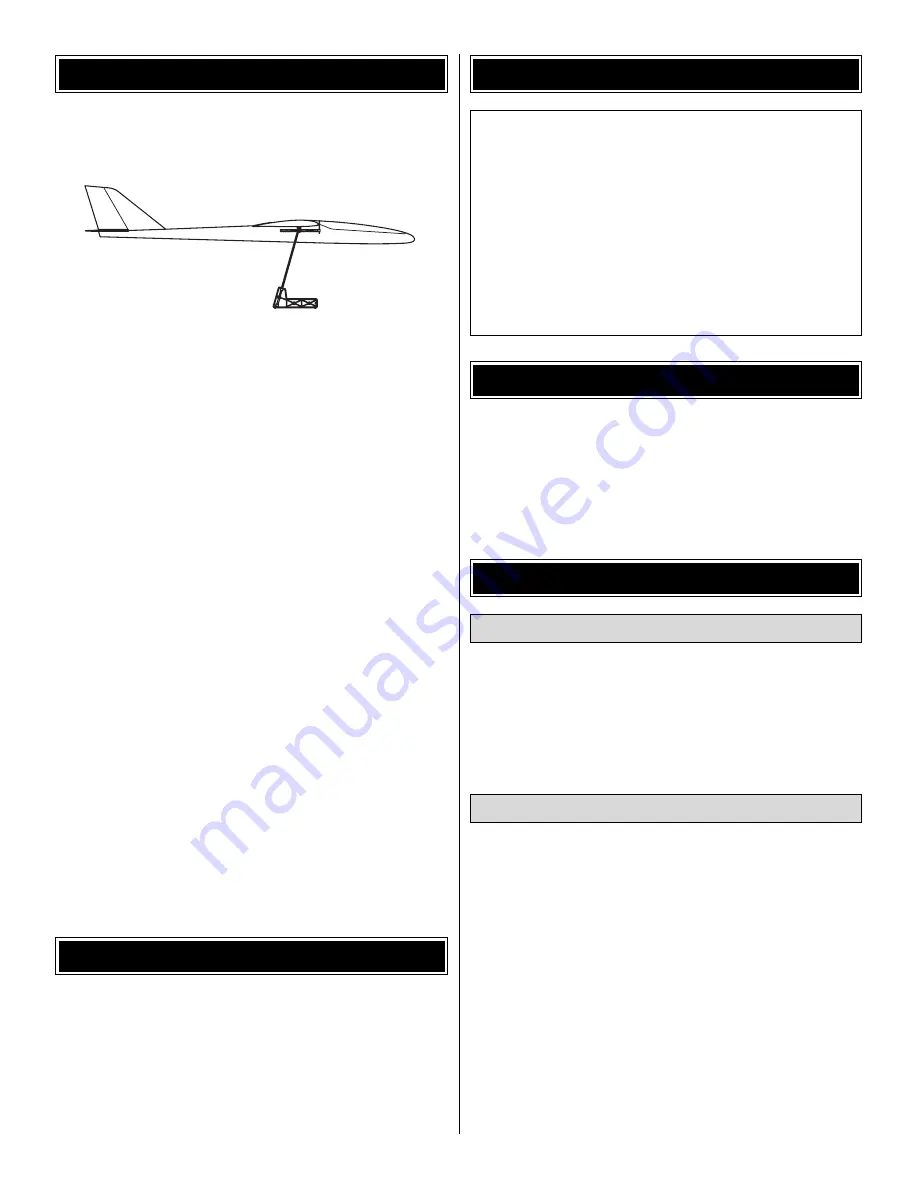
A model that is not properly balanced will be
unstable and possibly unflyable.
❏
1. The balance point
(Center of Gravity)
is
3-1/4" [82mm]
from the leading edge of the wing. This is the balance point at
which your model should balance for your first flights. Later, you
may wish to shift the balance up to
1/2" [13mm] behind
this
point to change the flying characteristics. Moving the CG
forward will add stability but it will
decrease
the overall
performance of the sailplane. Moving the balance back makes
the model more agile with a lighter and snappier “feel” and
improves
the sailplane’s response to air currents. However, it
will also make the model
less stable
and can cause the
sailplane to “tuck under” or dive when its flying speed increases.
❏
2. With the wing attached to the fuse and all parts of the
model installed (ready to fly), lift the model by picking it up
with your fingertips at the C.G. If the tail drops when you lift,
the model is “tail heavy” and you must add weight to the nose
to balance. If the nose drops, it is “nose heavy” and you must
add weight to the tail to balance. The model should hang with
a slight nose down attitude. Add BB’s or lead to the nose.
❏
1. With the wing level, have an assistant help you lift the
model by the nose and the bottom of the fuse at the tail. Do
this several times.
❏
2. If one wing always drops when you lift the model, it means
that side is heavy. Balance the airplane by adding weight to the
other wing tip.
An airplane that has been laterally balanced
will track better in loops and other maneuvers.
The tow hook should be in the front hole for the first flights.
After the first flights the tow hook can be moved back to the
middle hole for most flying conditions. For contest flying you
may want to try the rear hole as it can help achieve a higher
launch. But be careful as the sailplane will be less stable and
more apt to “pop off” the line.
No matter if you fly at an AMA sanctioned R/C club site or if
you fly somewhere on your own, you should always have
your name, address, telephone number and AMA number
on or inside your model. It is
required
at all AMA R/C club
flying sites and AMA sanctioned flying events.
Follow the battery charging instructions that came with your
radio control system to charge the batteries. You should
always charge your transmitter and receiver batteries the
night before you go flying and at other times as
recommended by the radio manufacturer.
NOTE:
Checking the condition of your receiver battery pack
is
highly recommended
. All battery packs, whether it's a
trusty pack you've just taken out of another model, or a new
battery pack you just purchased, should be cycled, noting
the discharge capacity. Oftentimes, a weak battery pack can
be identified (and a valuable model saved!) by comparing its
actual capacity to its rated capacity. Refer to the instructions
and recommendations that come with your cycler. If you
don't own a battery cycler, perhaps you can have a friend
cycle your pack and note the capacity for you.
Charge the Batteries
Identify Your Model
PREFLIGHT
TOW HOOK LOCATION
These are the recommend control surface throws:
ELEVATOR:
1/2" [13mm] up
1/2" [13mm] down
RUDDER:
2" [50mm] right
2" [50mm] left
AILERONS:
3/4" [19mm] up
3/8" [9.5mm] down
FLAPS:
1-3/8" [35mm] down
CONTROL SURFACE THROWS
BALANCE THE MODEL LATERALLY
Balance at 3-1/4" [82mm]
BALANCE THE MODEL
18


