❏
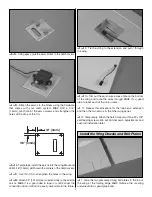
6. Enlarge the holes in the servo arm with a 5/64" [2mm]
(or a #48) drill bit.
❏
7. Attach the hatch covers using four #2 x 3/8" [6mm] screws.
❏
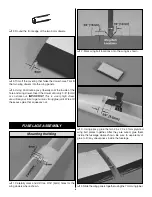
8. Position the control horns on each surface so the clevis
holes are lined up over the hinge line.
❏
9. Mark the control horn mounting holes and drill 1/16"
[1.5mm] holes. Place one
small
drop of thin CA into each
hole to add strength. Redrill if needed.
❏
10. Connect the control horns to the surfaces using
2-56 x 5/8" [16mm] screws with the backplates.
❏
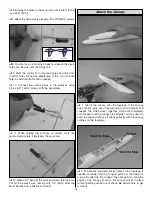
11. While holding the surfaces at neutral, mark the
pushrod wire where it intersects the servo arm.
❏
12. Make a 90° bend at the mark and insert into the arm.
Cut off the excess wire, leaving only 1/4" [6mm] after the
bend. Secure with a Faslink connector.
❏
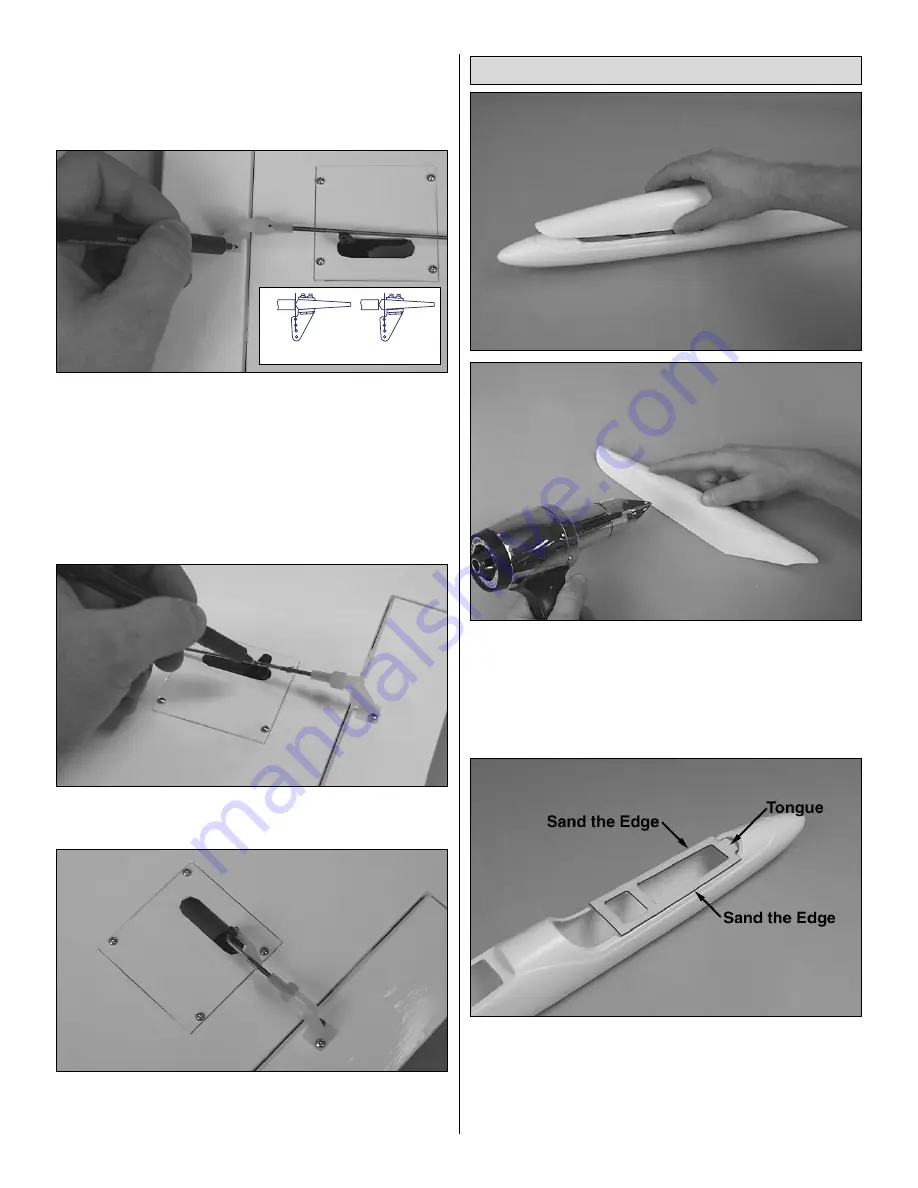
1. Trial fit the canopy onto the fuselage. If the canopy
does not fit snugly, use a heat gun to warm it up slightly and
squeeze the sides closer together. Hold until completely
cool. Repeat until the canopy fits perfectly. You may need to
sand the edges slightly so it aligns perfectly with the canopy
outlines on the fuselage.
❏
2. Position the plywood canopy frame on the fuselage. If
needed, carefully sand the “tongue” portion of the frame for
a snug fit under the front edge of the canopy. Also, sand the
edges of the canopy frame so the canopy will sit in place
without getting pushed out of shape. Be patient here to get
a nice fit.
Attach the Canopy
16
Correct
Incorrect


