❏
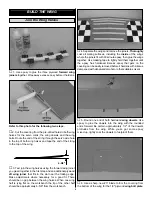
10. Consider the amount of air entering and exiting the
cowl for engine cooling. If you feel it necessary, cut
additional holes in the cowl for cooling. Our prototype, with
the O.S.
®
MAX .91 FS, required no additional holes in the
cowl for cooling, but other engines may have different
requirements. Cowled-in engines should operate at
slightly
rich needle valve settings to be certain there is an adequate
fuel/oil supply which aids in engine cooling and reliability.
❏
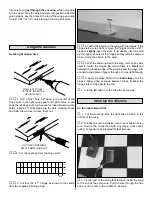
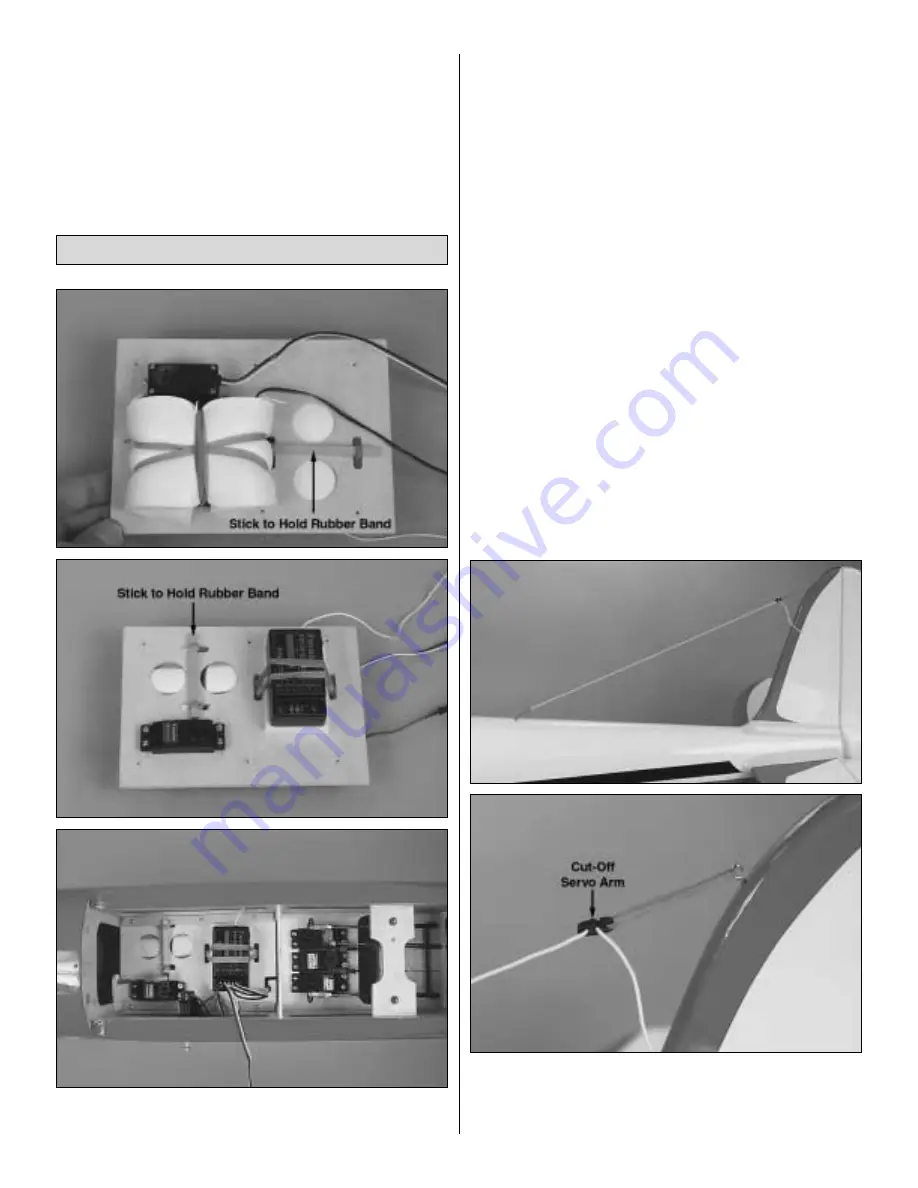
1. Connect the servos, aileron extension cord and on/off
switch to the receiver. Wrap the receiver and battery pack in
at least 1/4" of R/C foam rubber and securely mount them in
the fuse using Velcro
®
Hook & Loop straps (GPMQ4480),
rubber bands or another suitable, yet secure method. Simply
stuffing them into place with additional foam is not sufficient.
As you can see in the photos, we removed the forward servo
tray and used #64 rubber bands strapped to hardwood sticks
to hold the battery pack and receiver. The battery pack was
mounted to the top of the tray, so it would not interfere with
the throttle servo.
Note:
With the battery pack and receiver
mounted where shown, our prototype Ryan with an O.S.
MAX .91 FS balanced within the recommended C.G. range
shown on page 20 without additional ballast. If, upon
checking the C.G., you find that the model is nose-heavy or
tail-heavy, you could relocate the battery pack to minimize or
eliminate any additional ballast required.
❏
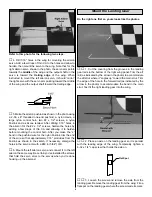
2. Mount the on/off switch and an external charge jack,
should you decide to use one, on the side of the fuselage
opposite the engine exhaust. As shown in the photo we use
a Great Planes Switch & Charge Jack Mounting Set
(GPMM1000). The external charge jack allows us to monitor
the voltage of the receiver battery pack before each flight
without removing the wing.
❏
3. Make certain all the servo arms are secured to the
servos with the screws that came with them and that all the
clevises have retainers on them.
❏
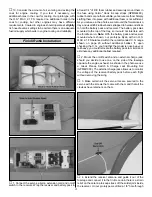
4. Extend the receiver antenna and guide it out of the
fuselage and connect it to the fin. Be certain there is a strain
relief on the antenna to keep stress off the solder joint inside
the receiver. On our prototype we drilled a 1/8" hole through
Finish Radio Installation
17


