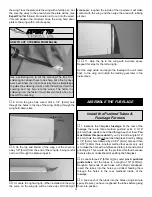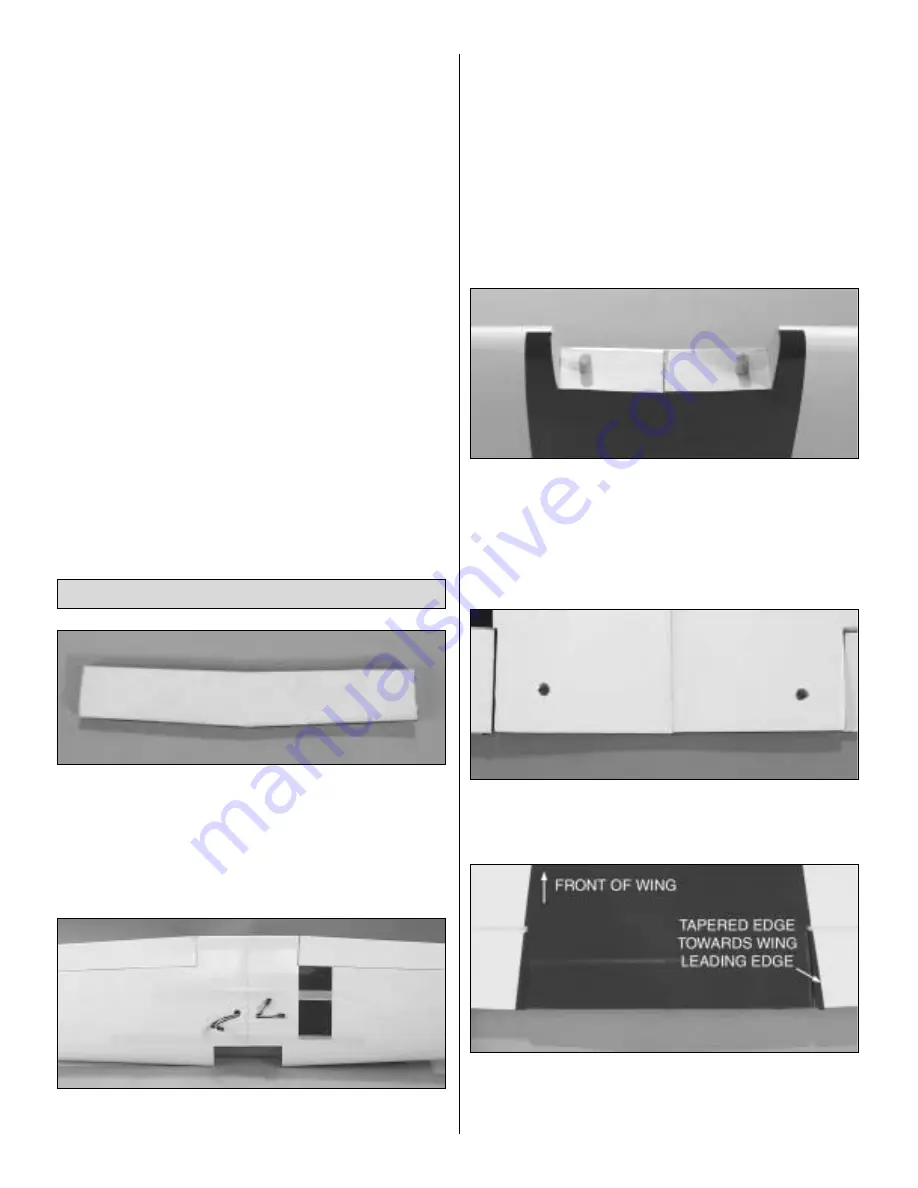
the location for the screw holes. Drill through the marks you
made with a 1/16" [1.6mm] drill bit, drilling through the
plywood plate in the bottom of the flap. Do not drill all the
way through the flap. Install the screw, then remove it.
Harden the holes with thin CA. Mount the nylon control horn
to the flap with two #2 x 3/8" [#2 x 9.5mm] sheet metal screws.
❏ ❏
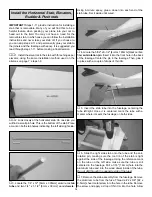
6. Locate a .074" x 6" [1.9 x 152mm] pushrod wire
threaded on one end. Thread a nylon clevis onto the
threaded end of the wire 20 turns. Install a silicone clevis
retainer onto the clevis. Then, install the clevis to the flap
control horn.
❏ ❏
7. Be sure the flap servo arm is forward, in the position
that will pull the flap into the retracted position. (Plug the
servo into the receiver and turn the radio on to re-position it
properly if you are unsure). Enlarge the hole in the servo
arm with a Hobbico Servo Horn Drill (or a #48 or 5/64"
[2mm] drill bit). Position the flap to the retracted (neutral)
position and align the wire pushrod with the hole in the end
of the servo arm. Using a marker, mark the location where
the wire aligns with the hole in the servo arm. On that mark
make a 90° bend. From the bend measure an additional 3/8"
[9.5mm] and then cut off the excess pushrod wire.
❏ ❏
8. Install the wire into the hole in the servo arm using
a nylon FasLink.
❏
9. Repeat steps 1-8 for the left wing panel.
❏
1. Locate the two 1/8" [3mm] plywood wing joiners.
Using 6-minute epoxy, glue them together, forming one 1/4"
[6mm] wing joiner.
❏
2. Test fit the wing joiner into each wing panel, making
sure that it is not too tight. Sand the joiner as needed to get
a good fit.
❏
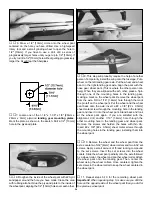
3. Apply 30-minute epoxy to both sides of the wing joiner,
the joiner pocket in both wing panels and to the root rib of
each wing panel. Push the wing panels together and hold
them in place with masking tape. Before the glue cures, set
the wing flat on your bench and measure the dihedral. The
distance from the top of the bench to the bottom of the wing
should be approximately 4-1/8" [105mm]. Block the wing tip
up while the glue cures.
Note: Due to production techniques
there may be some variance in the actual dihedral of each
model. Our prototypes flew well with the dihedral anywhere
between 3-7/8" and 4-1/4" [98mm and 108mm]. Minor
differences will not affect the flight characteristics.
❏
4. Set the wing aside allowing the glue to cure.
❏
5. Locate two 3/8" x 1-3/4" [9.5mm x45mm] wood
dowels. Apply 6-minute epoxy to the portion of the dowel
that will be inserted into the holes in the leading edge at the
center-section of the wing. Apply epoxy into the holes in the
center-section of the wing. Then, insert the dowels into the
holes until they stop. Wipe away excess glue from the
dowels and set the wing aside to dry.
❏
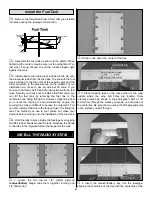
6. Locate the 1/4" [6mm] holes under the covering at the
trailing edge of the wing center-section. Cut the covering
away on both the top and bottom of the wing.
❏
7. Lay the wing on your bench with the bottom of the wing
facing you. Locate the hardwood wing hold down plate.
Place the hold down plate in position at the wing trailing
edge with the tapered edge of the plate facing the front of
Join the Wings
12
Summary of Contents for Lancair ES
Page 40: ......


