


1525P and 1510HDP
Hydraulic Drive Operation
Great Plains
| 118-949M | 2018-07-03
49
8.
Press GO.
The Rx rate window shows the rate that is being sent
to the GP Precision Population Controller. The
APPLIED window shows the rate that the GP
Controller is applying.
GP Precision Population Settings
1.
Connect SiteMate computer to Console using 9-pin
serial cable
, as shown in Figure 61. Follow
instructions on page 30 to set Calibration Number.
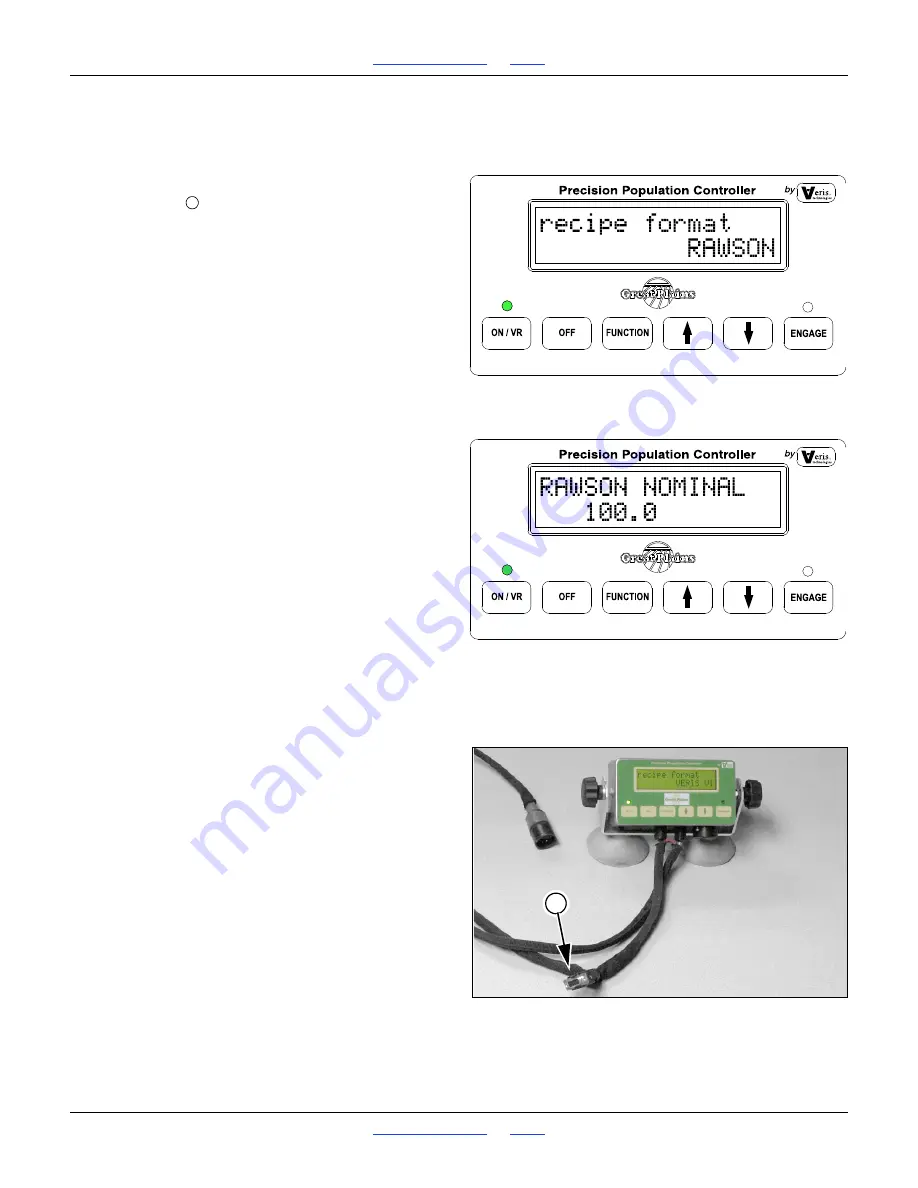
2.
Press FUNCTION button until a “recipe format”
window appears. Use the /
arrow buttons to select
RAWSON mode.
3.
Press FUNCTION button until the Nominal Rate
appears on the display. Using the Up/Down arrow
keys, set the Nominal Rate to the same number as
you set the SiteMate. Once Nominal Rate is set,
press Function button until the main operating
screen appears, as shown in Figure 16 on page 28.
4.
Press On/VR button again to toggle to VR mode. VR
should appear on the screen along with the Rate that
is being sent from the SiteMate computer. (See
Figure 17 on page 29). Verify that the rate shown on
the GP Controller Console is the same as the recipe
sent from SiteMate. Press ENGAGE button to
activate the Precision Population Controller.
5.
To change rates manually when in VR mode, touch
the /
arrow buttons. This changes the Controller to
the rate you select manually. To return to VR, touch
the ON/VR button to toggle back to VR mode.
Ag Leader PF3000
Settings for Ag Leader PF3000 Monitors used with
Precision Population Controller
QUICK REFERENCE
GUIDE.
1.
Create a .tgt recipe file in SMS 2.0 or FarmWorks
Site Pro, or other software that will create a .tgt file,
and copy it to an SRAM or Flash card that is
compatible with the PF 3000.
PF3000 Settings:
2.
Press SETUP key.
Press SWATH key.
Set swath to that of your Great Plains Precision
Seeding System.
3.
Press SETUP key.
Press VEHICLE key.
Set Primary speed sensor to GPS.
Figure 62: SiteMate:
Rawson Recipe Mode
28320
Figure 63: SiteMate:
Rawson Nominal Rate
28323
Figure 64: PF3000:
Serial Connection to Controller
28322
1


