Vertigo XG Installation & Quick Start Guide
2-17
Installation and quick start instructions
Verifying the installation and setup by previewing the
playout
To verify that the Vertigo XG is properly connected and operating, we recommend that you
use the local copy of Xplay to load and playout an asset in the Live window and broadcast
monitor associated with the Vertigo XG’s Channel A. For dual channel Vertigo XG devices,
we recommend performing the same verification tasks on Channel B.
The following sections provide instructions for verifying the installation and setup of the Vertigo XG:
1.
“Verify the Vertigo XG’s Output Resolution” on page 2-17
2.
“Enable the Vertigo XG’s Live window” on page 2-18
3.
“Use Xplay to playout a graphic” on page 2-19
Verify the Vertigo XG’s Output Resolution
Each of the Vertigo XG’s output channels (Channel A and Channel B) have an Output
Resolution setting on their respective Dashboard, which determines the format of the
Vertigo XG’s output signal.
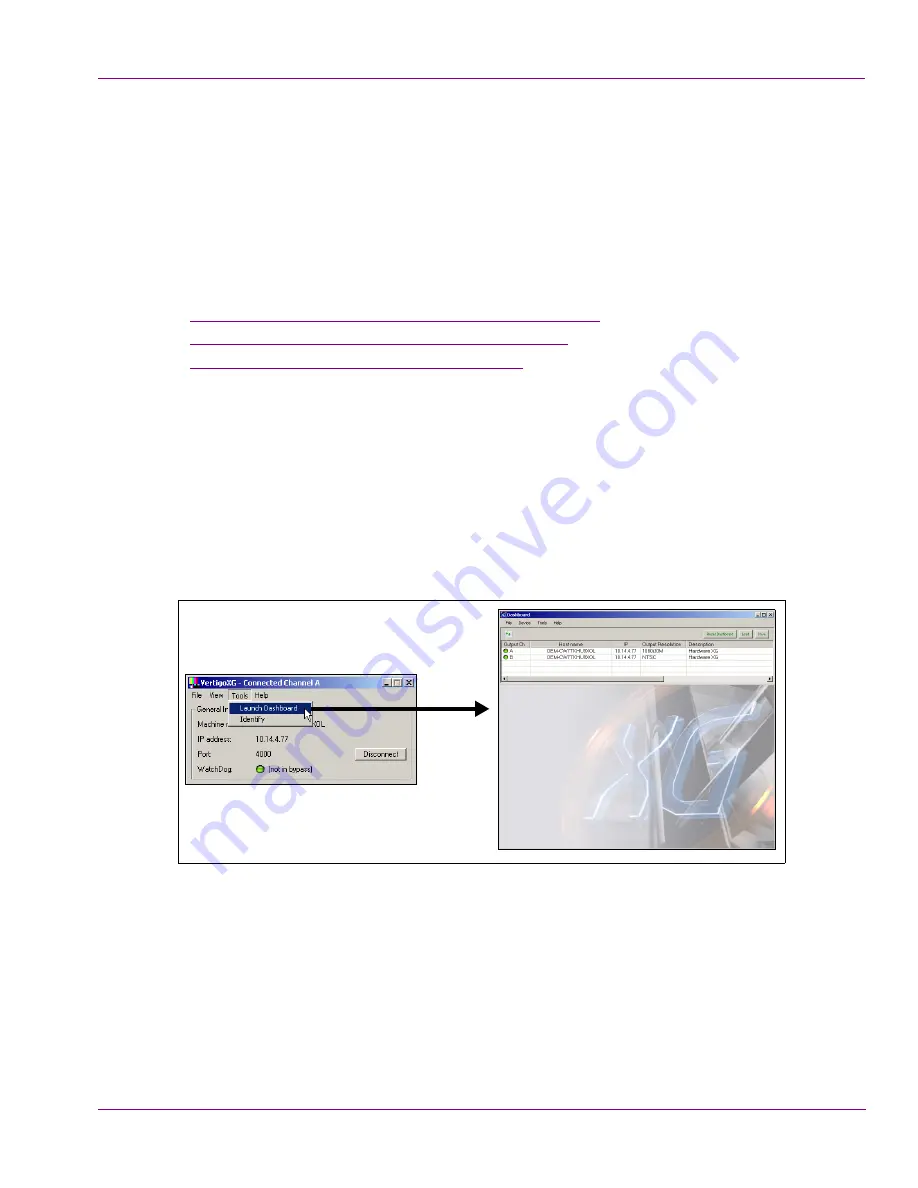
To verify (and change) a Vertigo XG’s output channel resolution:
1.
In the Vertigo XG’s Control Panel for Channel A, select the
T
OOLS
>L
AUNCH
D
ASHBOARD
menu command.
2.
Select the device’s channel from the Device List.
If the device is not listed in Dashboard’s Device List, perform a device discovery (see
the
Vertigo XG Configuration Guide
for instructions).
3.
Verify the
O
UTPUT
R
ESOLUTION
setting. If the setting represents your desired output
resolution, continue to the next task.
If the Output Resolution setting is not what you desire, then select a different resolution
from the drop-down list and click the
A
PPLY
C
HANGES
button. When prompted, click
Y
ES
to apply the changes. Click
Y
ES
again to restart the device, which applies the new
setting.


