background image

309375          11

Installing Fluid Metering Assembly

Grounding the Fluid Metering Assembly
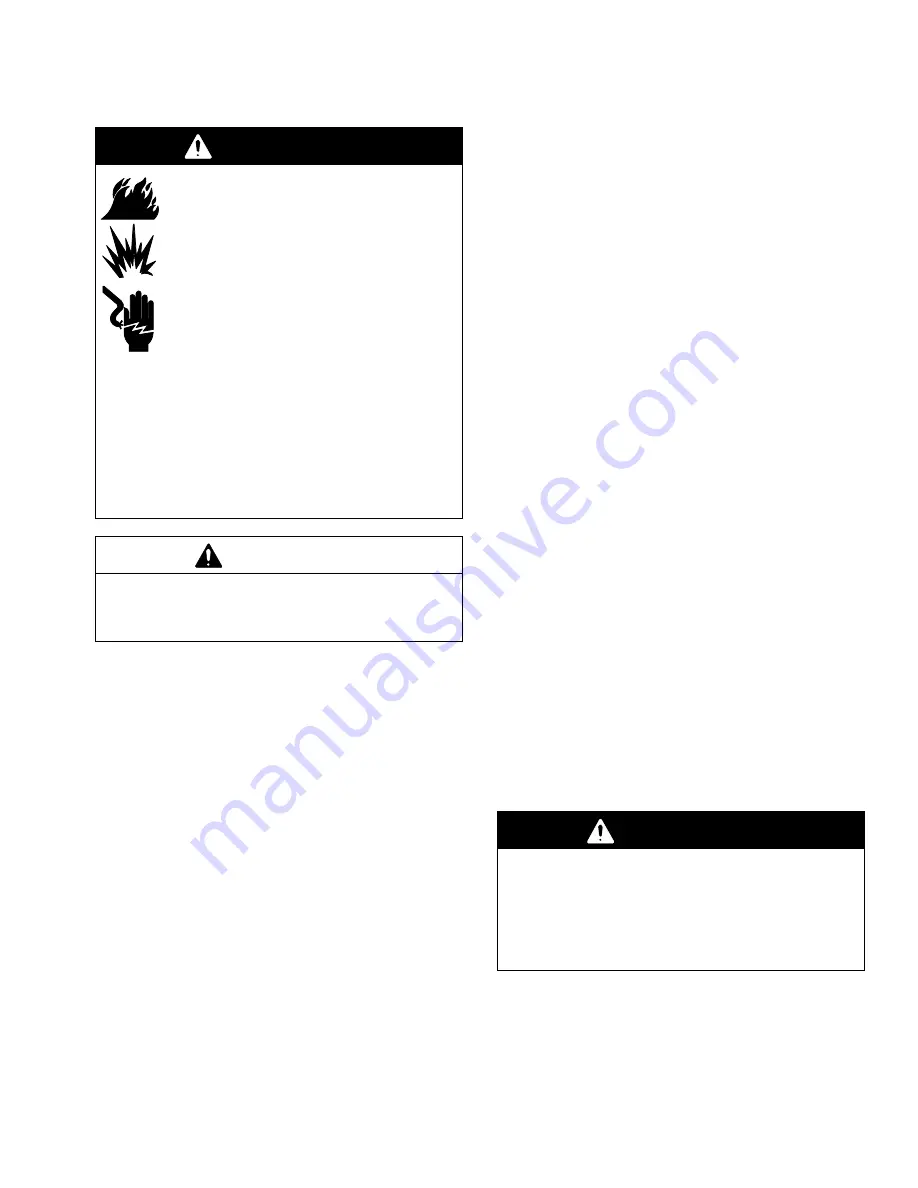
WARNING

FIRE, EXPLOSION, AND ELECTRIC
SHOCK HAZARD
To reduce the risk of fire, explosion, or
electric shock:

D

The PrecisionFlo fluid metering assem-
bly must be electrically connected to a
true earth ground; the ground in the
electrical system may not be sufficient.

D

All wires used for grounding must be
8 AWG (8.36 mm

2

) minimum.

D

A qualified electrician must complete all ground-
ing and wiring connections.

D

Refer to your local code for the requirements for
a “true earth ground” in your area.

D

Also read and follow the warnings on pages 3
through 5.

CAUTION

If power and grounding connections are not done
properly, the equipment will be damaged and the
warranty will be voided.

Ground the fluid metering assembly as instructed here
and in the individual component manuals. Make sure
the fluid metering assembly and its components are
installed correctly to ensure proper grounding.

Control Assembly

Ground the control assembly as instructed in manual
309374.

Air and Fluid Hoses

For static dissipation, use only electrically conductive
hoses or ground the valves.

Metering Module

The PrecisionFlo XL metering valve is grounded to the
control assembly through proper connection of the
electrical cable provided with the metering module.

Remote Flow Meter Installation

See PrecisionFlo XL instruction manual 309374.

Dispense Device

Follow the grounding instructions in the dispense
device documentation.

Connecting Fluid Lines and Cables

After a fluid metering assembly is connected to a
control assembly, the units are called a PrecisionFlo
module.

1.

Install the fluid metering assembly on the robot or
in another appropriate place, as instructed on
page 9. Ground the system as instructed on page
11.

2.

Air must be clean and dry, between 60–120 psi.
Flush air line before plumbing in air filter assembly
(234967). Plumb in air filter assembly near air drop
site (upstream of fluid plate module). Adding an air
regulator to this line will provide more consistent
dispense valve response times. Connect the air
lines to the ports on the fluid metering assembly as
shown in Fig. 6.

3.

Make the fluid line connections for the fluid meter-
ing assembly according to the connection size
chart in the Technical Data section of this manual
(page 32).

4.

Connect the OP cable from the control box to the
fluid plate junction box on all models. Connect the
motor cable on models with the electric regulator.

WARNING

When the second outlet port on the 198245,
198187, and 198188. Fluid plate is not used, it
must be plugged with the supplied steel plug to
prevent high pressure fluid from being emitted from
the port. High pressure fluid can cause serious
injury.

Summary of Contents for PrecisionFlo XL

Page 1: ...bar 24 MPa Maximum Fluid Working Pressure 120 psi 8 3 bar 0 83 MPa Maximum Air Working Pressure For use when dispensing fluids that meet at least one of the following conditions for non flammability...

Page 2: ...ion pneumatic regulator with helical gear flow meter 198245 High viscosity precision pneumatic regulator with helical gear flow meter g y p p g g 198246 Low viscosity precision pneumatic regulator wit...

Page 3: ...ressure Relief Procedure on page 13 whenever you are instructed to relieve pres sure stop dispensing clean check or service the equipment or install or clean a spray tip or nozzle D Tighten all the fl...

Page 4: ...distributor for motor service D Do not exceed the maximum working pressure of the lowest rated system component The maximum working pressure of the PrecisionFlo metering valve is shown on the fluid he...

Page 5: ...equipment performed by a qualified electrician only D Make sure all electrical equipment is installed and operated in compliance with applicable codes D Do not install the PrecisionFlo module in a ha...

Page 6: ...o electronic commands and ensure a precisely con trolled continuous flow of material The PrecisionFlo XL module combines continuous pressure control with the ability to change bead profiles almost ins...

Page 7: ...ntrol loop D solenoid air valve C that controls a dispense device D metering valve closer D D solenoid air valve E that controls the metering valve s closer Fig 2 D B A C E TI1554A PrecisionFlo Meteri...

Page 8: ...low is assured by a closed loop pressure or closed loop flow control design The module re sponds to robot supplied signals to provide an accu rate and consistent output flow based on a comparison of a...

Page 9: ...ng assembly with the PrecisionFlo control assembly Installing the Assembly WARNING EQUIPMENT MISUSE HAZARD The fluid metering assembly weighs approximately 60 lbs and should never be moved or lifted b...

Page 10: ...e Valve Fig 6 A B C D Pressure flow regulating system Air Inlet 1 4 npt F Models 198245 198246 198247 Close Open 4 mm or 5 32 tubing TI1418d Fig 7 A B C D Pressure regulation only remote mount flow me...

Page 11: ...n of the electrical cable provided with the metering module Remote Flow Meter Installation See PrecisionFlo XL instruction manual 309374 Dispense Device Follow the grounding instructions in the dispen...

Page 12: ...XL module which includes the fluid metering assembly Also refer to the section on Troubleshooting and Fault Recovery for detailed information on how fault codes are communicated Troubleshooting for i...

Page 13: ...or on the skin or injury from moving parts always follow the Pressure Relief Procedure whenever you D are instructed to relieve the pressure D check or service any of the system equipment D shut off t...

Page 14: ...the Pressure Relief Procedure on page 13 Servicing the Flow Meter There are no serviceable parts in the flow meter 20 To correct a problem with the flow meter refer to the maintenance and troubleshoot...

Page 15: ...new unit For informa tion about servicing the metering valve or the metering valve s sensor see the metering valve manual 309382 Remove the Metering Valve from the Mounting Plate 1 Prepare the system...

Page 16: ...Check that the flow meter 20 and metering valve 14 are aligned 3 Tighten the swivel fitting 18 onto the metering valve material inlet See Fig 14 4 Connect the material line to the metering valve mater...

Page 17: ...step 4 3 Inspect and clean the internal walls of the base housing 4 NOTE Be careful that you do not scrape or gouge the internal walls of the base housing They are a sealing surface 4 Re torque the r...

Page 18: ...r not shown 1 10 195942 REGULATOR I P 1 11 197829 PLATE fluid SD 1 12 198082 SENSOR pressure 2 13 198171 FITTING elbow 1 14 198175 FITTING push 1 Ref No Part No Description Qty 16 198177 FITTING push...

Page 19: ...ap sch 2 10 112671 SCREW cap sch 2 11 115713 BRACKET tube 1 12 234967 MUFFLER inline filter not shown 1 13 195942 REGULATOR I P 1 14 197829 PLATE fluid SD 1 15 198082 SENSOR pressure 2 Ref No Part No...

Page 20: ...I P 1 13 198082 SENSOR pressure 2 14 198175 FITTING push 1 16 198177 FITTING push straight 3 Ref No Part No Description Qty 18 198179 FITTING bulkhead union 1 19 198182 SCREW cap sch 2 20 198183 BOX j...

Page 21: ...wn 1 14 617418 METER fluid flow with fit tings see manual 308968 1 15 195942 REGULATOR I P 1 16 198082 SENSOR pressure 2 17 198175 FITTING push 1 Ref No Part No Description Qty 19 198177 FITTING push...

Page 22: ...ing 1 12 195942 REGULATOR I P 1 13 198082 SENSOR pressure 2 14 198175 FITTING push 1 16 198177 FITTING push 3 Ref No Part No Description Qty 18 198179 FITTING bulkhead union 1 19 198182 SCREW cap sch...

Page 23: ...8 SCREW cap sch 4 7 198082 SENSOR pressure 2 8 115713 BRACKET tube 1 9 198171 FITTING elbow 1 10 198179 FITTING bulkhead union 1 11 198183 BOX junction 1 12 198315 BLANK label kit 1 Ref No Part No Des...

Page 24: ...ITTING bulkhead union 1 11 198183 BOX junction 1 12 198315 BLANK label kit 1 15 054753 TUBE nylon RD black 1 16 198683 WIRE 3 cond 22 gauge 2 17 198446 VALVE dispense closer 2 Ref No Part No Descripti...

Page 25: ...79 FITTING bulkhead union 1 11 157191 FITTING adapter 1 12 198318 BRACKET mnt SRZ40 elec F plate 1 13 617418 METER fluid flow with fit tings see manual 308968 1 14 198244 BRACKET mounting 1 Ref No Par...

Page 26: ...SCREW cap sch 4 7 198082 SENSOR pressure 2 8 115713 BRACKET tube 1 10 198179 FITTING bulkhead union 1 11 198183 BOX junction 1 12 198315 BLANK label kit 1 Ref No Part No Description Qty 15 054753 TUB...

Page 27: ...1 10 198179 FITTING bulkhead union 1 11 157191 FITTING adapter 1 12 198318 BRACKET mnt SRZ40 elec F plate 1 13 617418 METER SRZ40 see manual 308968 1 14 198244 BRACKET mounting 1 15 198183 BOX junctio...

Page 28: ...2 9 1 Ref No Part No Description Qty 1 101864 SCREW cap sch 4 2 C59588 BRACKET regulator 1 5 112166 SCREW cap sch 4 6 157785 UNION swivel 1 7 233673 PLATE fluid elec H flow SRZ 40 see page 27 1 Ref No...

Page 29: ...1864 SCREW cap sch 4 2 166443 NIPPLE hex 1 3 C59588 BRACKET regulator 1 6 112166 SCREW cap sch 4 7 158256 UNION swivel 1 8 161077 FITTING union adapter straight 1 9 198315 BLANK label kit 1 Ref No Par...

Page 30: ...when dispensing fluids that meet at least one of the following conditions for non flammability D The fluid has a flash point above 140_F 60_C and a maximum organic solvent concentration of 20 by weig...

Page 31: ...when dispensing fluids that meet at least one of the following conditions for non flammability D The fluid has a flash point above 140_F 60_C and a maximum organic solvent concentration of 20 by weigh...

Page 32: ...4 14 npt female 3 4 14 npt female 198246 3 4 14 npt female 1 2 14 npt female 198247 1 4 18 npt female 1 2 14 npt female 233652 1 2 14 npt female 1 2 14 npt female 233653 1 4 18 npt female 1 2 14 npt f...

Page 33: ...309375 33 Notes...

Page 34: ...dy including but not limited to incidental or consequential damages for lost profits lost sales injury to person or property or any other incidental or consequential loss shall be available Any action...

Reviews: