22
The ‘Record icon’ will be placed
8.
alongside the programme cell in the
table.
The programme will start to be recorded
at the set broadcast time.
Cancel a future recording
To cancel a scheduled recording:
Press the
1.
GUIDE
Button.
Use the
2.
,
,
and
Buttons
to navigate to the programme you
wish to cancel recording.
Press the
3.
RECORD
button as
directed in the guide footer.
If the recording was set as ‘Record
once’ the ‘Record’ icon will be removed
and the recording will not take place.
If the recording was set as ‘Record
series’ then a message box will be
displayed:
Stop recording
•
Stop series
•
Use
4.
the
and
Buttons to select
one of thes options.
Press the
5.
OK
button.
If you selected ‘Stop recording’ and
the programme was part of a ‘series’
recording, then the current recording
will stop but the next episode in the
series will be marked with the ‘multi-
RECORD’ icon and will be recorded at
the next broadcast time.
If you selected ‘Stop series’, then the
current recording will stop and the
‘multi-RECORD’ icon for this programme
will be removed from the guide table.
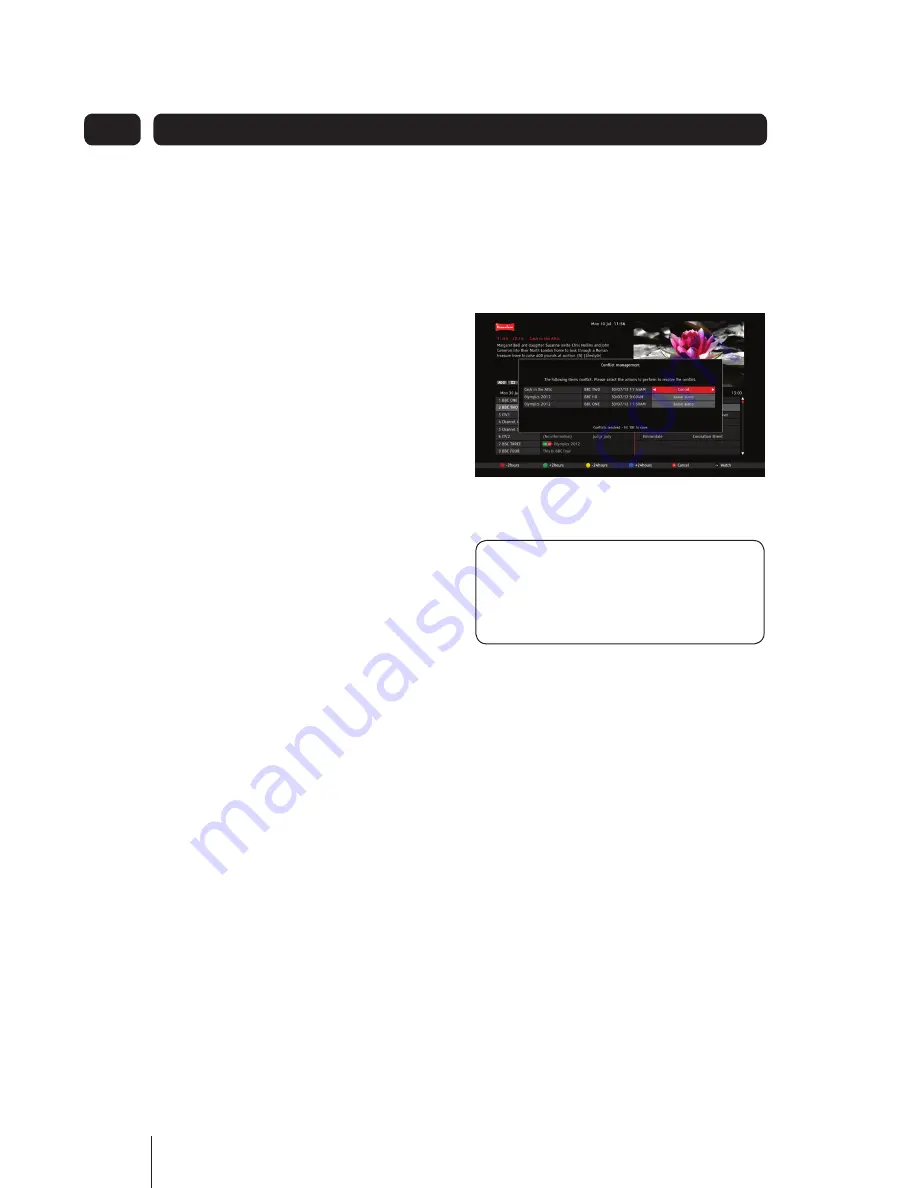
Resolving recording conflicts
If you try to record two programmes
where the broadcast times overlap, the
‘Conflict Management’ window will be
displayed. This allows you to choose a
recording to cancel.
1. Use the
and
Buttons to select
the recording(s) you wish to cancel.
DON’T FORGET!
All ‘recordings’
with a Cancel marking will be
cancelled when you press the
OK
Button.
2. Use the
and
Buttons to toggle
the command between ‘Leave
alone’ and ‘Cancel’.
Press the
3.
OK
Button to confirm.
If after a minute of being notified you
have not made changes to resolve the
conflict, the system will cancel one
automatically. A notification message
will be displayed in the ‘Conflict
Management’ window.
Setting a reminder
If you do not want to miss the start of a
programme, you can set your digital box
to let you know when the programme is
about to start. The ‘Reminder’ function
lets you do this.
Advanced Features
04


